
You are using an out of date browser. It may not display this or other websites correctly.
You should upgrade or use an alternative browser.
You should upgrade or use an alternative browser.
Merriman's Submarine Modelling Masterclass
- Thread starter merriman
- Start date
- Joined
- 18 March 2013
- Messages
- 1,586
- Reaction score
- 5,791
Jake might take a shot or two. Stupid, Imperialistic Yanee dogs!So, which one of your crew is driving a 637, 688, or Seawolf to hunt it?
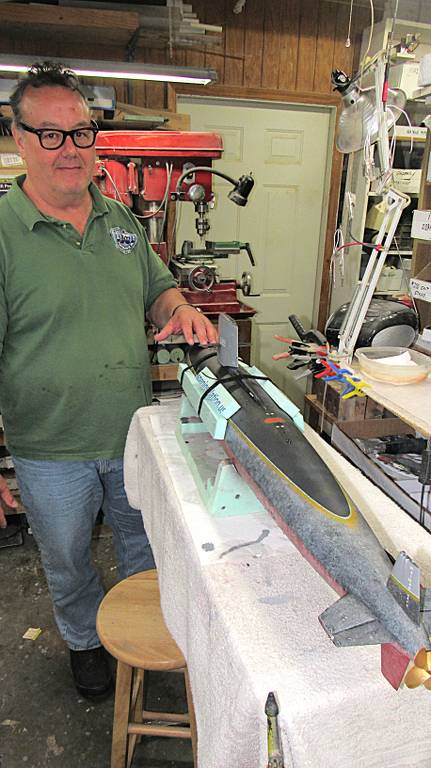
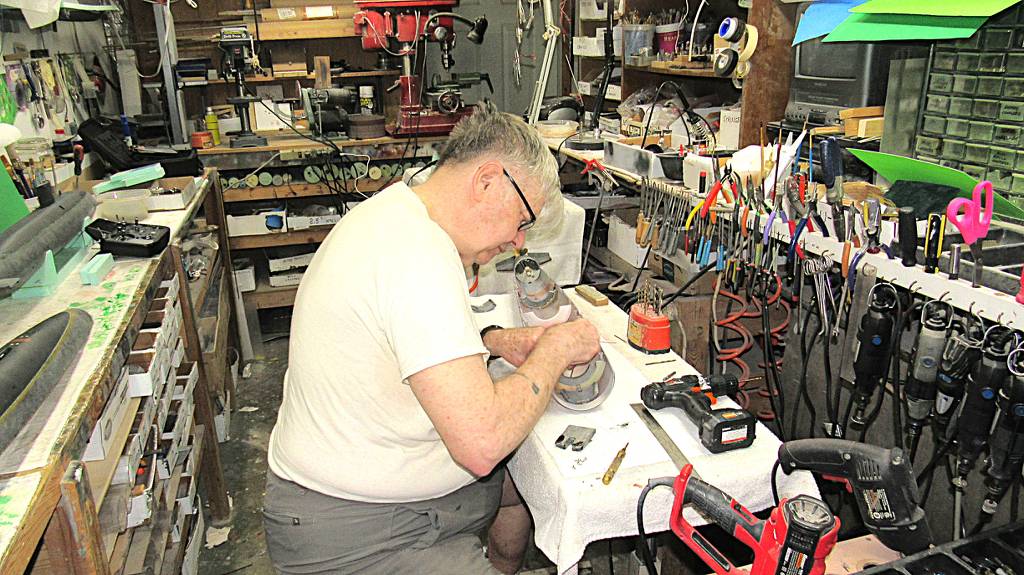
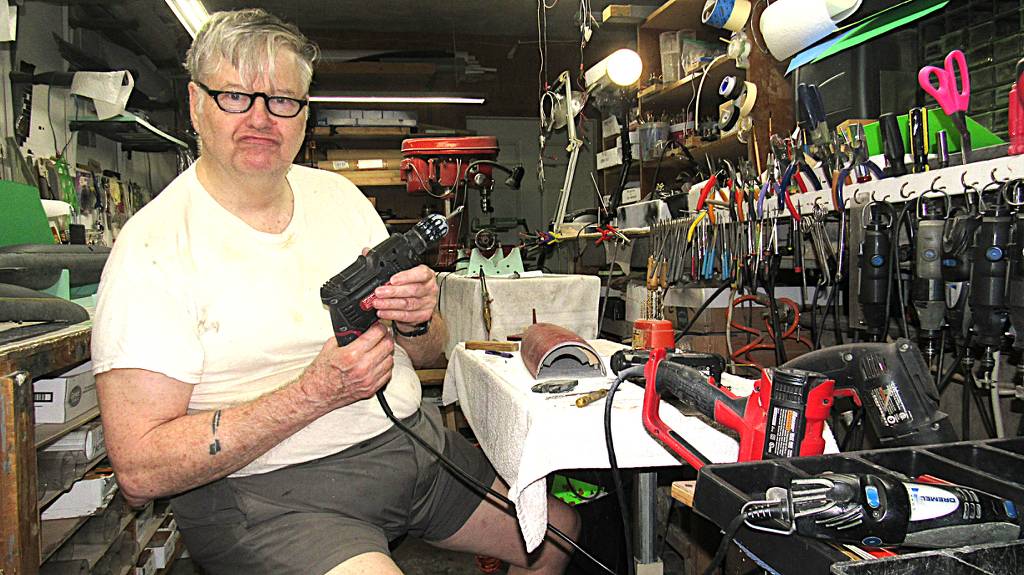
Absolutely breathtaking work.WEATHERING AND MARKINGS, PART-1
Faithfully capturing the look and 'feel' of a modern in-service submarine in model form demands that you push your inventory of modeling tricks to include the... dare I say it... art of weathering. If you, as the model kit-assembler/maker fail to represent, in a realistic manner, the topside streaking, deck scuffing, oil-canning, rusting; if you ignore the at-waterline marine growth and stratification of marine grass and other flora; and if you half-ass or even neglect to represent the below waterline fouling and discoloration of the anti-fouling paint -- if you fail to do some or all of those things, then you are the proud owner of one very boring looking display piece, you've produced a simple tapered tube with a few inconsequential appendages sticking off of it. You... you idiot!! You did not follow through! Your display is not finished. You suck!
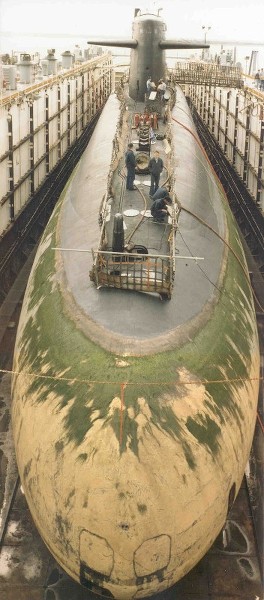
You must weather your model to bring it to life. And that job starts with study. The Internet is your friend here. But note this, a drydocked submarines below waterline (BWL) structure that has dried out for a couple of days bleaches out through oxidation and UV attack, the BWL assuming an overall blotchy tan color with pronounced variations present in bands near the waterline (WL). On the other hand, a model depicting a submarine still in the water will show a pronounced green at and just below the waterline. Aside from SSBN's returning from a two-month patrol, the above waterline (AWL) portions are the same for a drydocked or in-water representation.
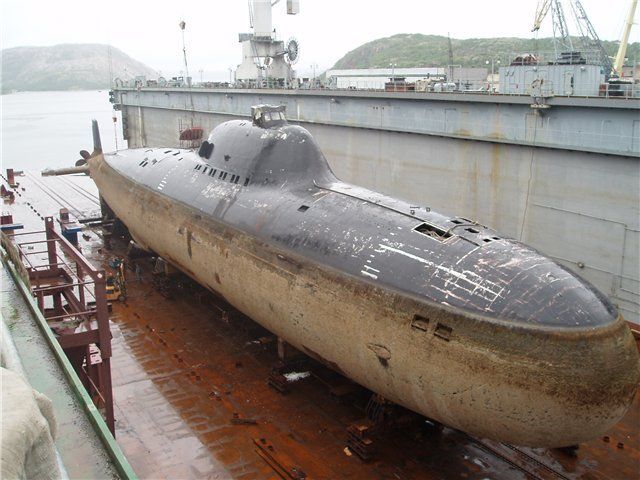
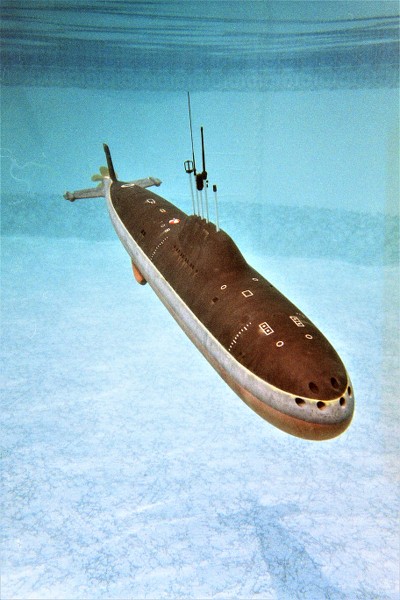
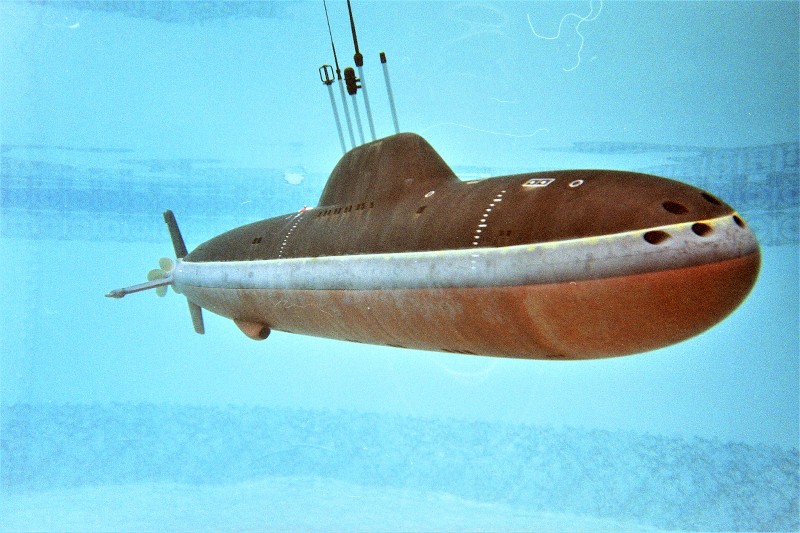
ThIS Soviet ALFA has been in the water without a drydocking or hull scrub for some time. The look of the BWL is typical for a submarine operating in cold waters that has been in drydock long enough for the marine growth to die and bleach out. Note how uniform the crud is till it gets near the WL. Also take note that there is near zero vertical streaking or running rust below the waterline. A common mistake by modelers who attempt a credible weathering job to those portions of the hull. A mistake I've made myself.

Here's an American SSBN out of the water a day or two. The 'grass' has not died yet so has either bleached out or fallen off. This transitory state is only seen by sand-crabs and crew and if represented on the display will only confuse the audience. Avoid this look.
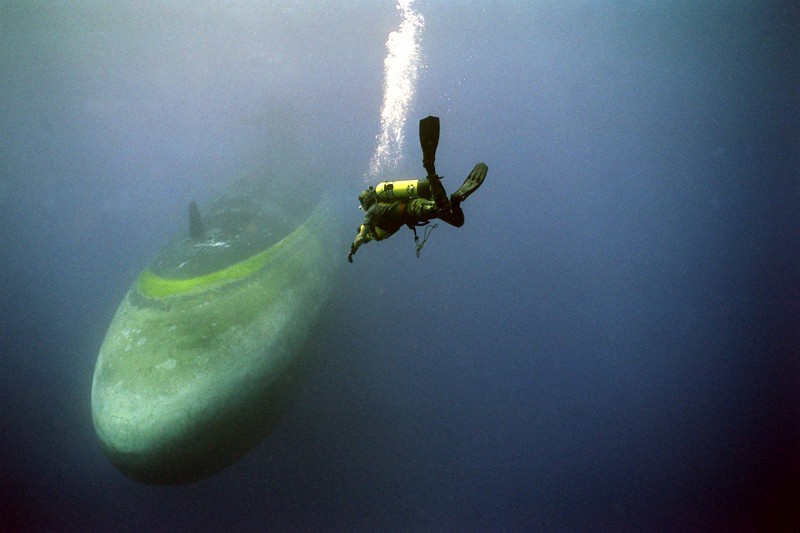
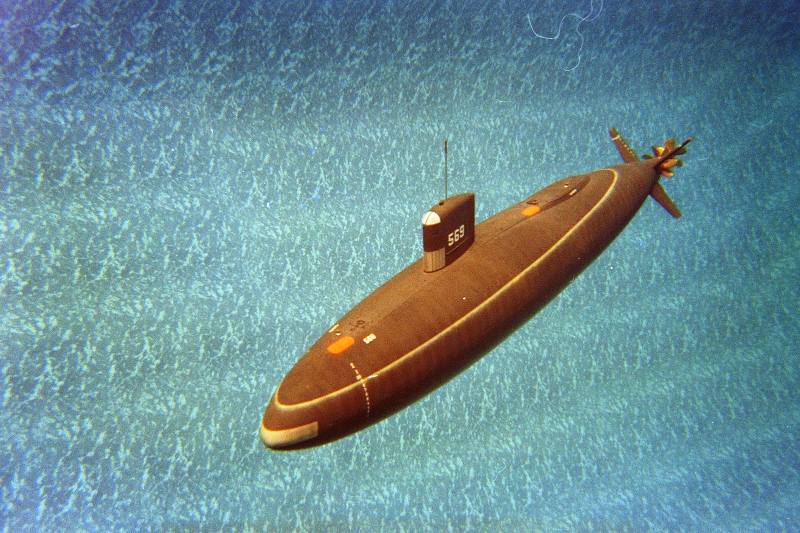
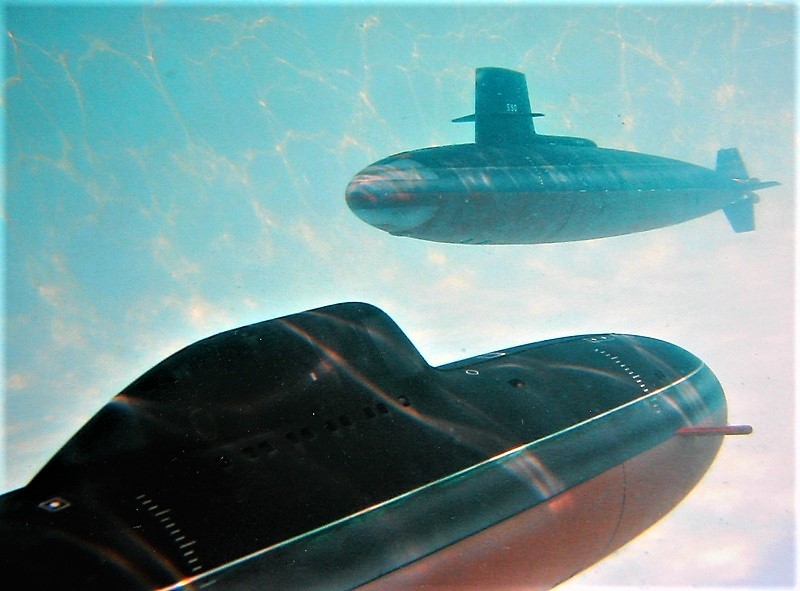
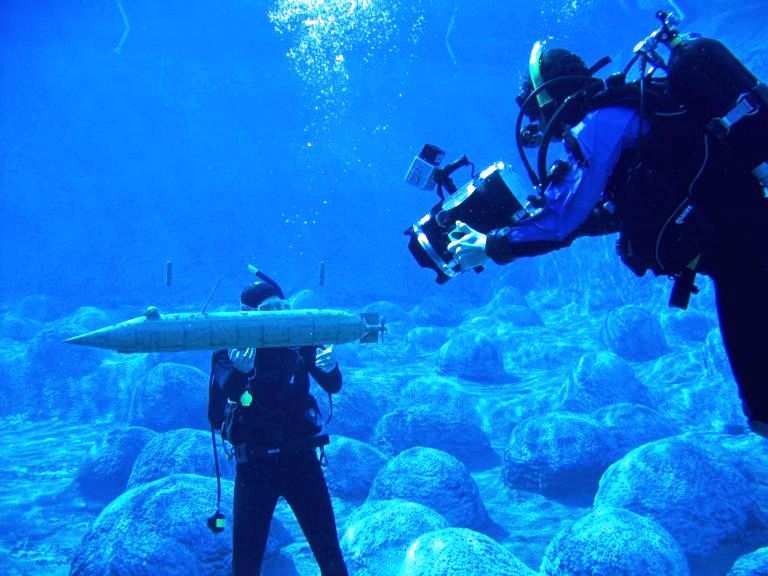
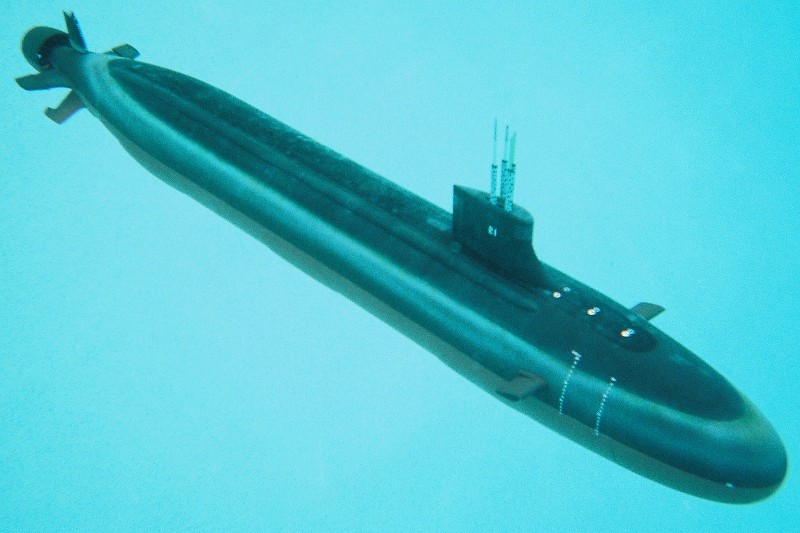
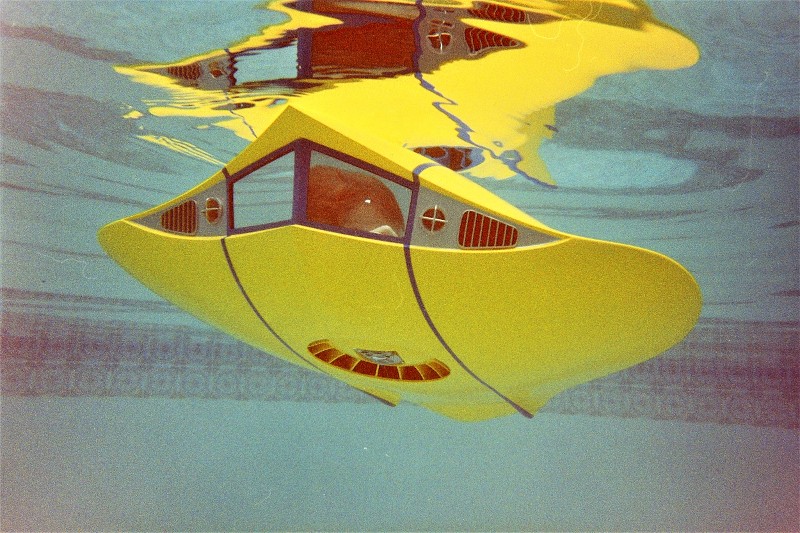
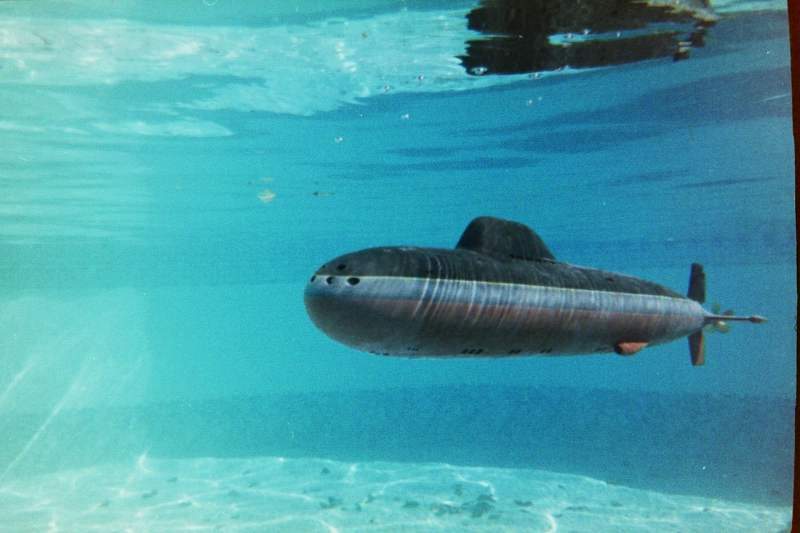
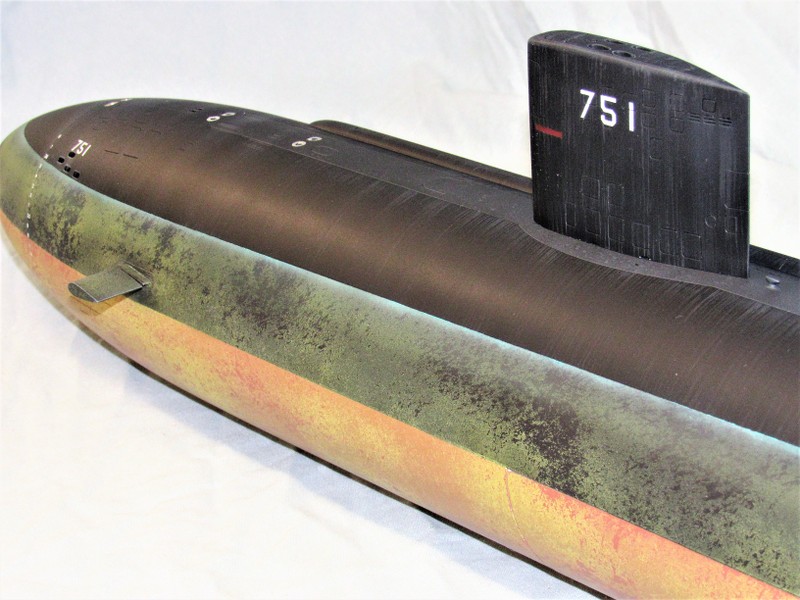
This boat is cruising by at a depth of about 60-feet (measured to the keel), so some of the red has already dropped out of the spectrum to our eyes and most camera emulsions and CCD's. But, this is representative of a boat that has been in temperate waters for at least a year with maybe one hull-scrub under its belt.
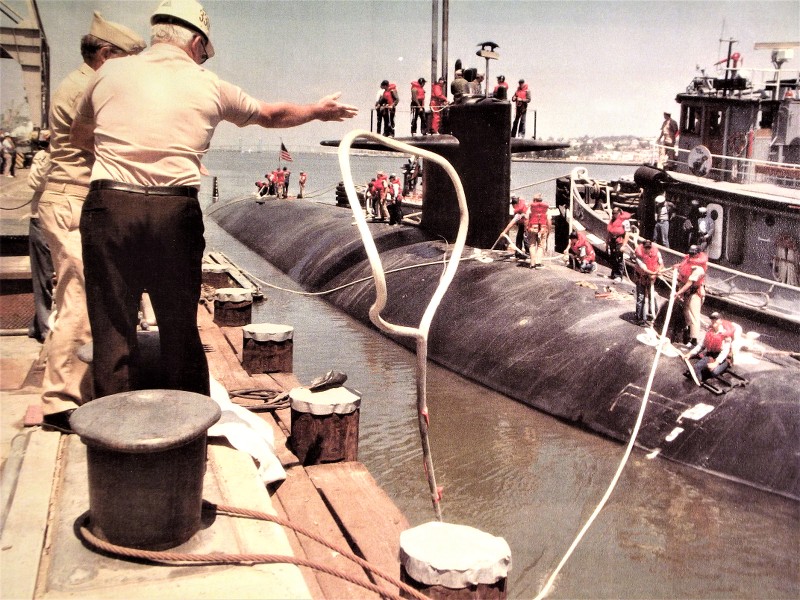
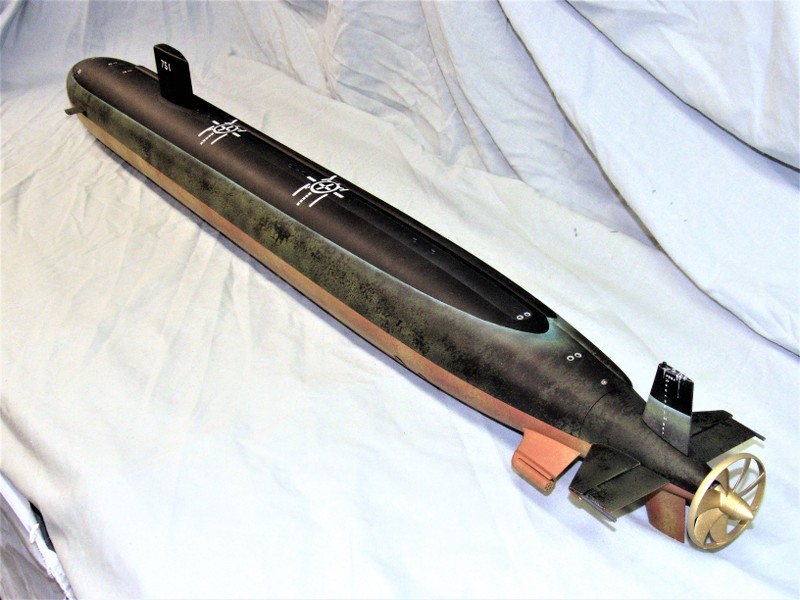
And, I'm afraid to say, this is what the AWL portions of hull look like before getting underway. Vertical streaking as the result of rain-water pulling all the air-born pollutants, bird-shit, foot scuffing, spilled stores, paint-thinner and other crap that collects on the deck and sides of the hull as the boat is being worked up for patrol. Ain't pretty, but plenty of opportunity for the inventive model-builder to jazz up the display. A boat only looks sharp when launched, when commissioned, and during a change-of-command. Trust me... I worked Deck long enough to know! (Torpedomen were to submarines what Boatswain's are to the Fleet -- Marline Spike Sailor's).
OK, a quick look at some of my displays to illustrate the weathering process, then a detailed discussion of the mediums, tools, and techniques employed to render the effect.
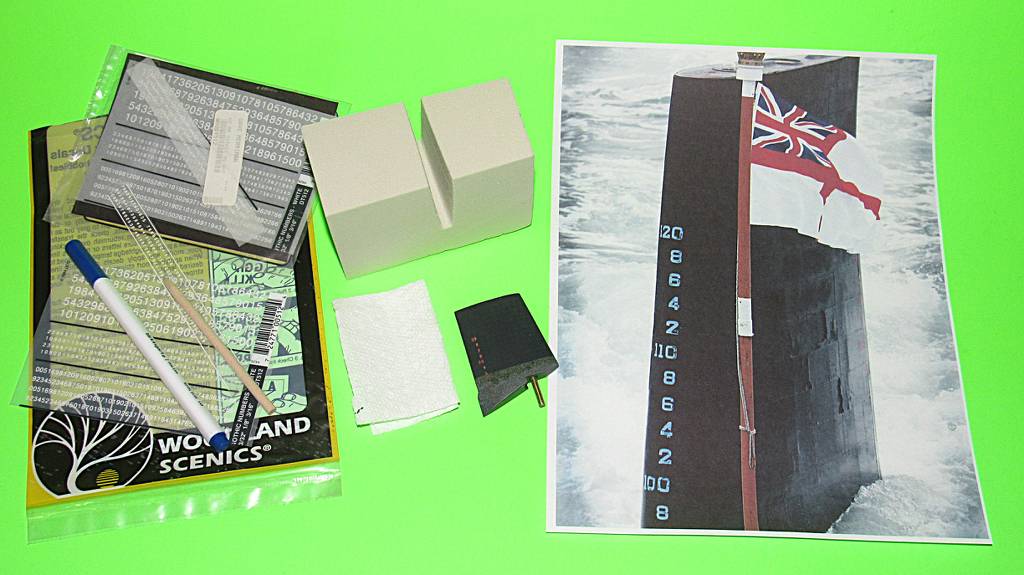
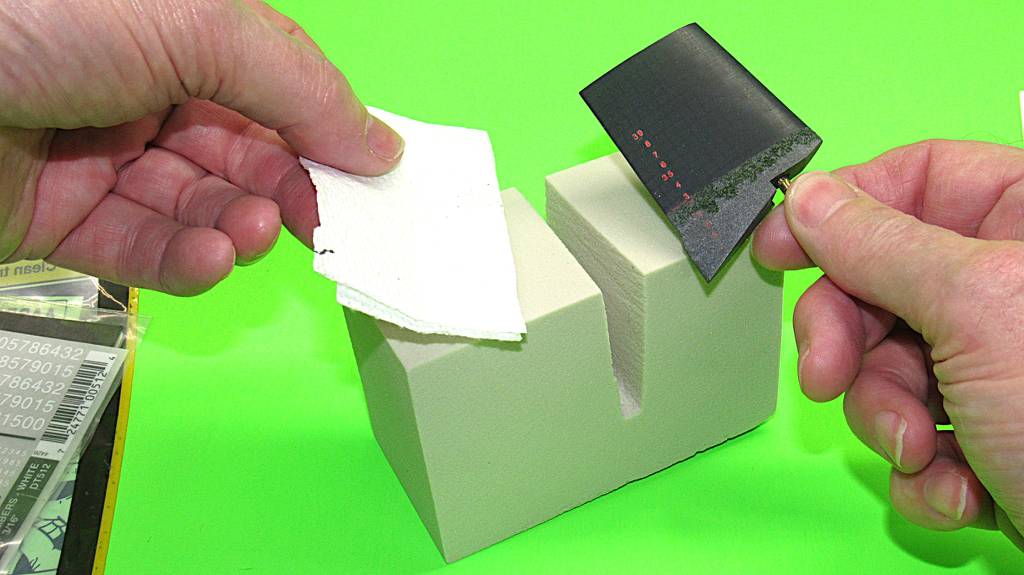
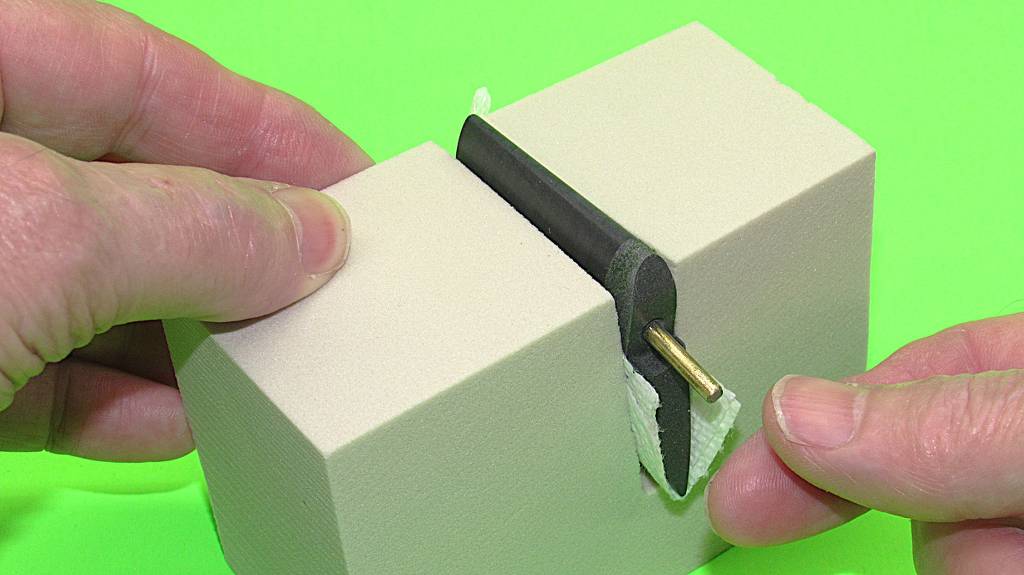
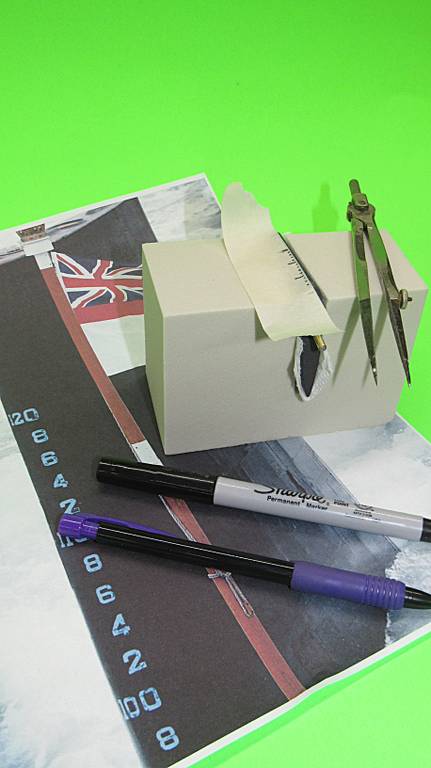
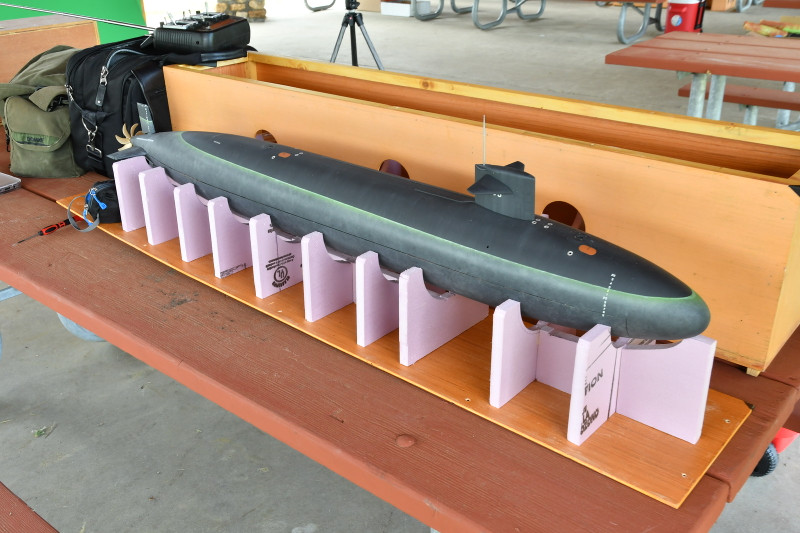
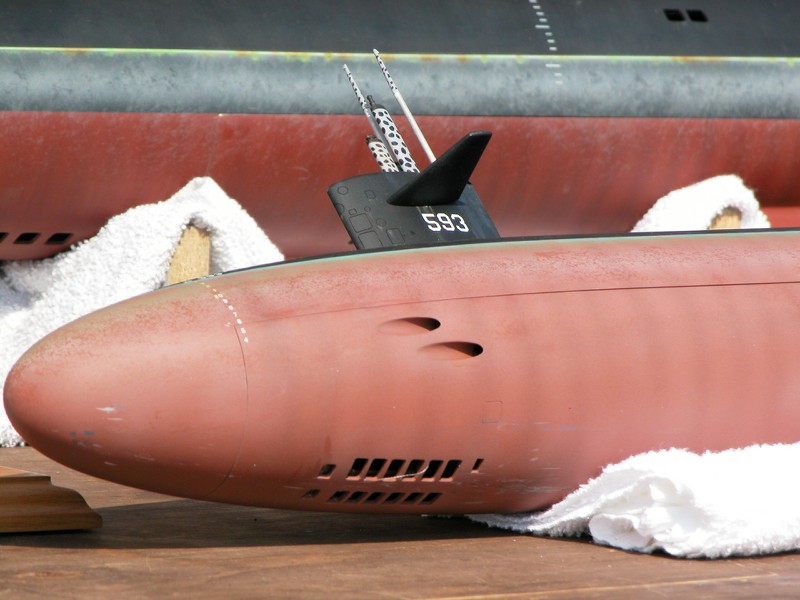
But, first, a side-note: If you expect to be operating an r/c model submarine in dark, deep waters it's wise to chose a prototype paint scheme that gives the maximum visibility from the air. Such is the case with this 1/96 SKIPJACK painted with the red-black demarcation line at the waterline. The pre-commissioning scheme. This offers much more high-visibility red than you would see if the red-black demarcation line were placed at centerline -- as is the case with boats ready for patrol. I also paint on the international-orange marker buoy; metallic main ballast tank vent flanges, and salvage plates; and represent the draft, name and hull numbers -- all features that help you see the submerged model.
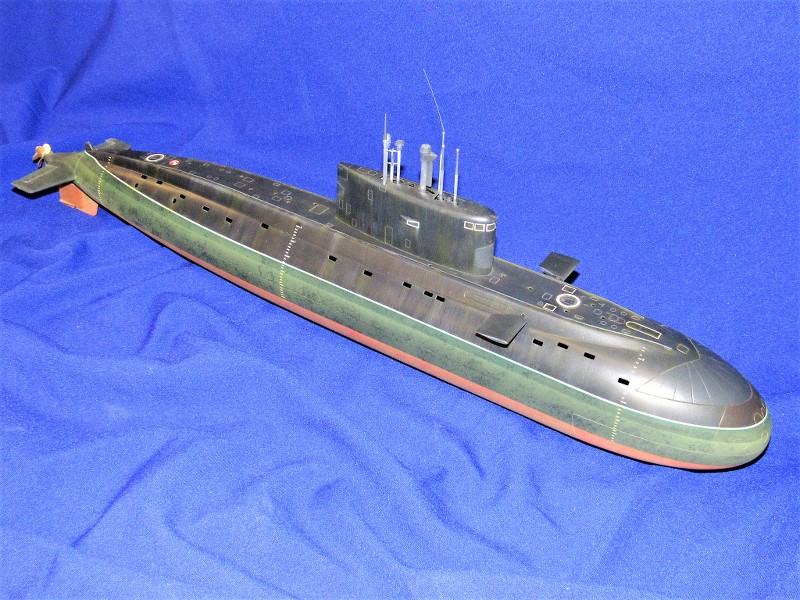
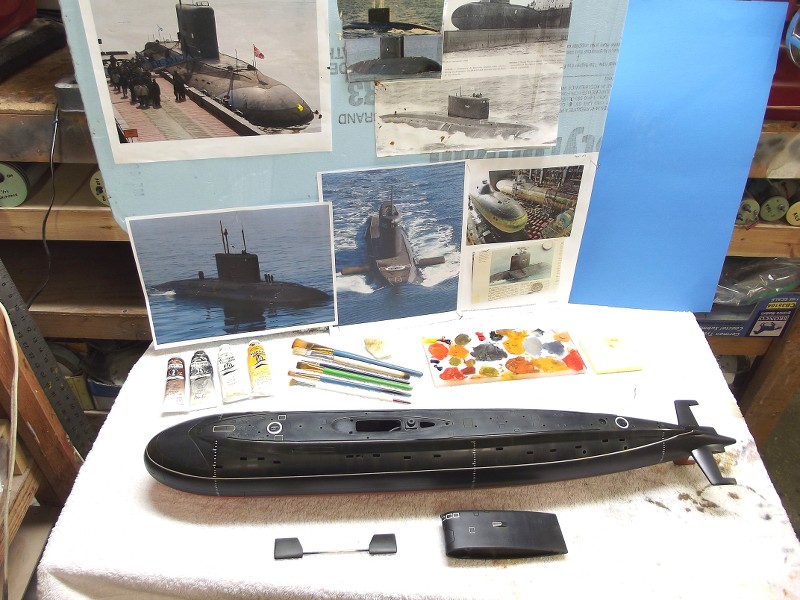
When you settle on a subject, like this KILO, you first look at all the pictures you can find of the subject. Boats operating out of the Northern Fleet will weather slower than boats working more temperate waters. Sometimes you want to focus your search to boats (say, a flotilla or squadron) that operate in the same waters at the same time of year to insure your subjects are representative of how those units take to marine growth that is unique to their environment. Research, research, research!
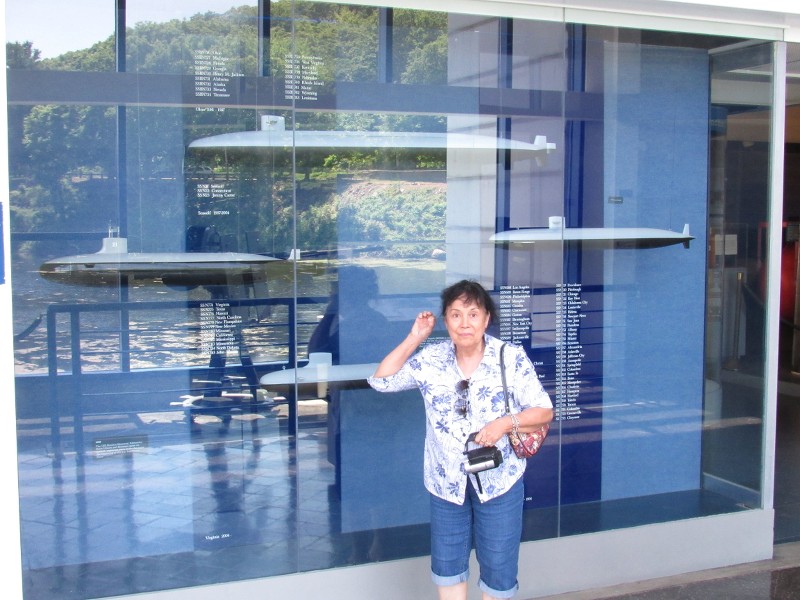
Demonstrating that when you work for a customer, you do what the customer wants. The three top models were built for the Submarine Force Library and Museum back in the day -- two of them while I was TAD to the museum (when it was located on the upper base). These display pieces added to an existing display chronicling the evolution of American combatant submarines, all of which featured the gray-black scheme. The lower one, the SEAWOLF, was one of the first professional jobs I had as a model-maker. A while back. Still in good shape, still on display!
"Hey! Round-eye, take my picture!".
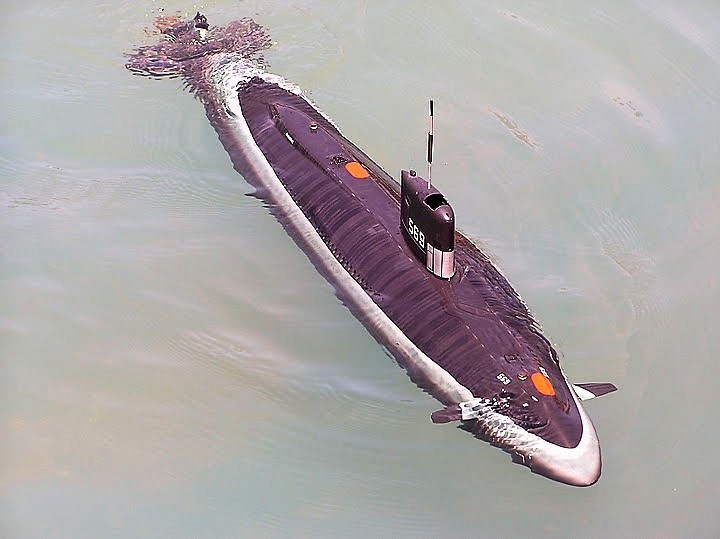
Some prototypes are all black. You don't have the red anti-foul paint to help you see the submerged model. However, a dense BWL discoloration will more than make up in otherwise lost visibility. So demonstrated on the 1/60 SubTech ALBACORE phase-2 model going astern on the surface.
Be ever mindful of the operational history of your prototype -- did it see a lot or little water time? The short lived Union ALLIGATOR did not survive long enough to see much marine growth. Therefore when I weathered this 1/12 model I took care to render the WL lightly and to scum the BLW portions modestly.
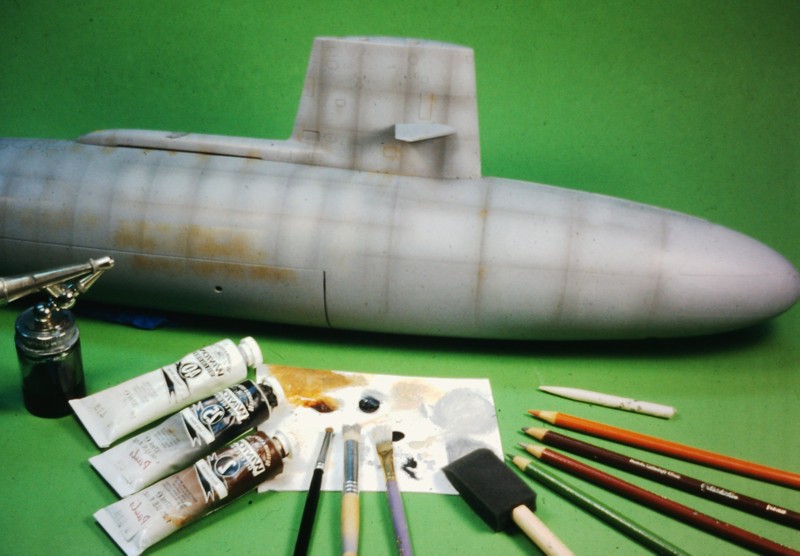
It looks sexy, but the radial dark bands BWL on this 1/96 THRESHER -- intended to denote hull dishing between frames -- is entirely bogus. First off, frame spacing on the THRESHER class boats was much tighter, and I have NEVER seen any drydock evidence of this supposed dishing of these single-hull boats.
(This is as stupid as the model airplane guy's who practice 'pre-shading' on panels and other engraved lines that adorn fuselage and wings -- prototypes just don't look like that. Yet, to this day, such weathering techniques still cause IPMS judges to ejaculate all over themselves and toss ribbons and trophies at the idiots who do this).
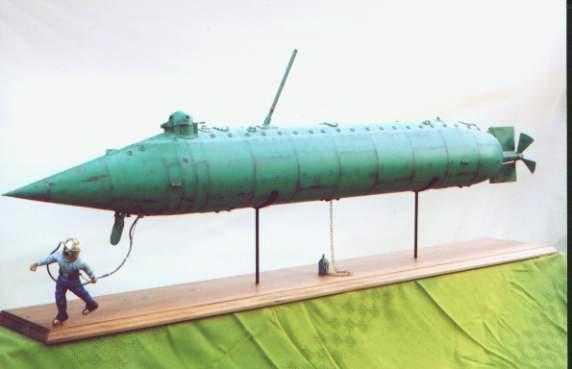
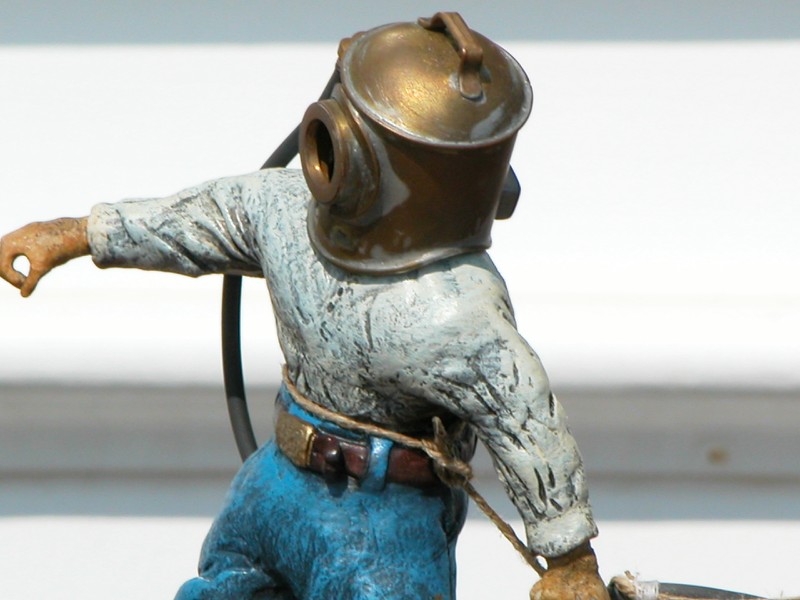
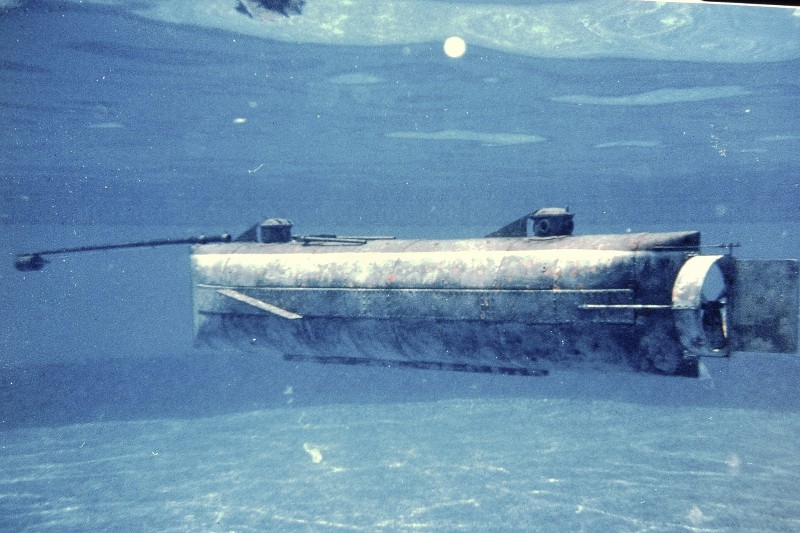
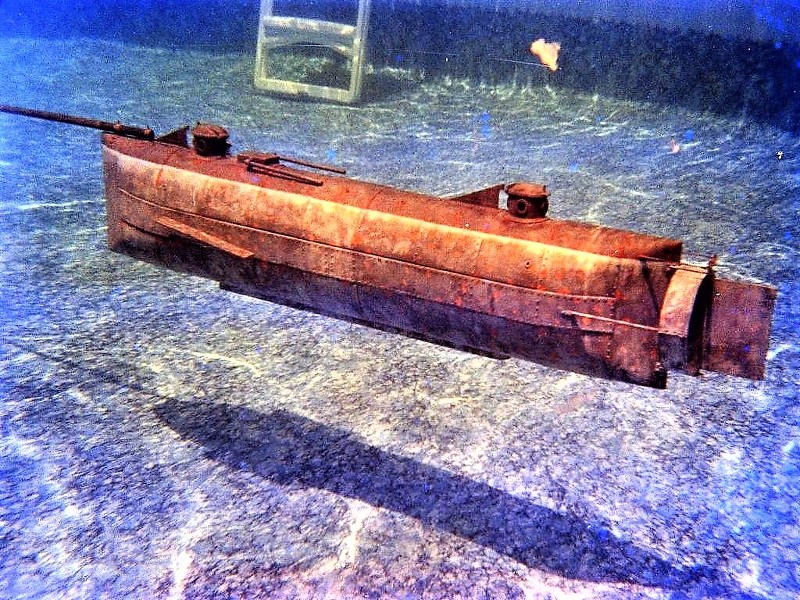
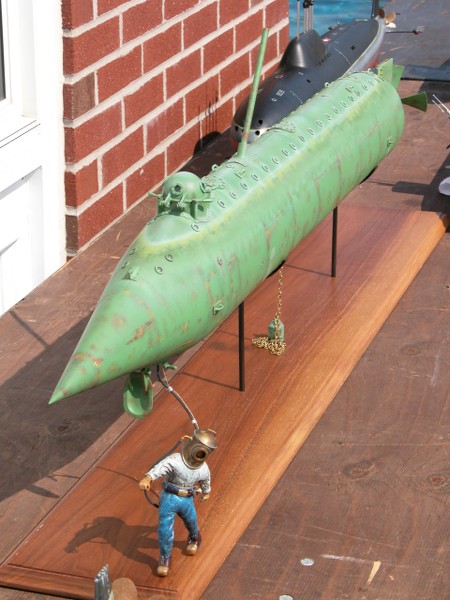
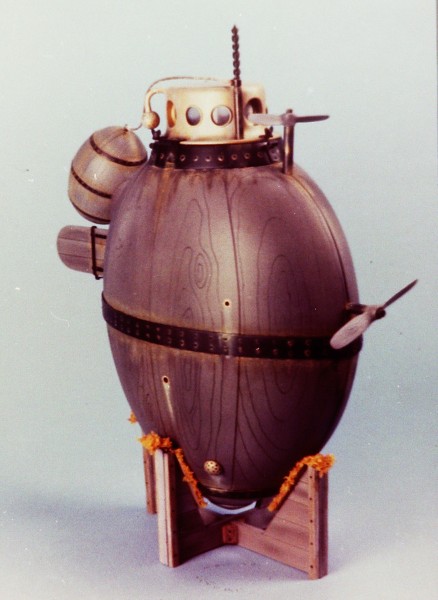
Working from the great technical illustrator, Frank Tinsley's drawings I weathered this 1/6 display model of David Bushnell's TURTLE to reflect the reality that this vehicle spent the majority of its time riding a wagon or sitting on blocks at some pier awaiting the ideal conditions for a night attack on a British warship anchored off New York city.
Some rust running down from the three wrought-iron bands girdling the wooden hull, and bomb. I simulated verdigris (oxides of copper) running down from copper-pipe depth-sensing and flood ports. Consider the materials your prototype was built from and how they react to oxygen, salt water, and other environmental factors. Electrolysis would also be in play -- the close proximity between brass copula and upper iron band are no less than anode and cathode: expose to sea-water and you have a frig'n battery! Study. Analyze. Think. Do.
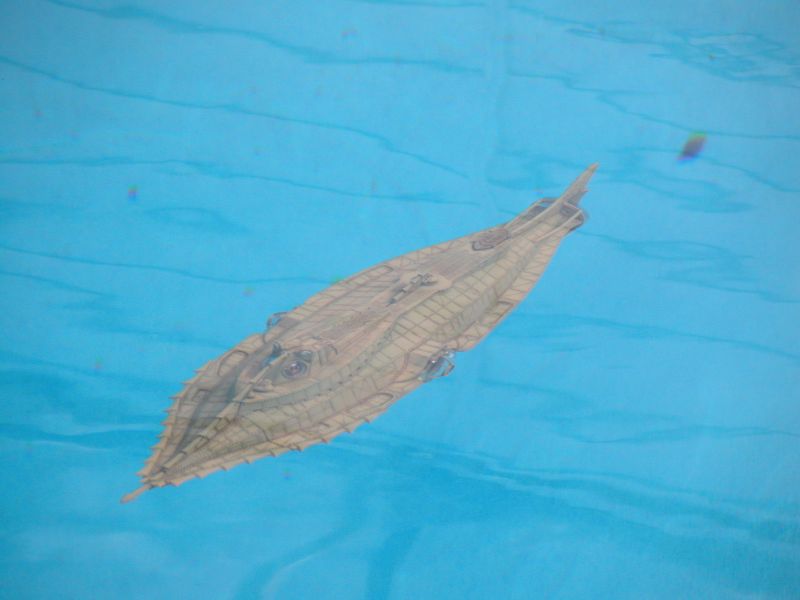
The Goff NAUTILUS is so full of facets, hard-edges, and protuberances that's it's almost impossible not to see when submerged -- the one r/c submarine I can think of that does not need paint or weathering to make it more 'visible'.
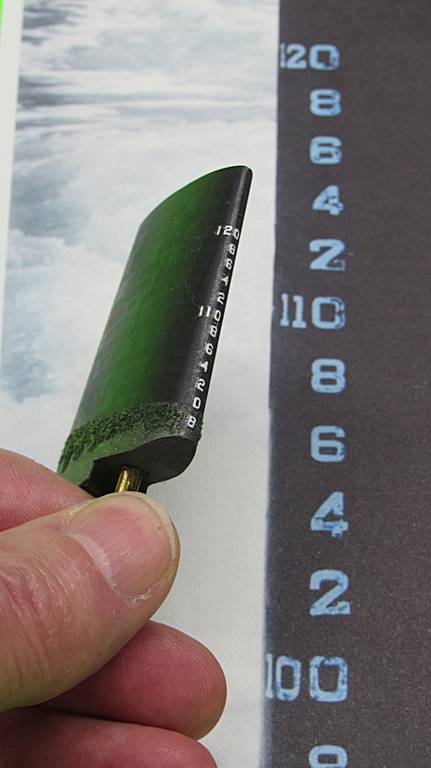
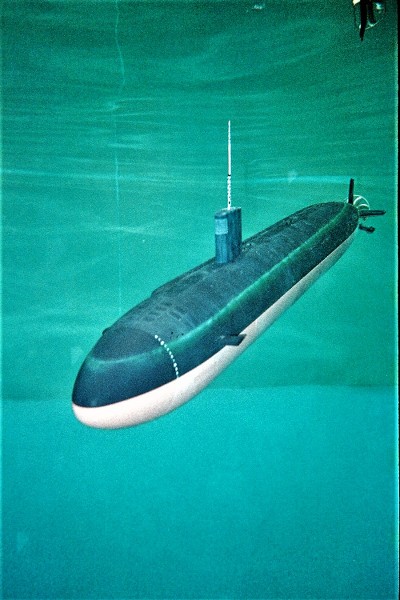
What is clearly visible here, down in the water, is, when observed from the surface, an indistinguishable blob of black. So, as an aid to navigation (if I can't see it, I can't drive it) everything I can do to make this 1/72 Thor ALFA more visible, the better. The marine growth, the white-red marker buoy, white draft markings, bird-shit on the rudder, streaking down the sides of the hull, and 'technical' markings (in the form of white boarders around access hatches, line lockers and salvage fittings) are put down. All these and more are scale features of the class. And all aids to visibility.
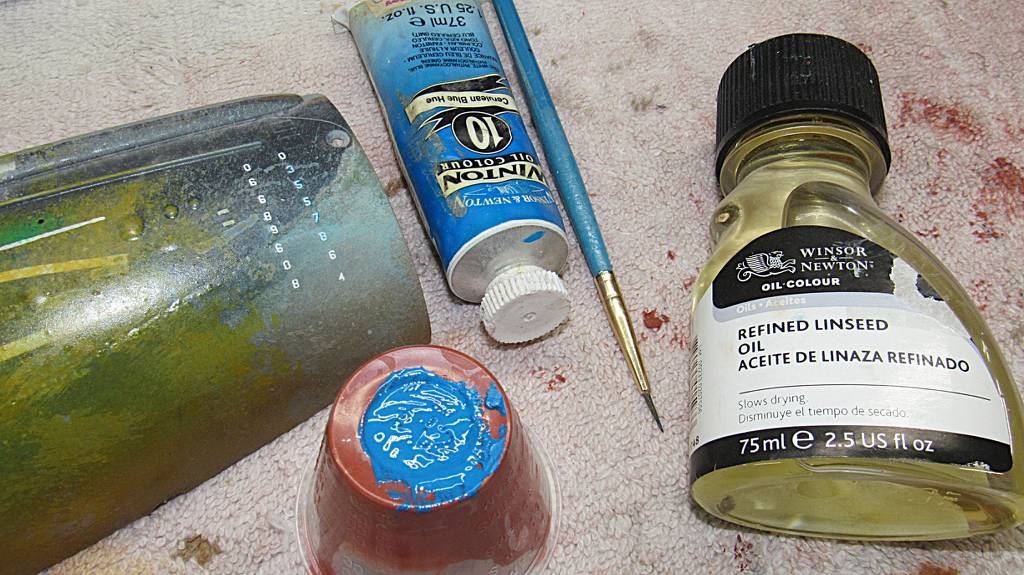
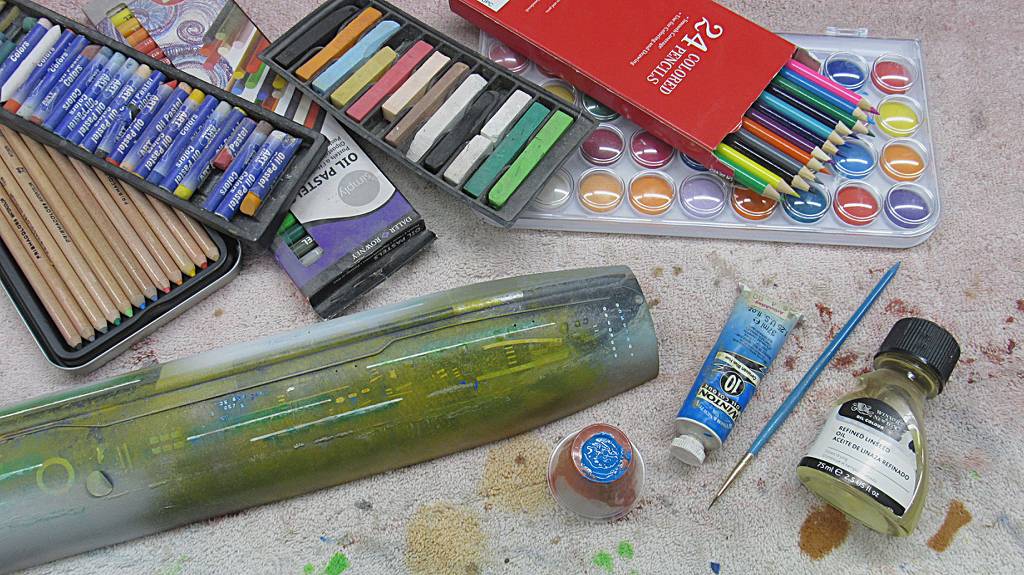
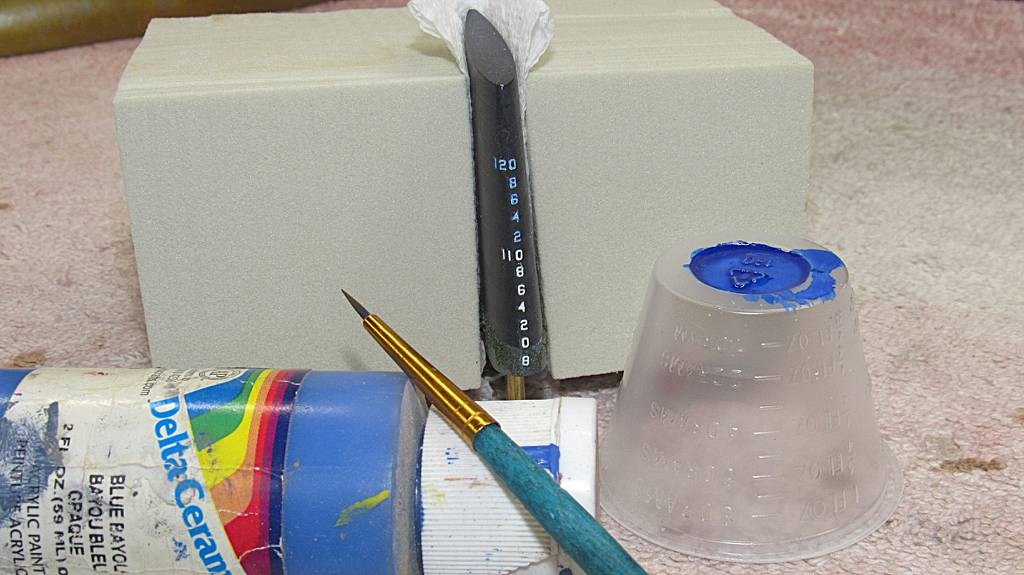
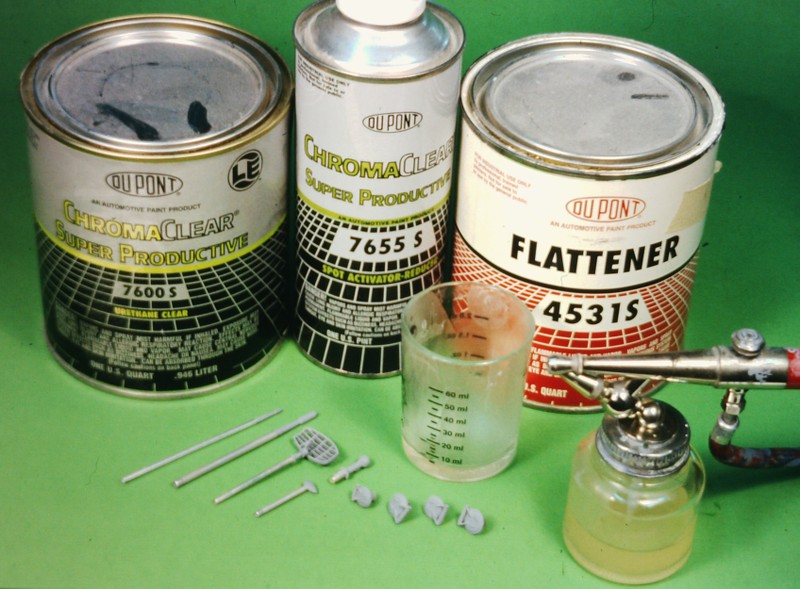
In the context of this discussion 'medium' describes the agent being applied to the model to render a specific type of weathering effect as well as the tools and process of application. Here's a short-list of the mediums I will use to paint and weather a model submarine: base colors (automotive refinish grade stuff, none of that hobby-store crap for me), metallic wax (Rub 'n Buff), acrylic paint, oil paint, iron-acid (true rust), oil pastel crayon, chalk, Artist pencils, drafting inks, water soluble acrylic paint, and clear-coat and flattening agents of various chemistries.
A 'mask' is any film or object used to protect the models surface from the next application of paint or weathering agent. Masks range in type from plastic window screen, masking tape, chart-pack tape, dodging sticks, fingers, rubber bands, dry-transfers, tooth-paste, PVA, Vaseline, to rubber cement. Type and use of masking is limited only by your imagination and need.
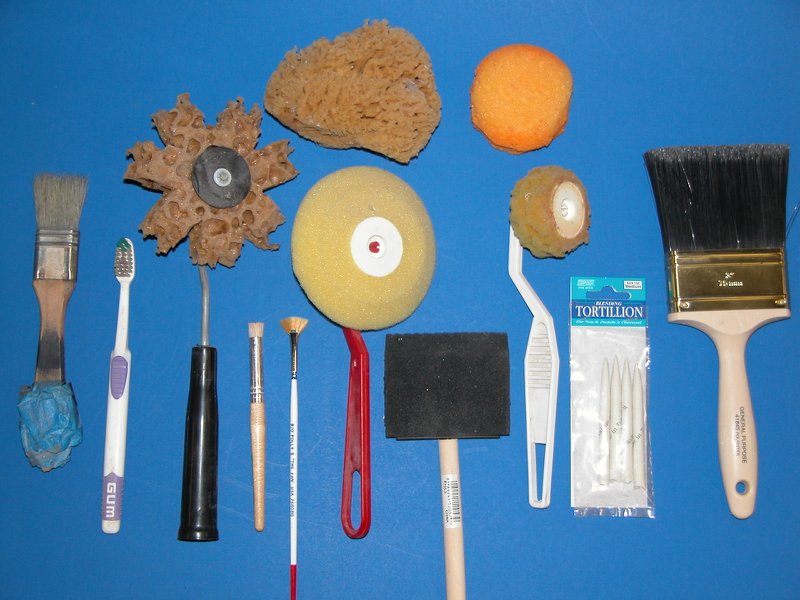
'Tools' are used to lay down your weathering, markings, and paint include: drafting pen, fan-brush, stencil-brush, chisel-brush, tooth-brush, air-brush, sponges, texture pads, and cotton balls. And, yes... your fingers.
'Technique', the means by which your tools, masks, and mediums are laid down and worked to achieve the desired look of 'use': dry brushing, stippling, washes, splatter, streaking, abrasion, and markings.
It's good practice to lay down a protective clear-coat after each major session of base color painting and weathering agent application. This permits you, if you screw up a following medium mistake, to polish or otherwise abrade away the error without ruining the previous work; that clear coat is your armor against further damage. Some of my models have as many as five coats of clear coats on there. Other than wash application does it matter much if the underlying surface is a flat or gloss -- its that final clear-coat that matters, typically a very flat for operational submarines.
OK, nitty-gritty time. This is how it's done:
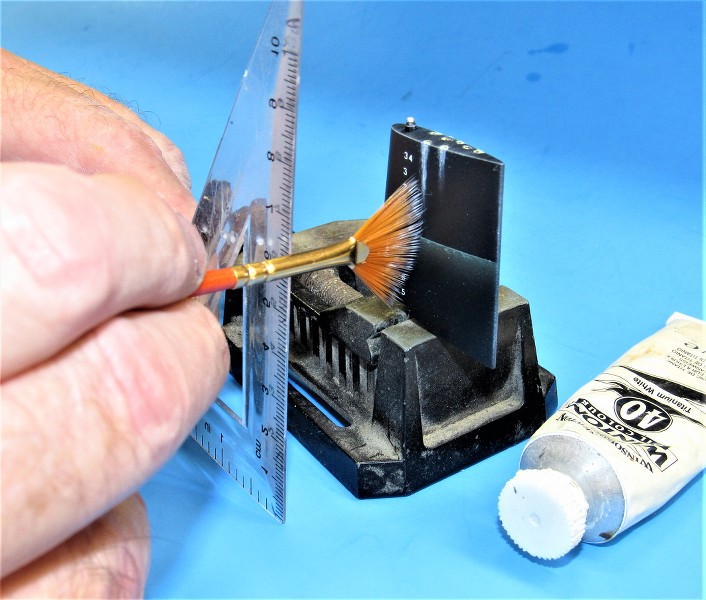
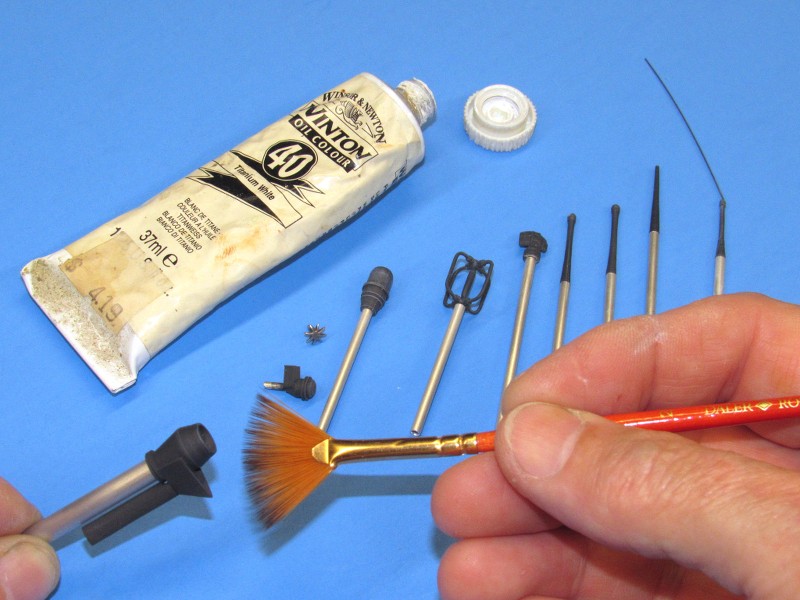
Dry brushing The process of depositing paint at the tip of projects and along the edges of sharp corners; the effect is to give the illusion of light collecting and bouncing off such items as it would be in full-scale, but too subdued at small-scale. Dry-brushing is a cheat to make you think light is collecting in areas where you expect it to be; you take the light colored paint to be a concentrated reflected light source; the display becomes a bit more believable; you drop your suspension of disbelief. The best tool of application is a brand new, virgin, fan-brush.
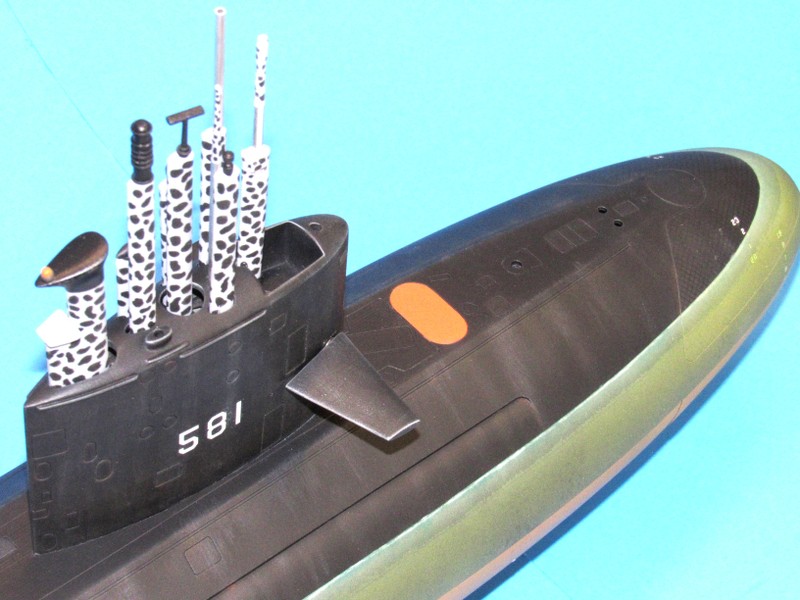
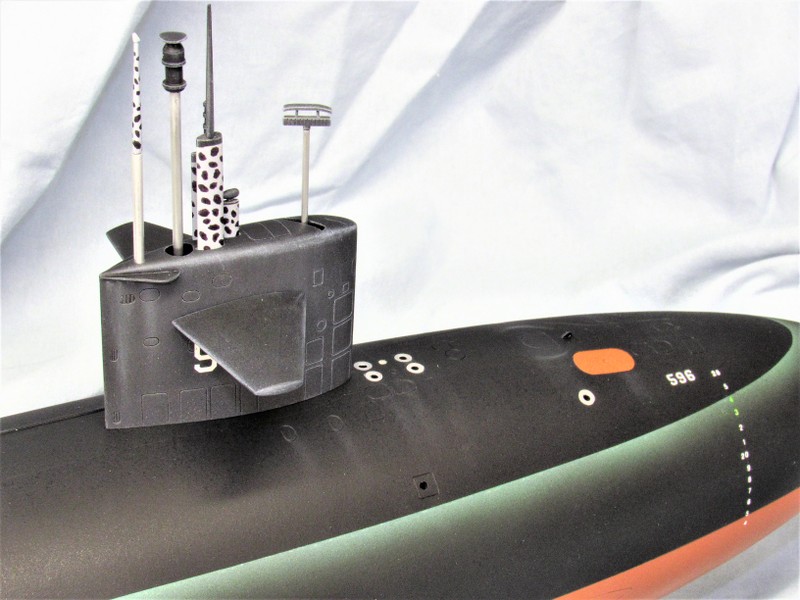
Notice how the edges of the sail planes and sail proper have been high-lighted by dry-brushing with white oil-paint. Nice thing about the oil is that if you overdo it you can scrub off the highlight with a thumb and give it another go. It takes weeks for the oil to dry, so you're not in a rush. But, once you overcoat the work with a flattened clear, the dry-brushing work is there to stay. The antennas atop their masts would be hard to make out detail without the dry-brushing. But, use a light touch, this, like all things, can be over-done. Remember the old tenet: Less is more.
This is how the fan-brush is used to lay down vertical streaking and dry-brushing effects. Note the use of a right-angle triangle to insure the vertical strokes of the brush are true, unwavering pulls. You first load the brush with a light colored oil-paint, then scrub off the excess paint on a rag. Make the first passed on a test-article and once happy with the accuracy and density of your work, switch over to the display and go for it.
Without dry-brushing these antennas and snorkel head would be simple black silhouettes to the casual observer. But, once picked out with white high-light, they pop to life.
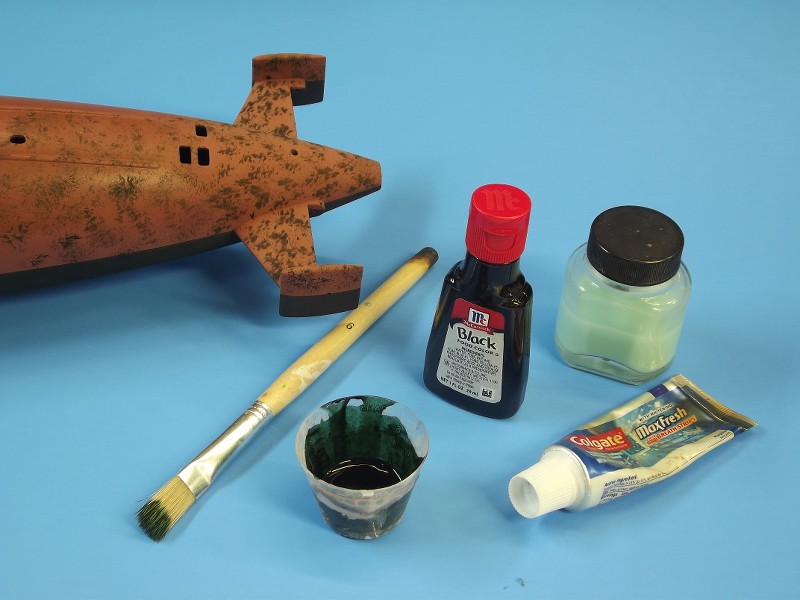
Stippling The splotched surface of the submarines BWL structure is best represented by multiple layers of water-soluble mask and translucent colors of tan representing the majority of marine fouling seen on drydocked submarines. The preferred masking agent is tooth-paste thinned with water, this liquid mask stipple applied to the surface of the model with stencil-brush, texture-pad, rag, or sponge. You mix the goo to a hot-syrup consistency and stipple it onto the model. When dry the water-soluble mask prevents paint adhesion in the areas applied. The type tool/applicator will dictate the density and pattern of the splotched masking applied to the model.
Just some of the mask application tools I've played with. I always try a tool out on a test-article first, and once happy with the pattern of mask laid down, I'll switch over to the display piece.
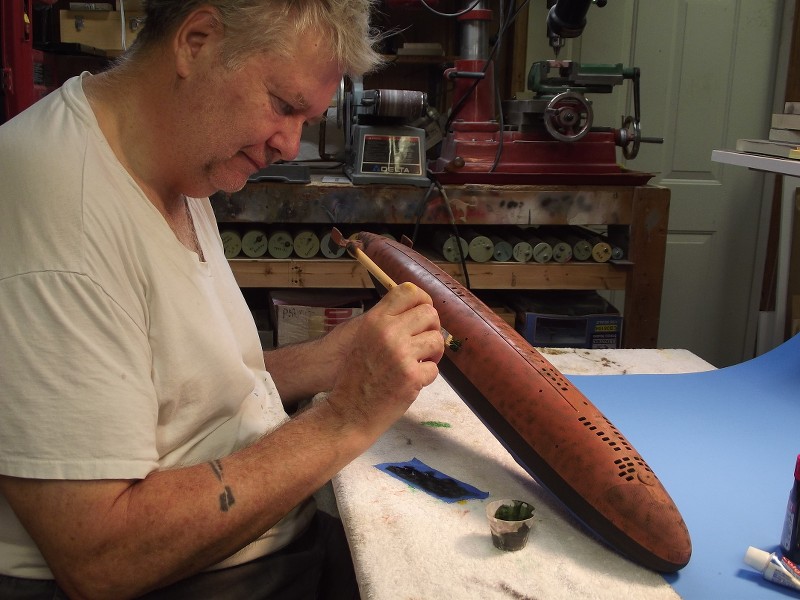
Here I'm applying the tooth-paste liquid mask with a nasty old brush. Sometimes the best tools are the crummiest looking things in the shop. Never turn your nose up at 'old' tools.
You stipple on the masking liquid, let it dry (a hair-dryer or heat-gun quickens the work), then spray on a version of the tan BWL color you think appropriate for the first coat. When that dries you scrub off the mask with a damp cloth, dry, and apply more mask, off register to the first. Repeat the process till you have about four coats of various colors of tan. The result is a very splotchy tan coloring of the BWL portions of hull. Don't forget the stern planes, bow planes, lower rudder, and BWL portions of the upper rudder!
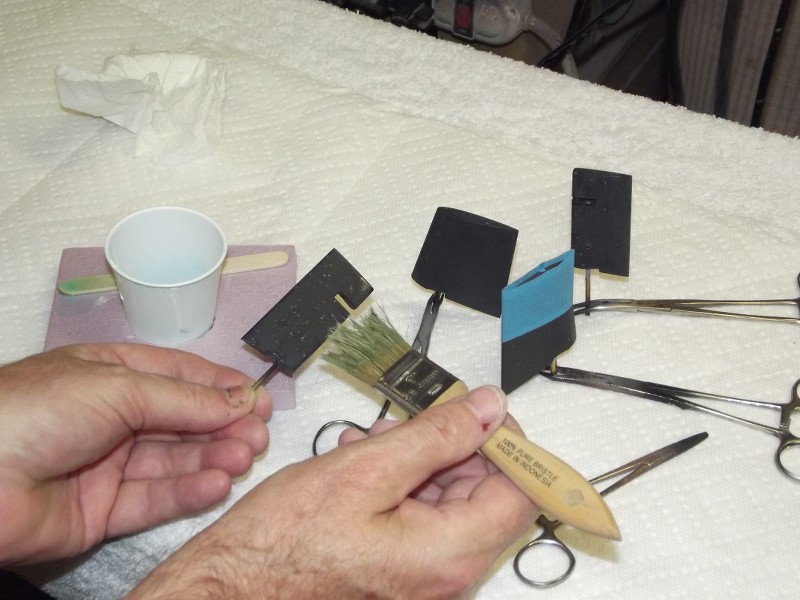
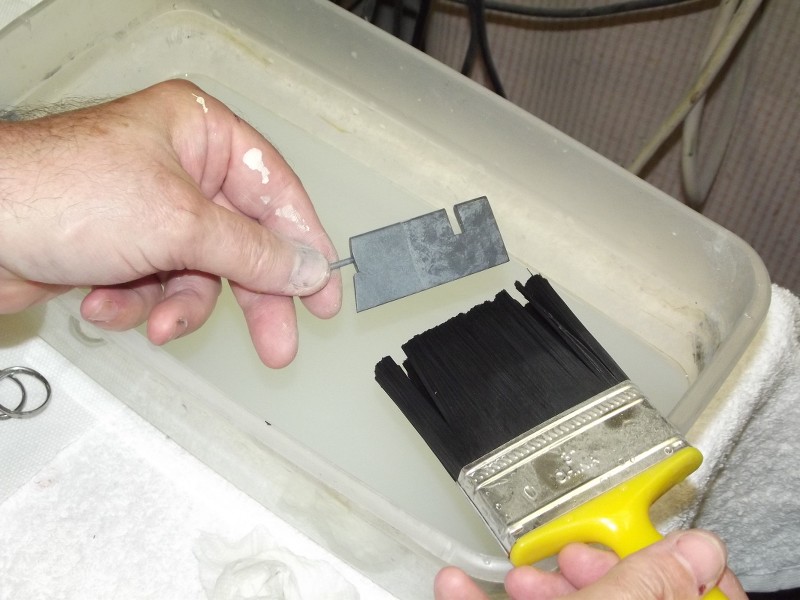
The left side of this stern plane has not had its mask scrubbed off yet. The right side has. This is the first cycle but demonstrates how the mask produces the splotchy unevenness of the marine growth that fouls the underside of ships and submarines.
Washes A wash is typically an extreme color opposite of the base color surrounding it. A black surface will get a white or off-white wash. A light colored surface will receive a dark or even black wash. Capillary action is the prime-mover that forces an application of wash -- typically performed with a brush, sponge, or eye-dropper -- to seek and fill all deep or negative draft structures on the models surface. It's good practice to chose a wash chemistry that will not dissolve or bond with the paint its applied over. Most washes are water soluble acrylics, ink, or casein. Excess wash is soaked up off the model with a rag, or sponge while still in the wet stage. Or, after the wash dries out it is abraded off the work with a fine-grit polishing compound.
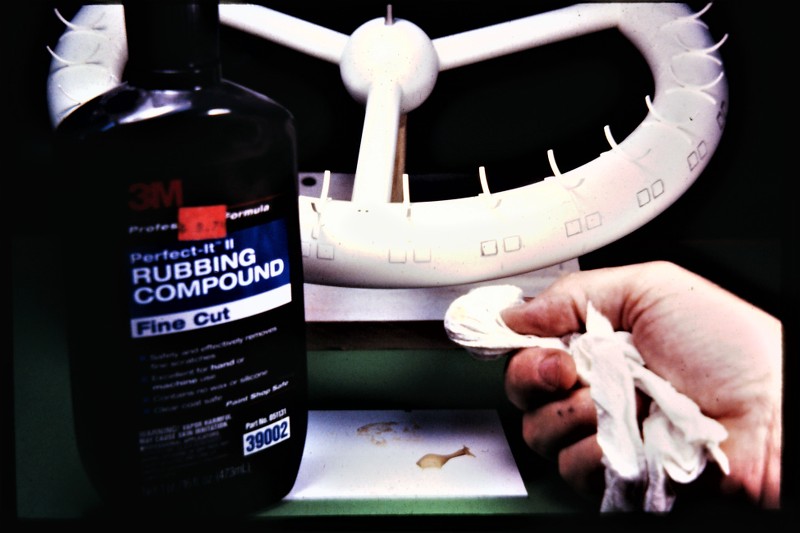
Washes are best applied over gloss-finishes as there is little surface grittiness to mechanically hold the wash against wet or dry removal efforts. However, if the wash has dried hard, or you can't get it thoroughly off the surface of a flat or matt finish, the job can be done by abrading off the dirty areas of structure with an abrasive polish, which is being demonstrated on this wheel type space-station model. I wanted the black wash to high-light the edges of these square thermal-control panels. The very light tan colored paint of the toroid had a matt luster and just would not wipe clean. Hence the need to abrade the excess wash off the model.
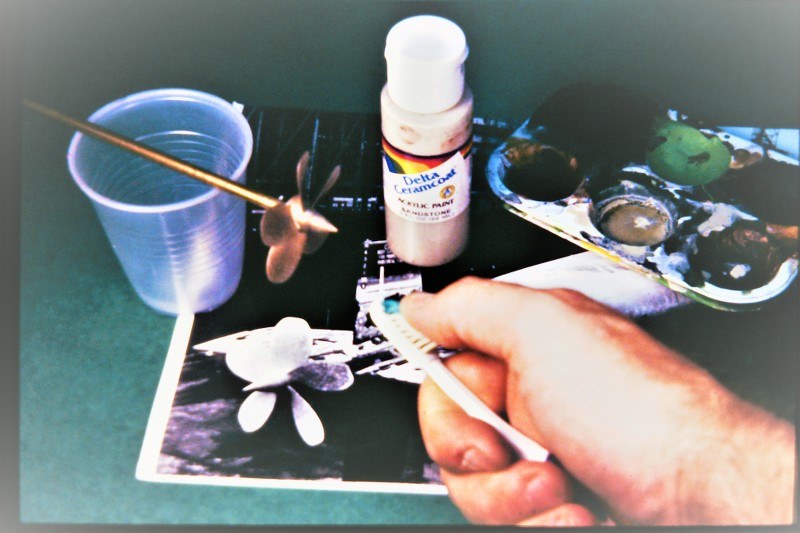
Splatter Propellers of operational ships and submarine often evidence a random speckle pattern of discoloration on both faces of the blades. I don't know what to attribute this to, maybe electrolysis. Maybe marine growth. Whatever! I represent this speckling by flinging little droplets of water-soluble paint with the aid of a stiff tooth-brush. You load of the brush with well thinned paint, wipe off the excess, fling some at a test article and when happy with the density of the pattern, and speckle size, you take aim at the propeller and have at it. Your thumb is your friend.
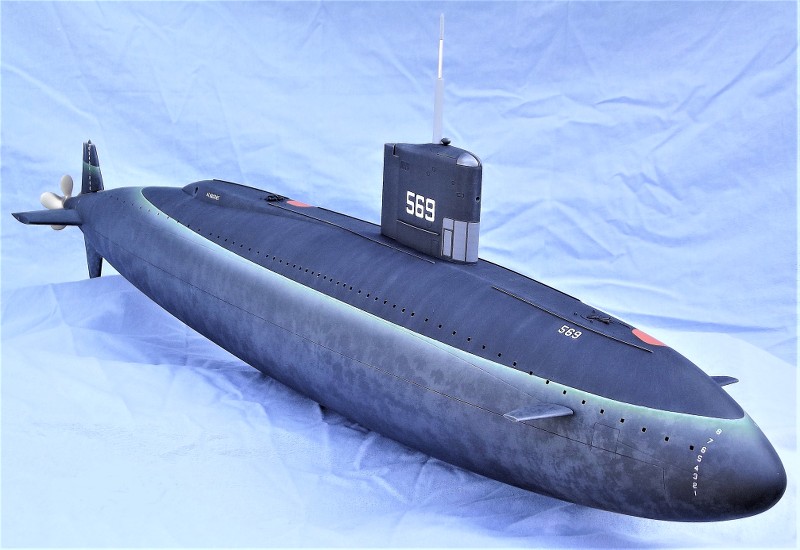
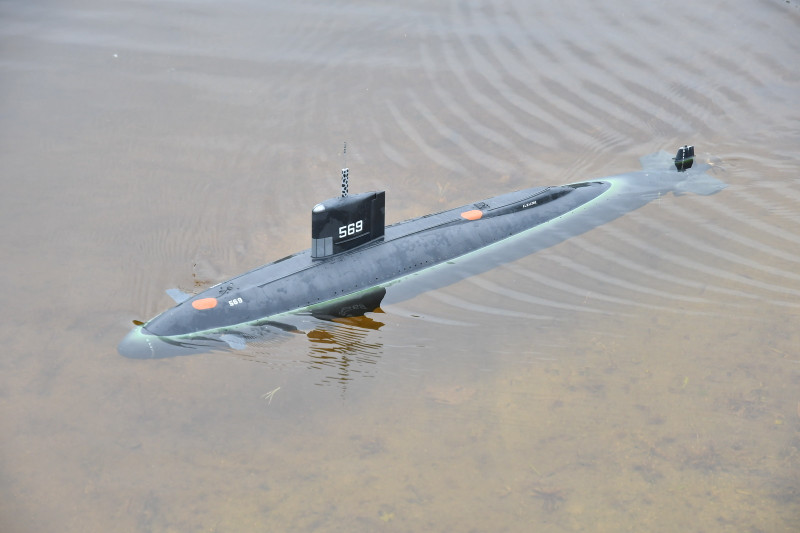
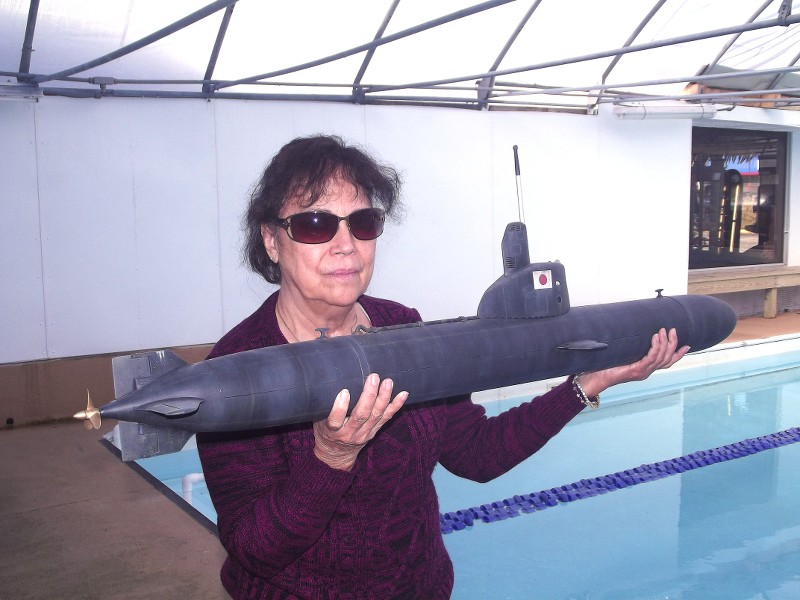
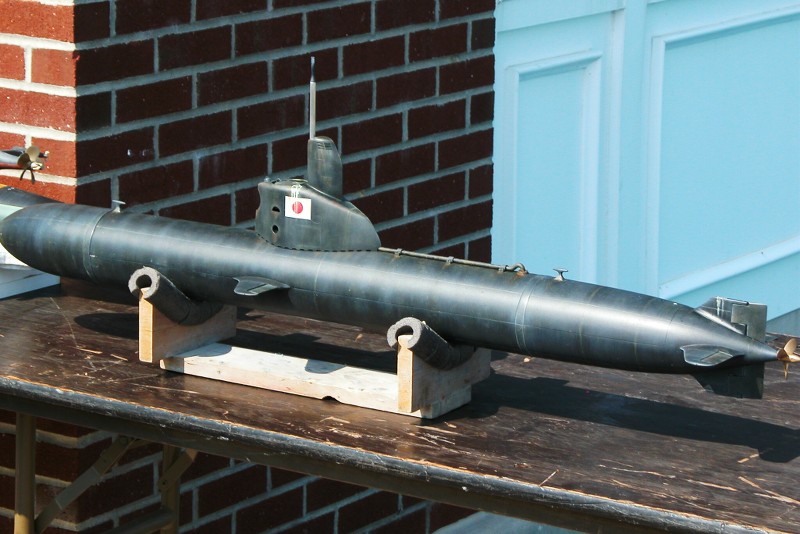
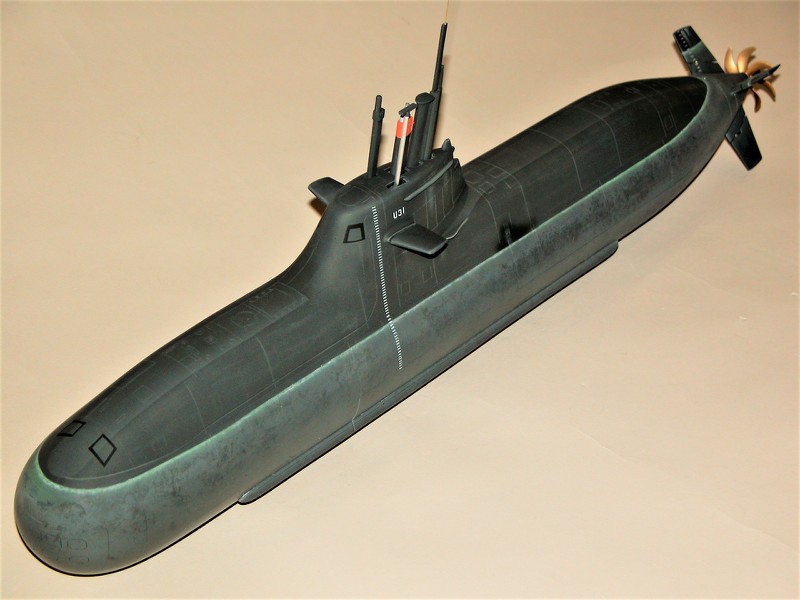
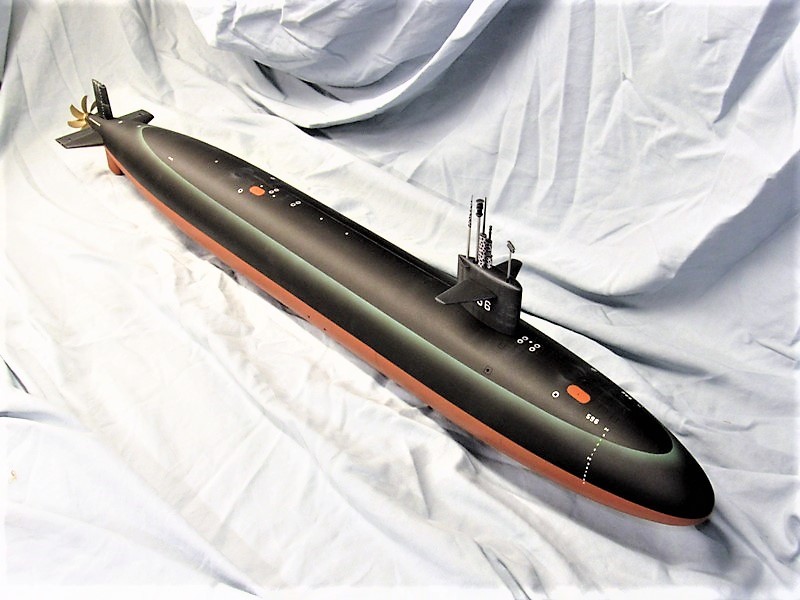
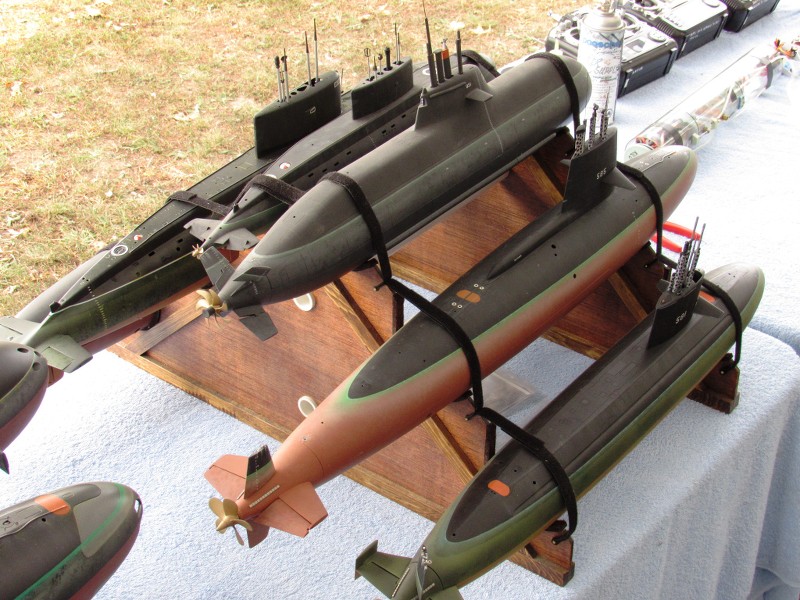
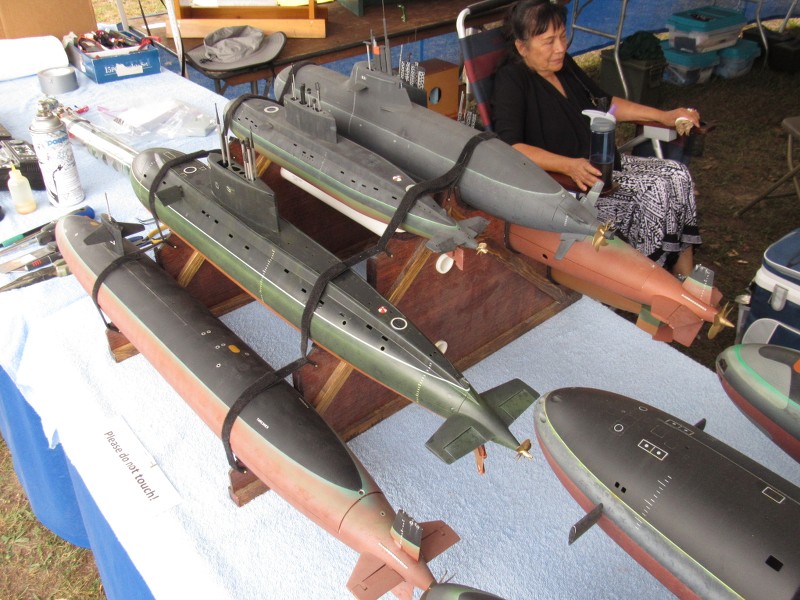
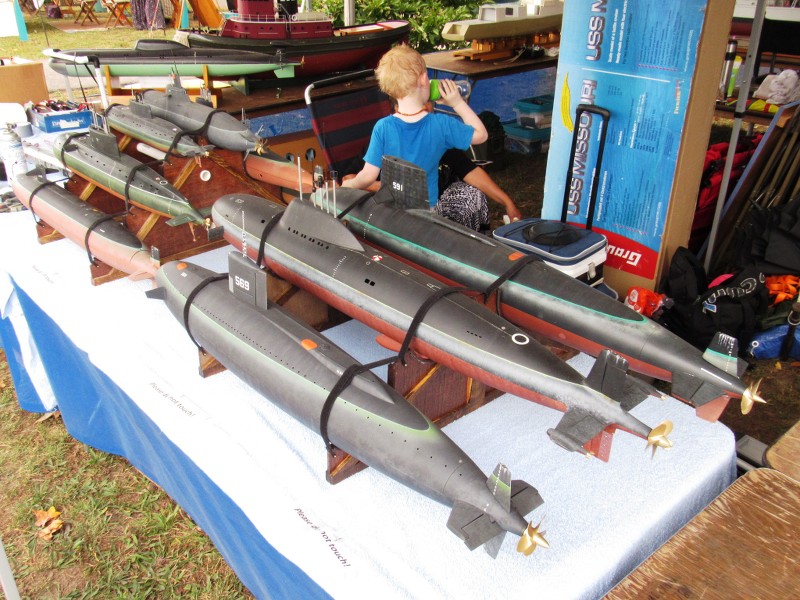
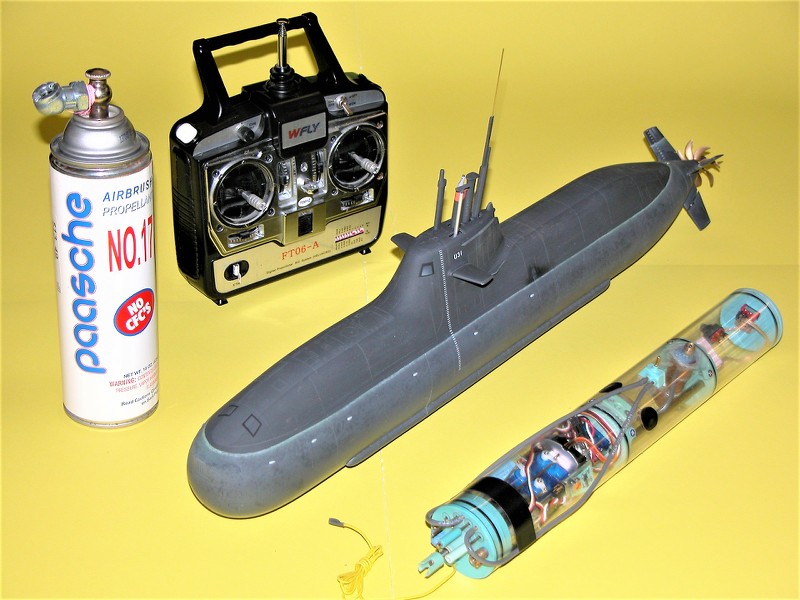
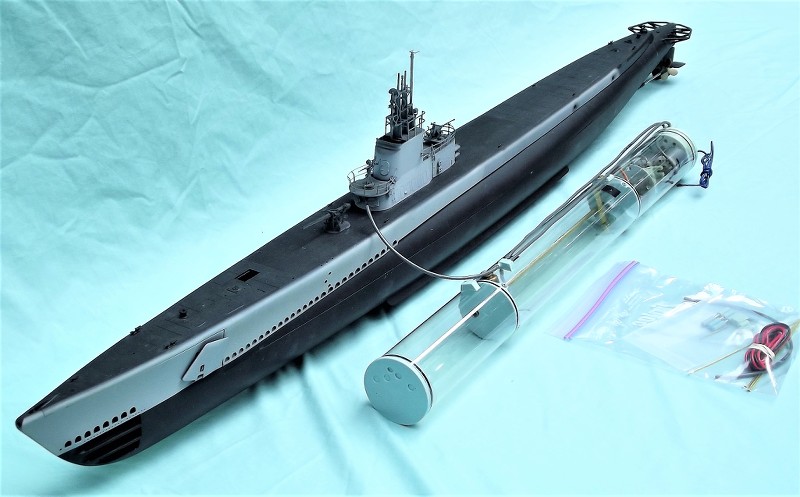
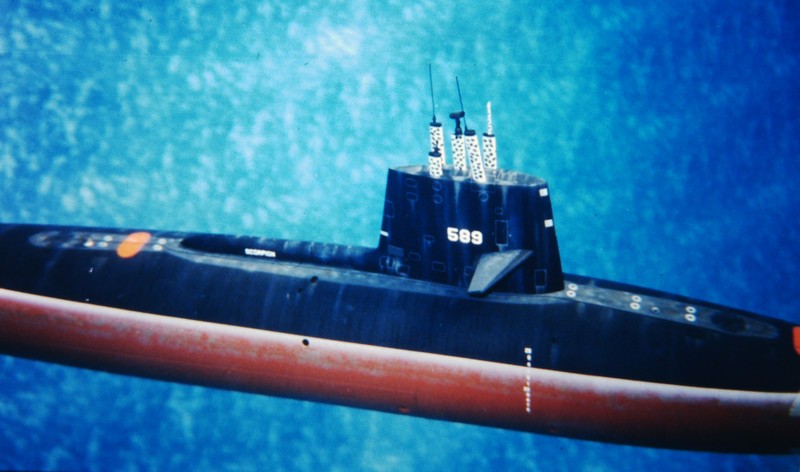
I know you hate robots, but perhaps this could help some projects
Drawing assistant
https://hackaday.com/2026/04/25/penpal-a-robotic-drawing-assistant/https://hackaday.com/2026/04/01/drawing-tablet-controls-laser-in-real-time/
View: https://m.youtube.com/watch?v=DmJtjgq_EXU
Drawing assistant
https://hackaday.com/2026/04/25/penpal-a-robotic-drawing-assistant/https://hackaday.com/2026/04/01/drawing-tablet-controls-laser-in-real-time/
Last edited:
- Joined
- 18 March 2013
- Messages
- 1,586
- Reaction score
- 5,791
You, sir, are a World-Class CHAIN PULLER!!!!! I salute you, sir! (Black hearted SOB's like you and me will get along just fine).I know you hate robots, but perhaps this could help some projects
Drawing assistant
https://hackaday.com/2026/04/25/penpal-a-robotic-drawing-assistant/https://hackaday.com/2026/04/01/drawing-tablet-controls-laser-in-real-time/
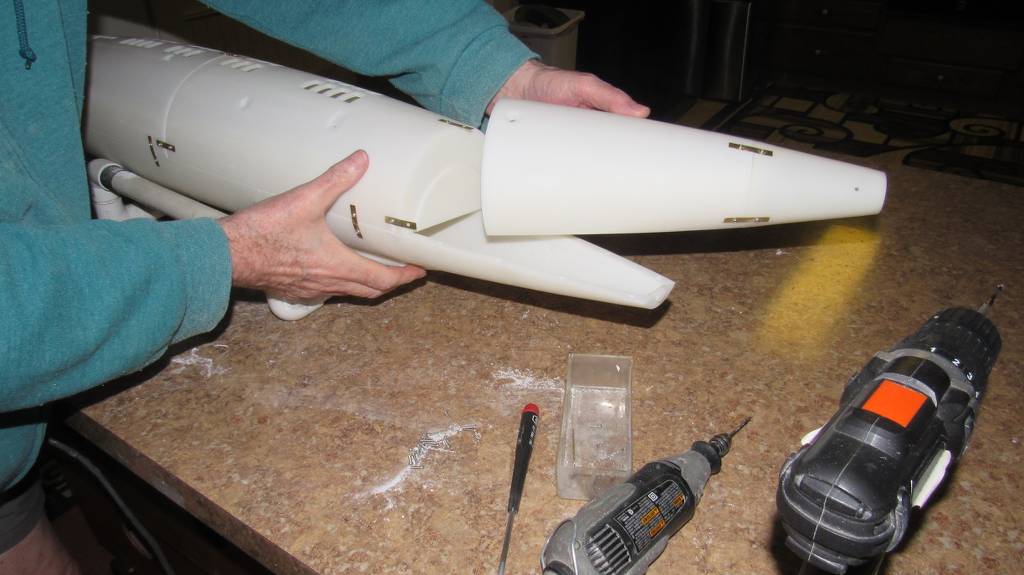
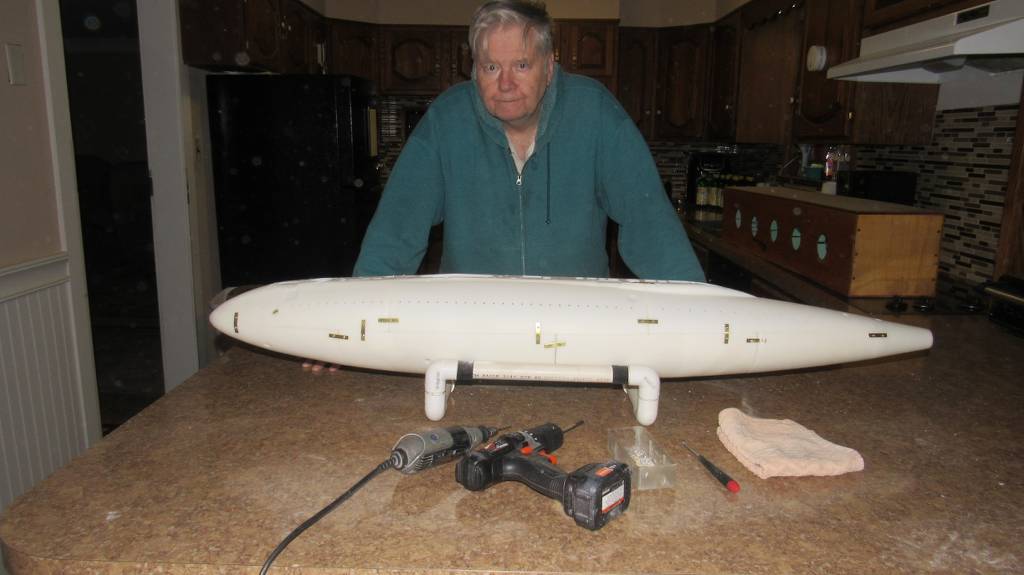
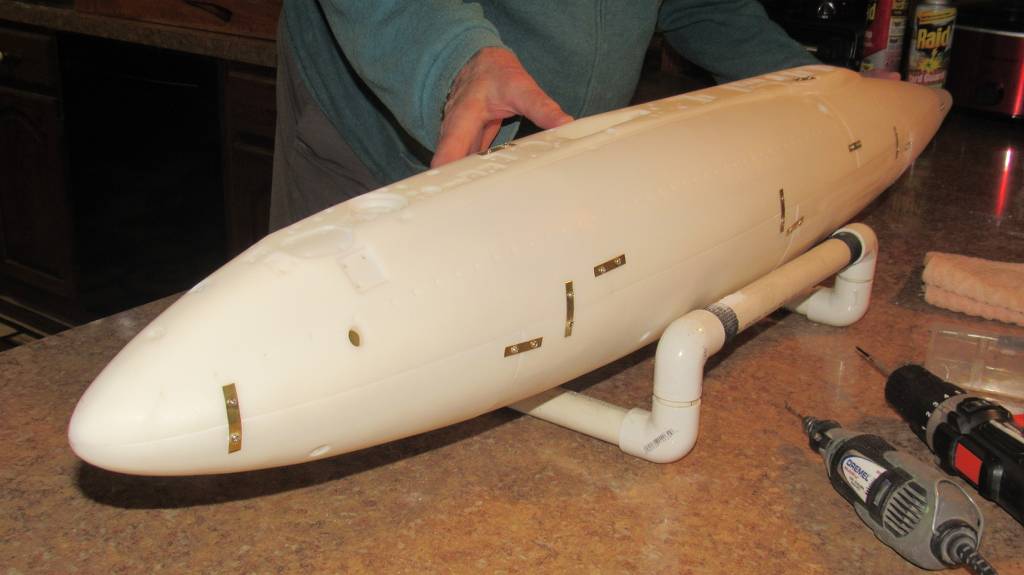
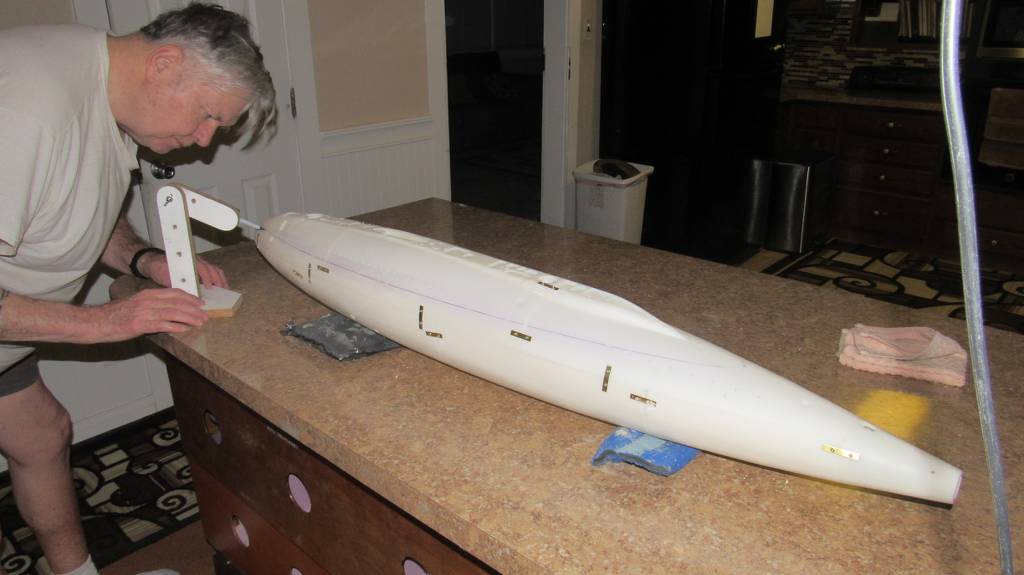
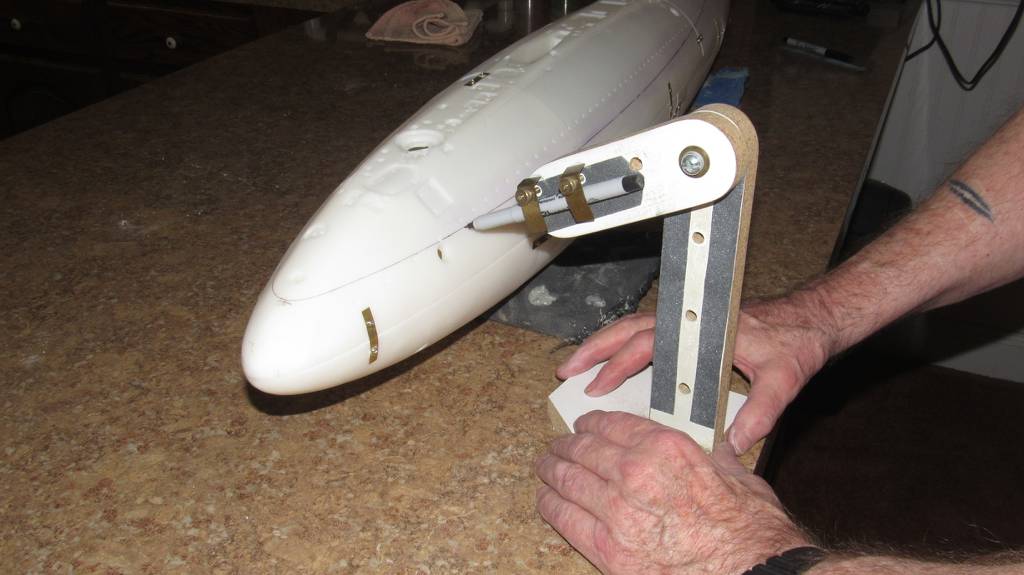
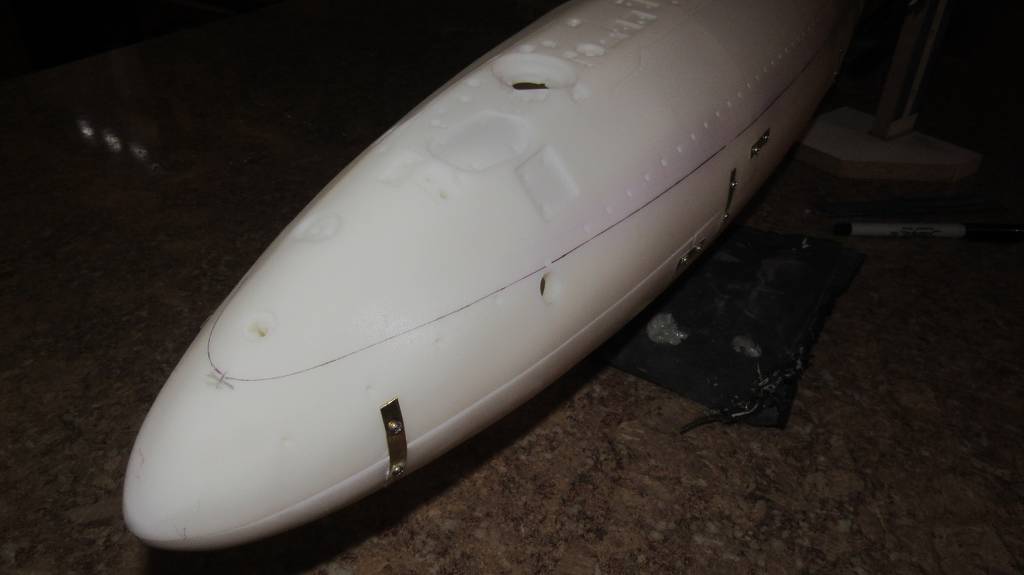
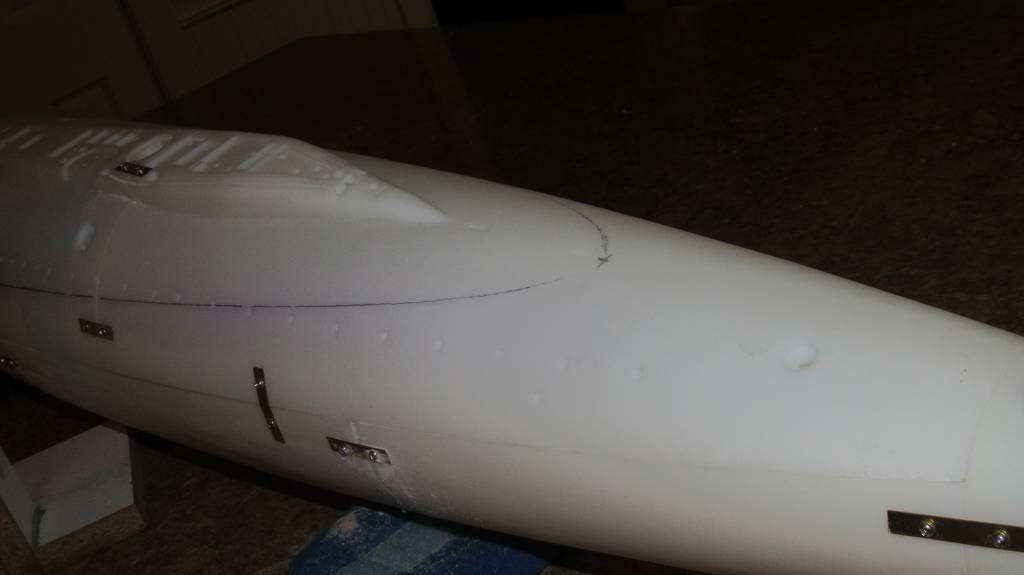
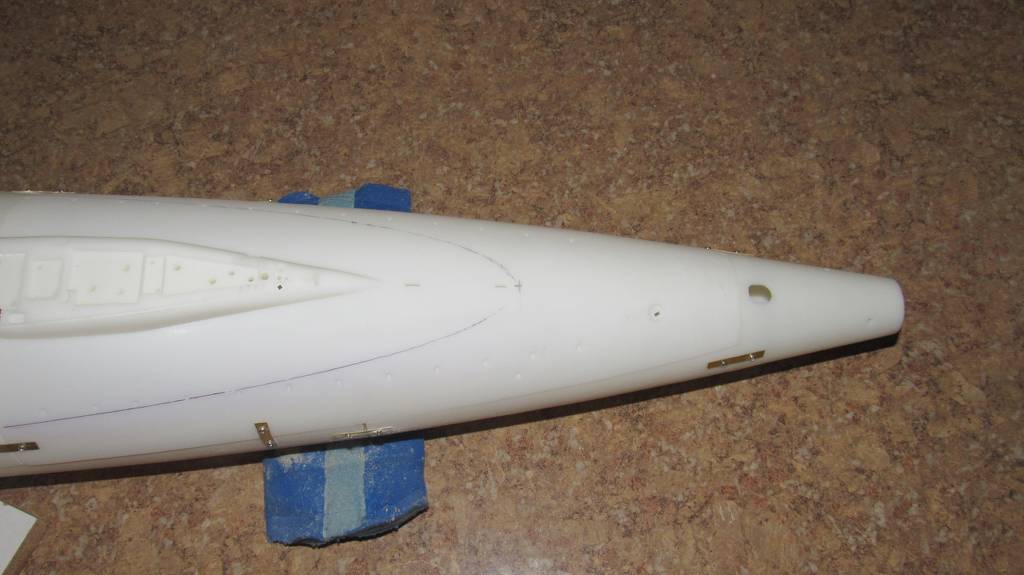

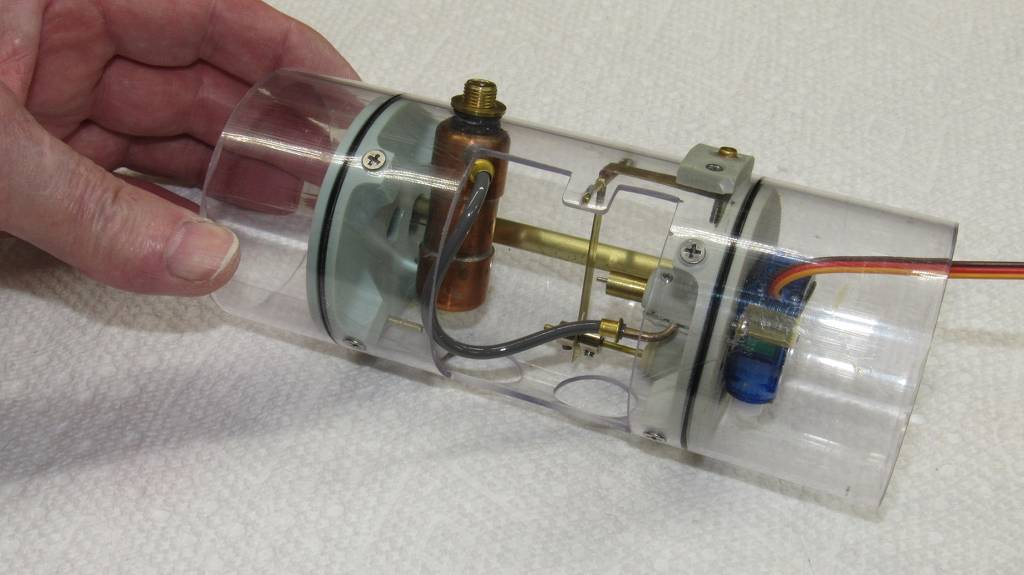
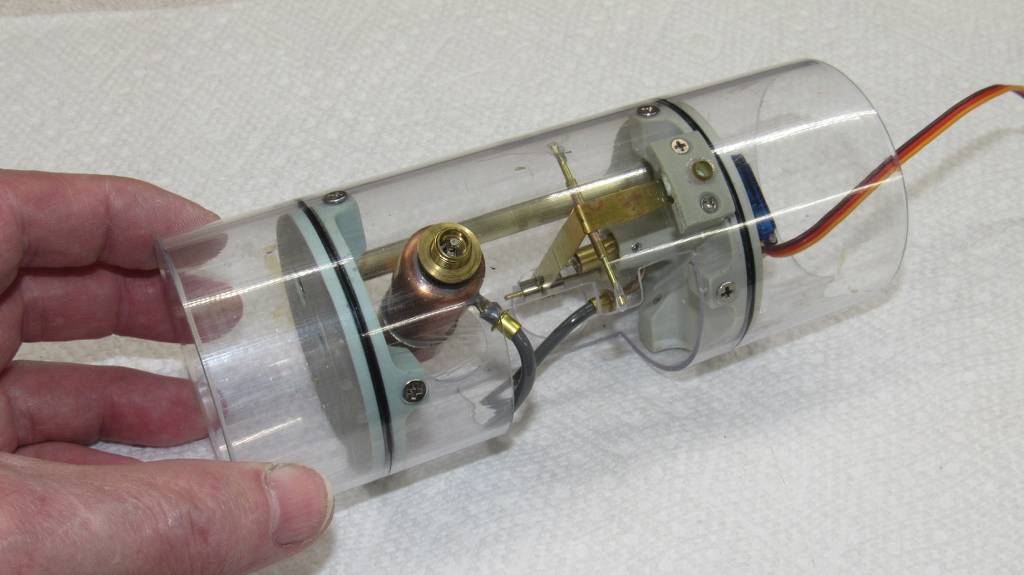
- Joined
- 18 March 2013
- Messages
- 1,586
- Reaction score
- 5,791
LOL. Smart guy!Are you shrinking or are these models getting bigger and bigger?
Hey, obviously I eat whatever's in front of me.
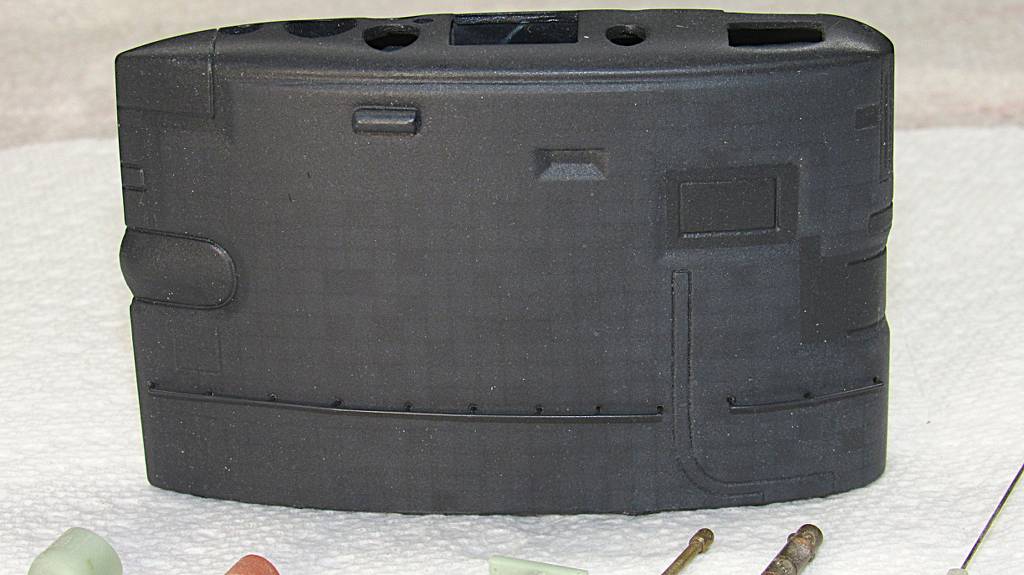
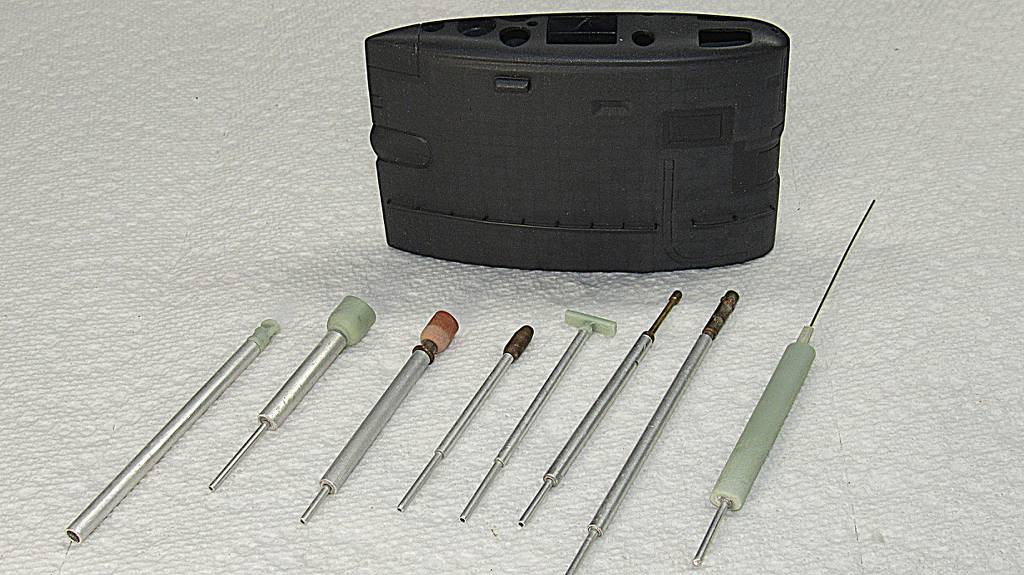
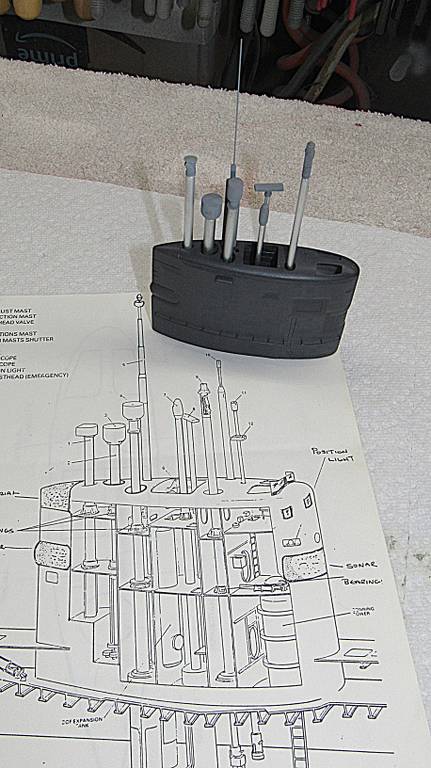
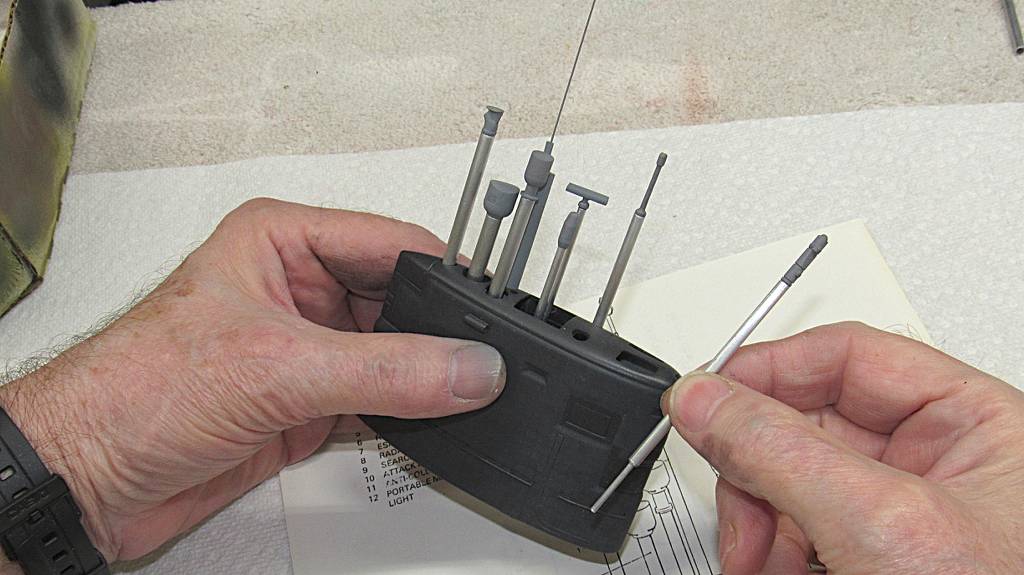
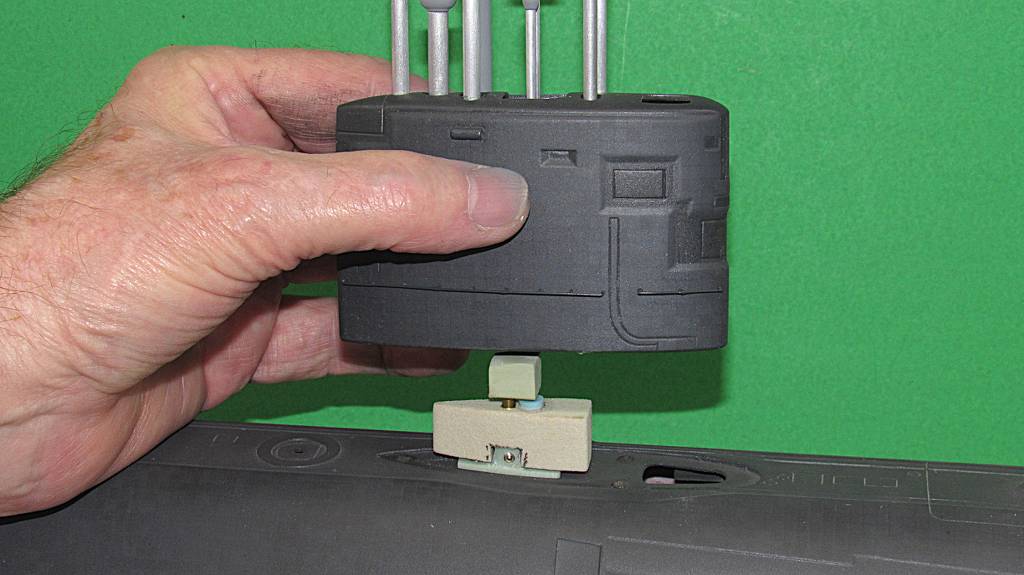
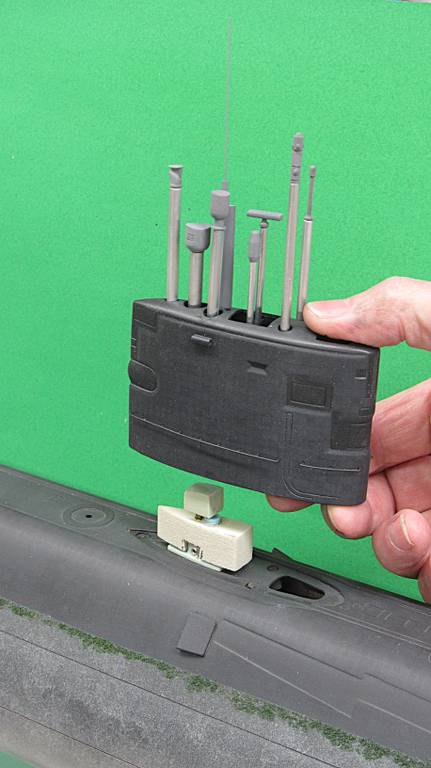
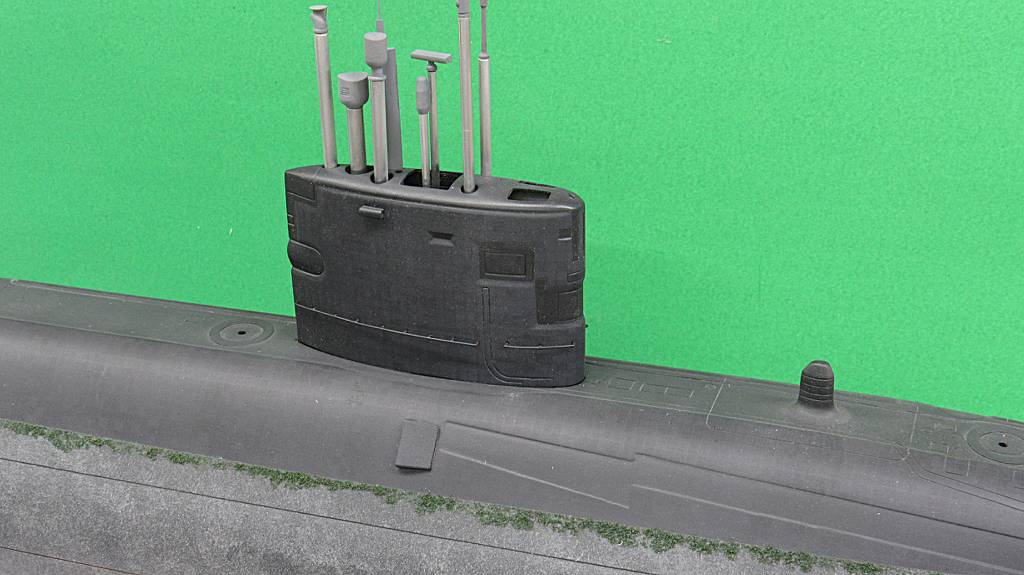
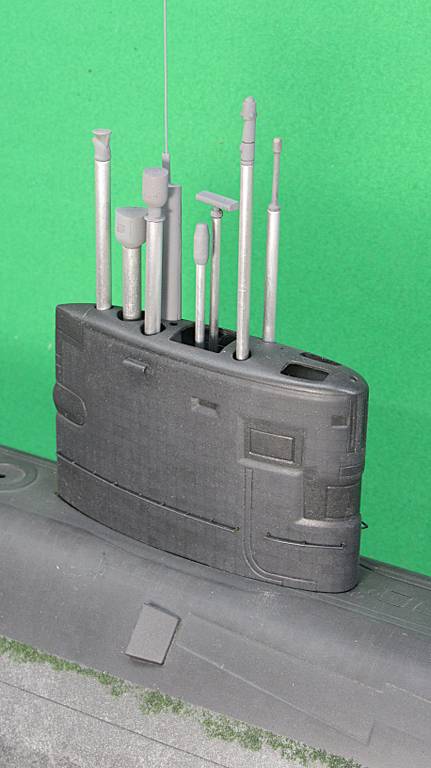
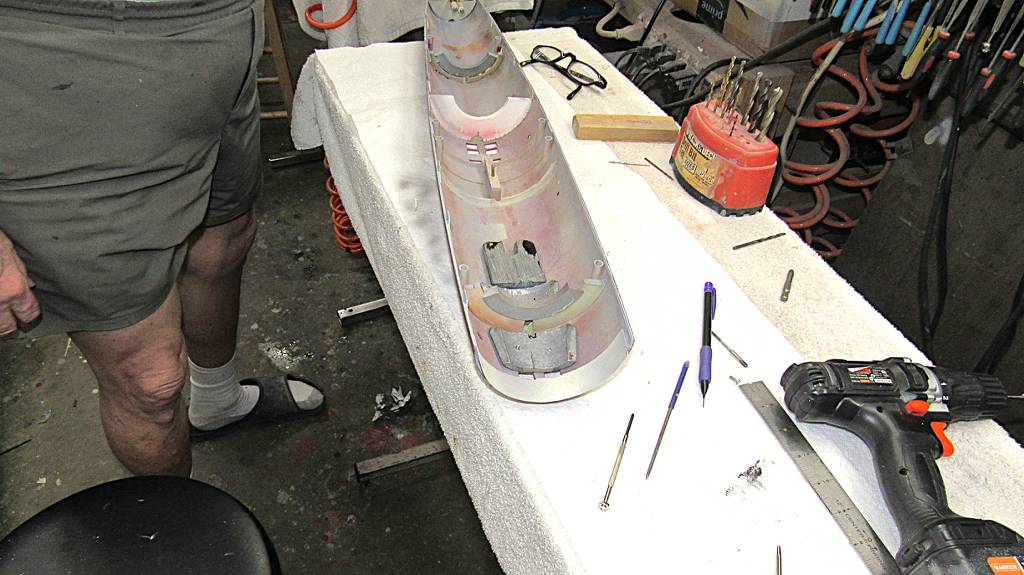
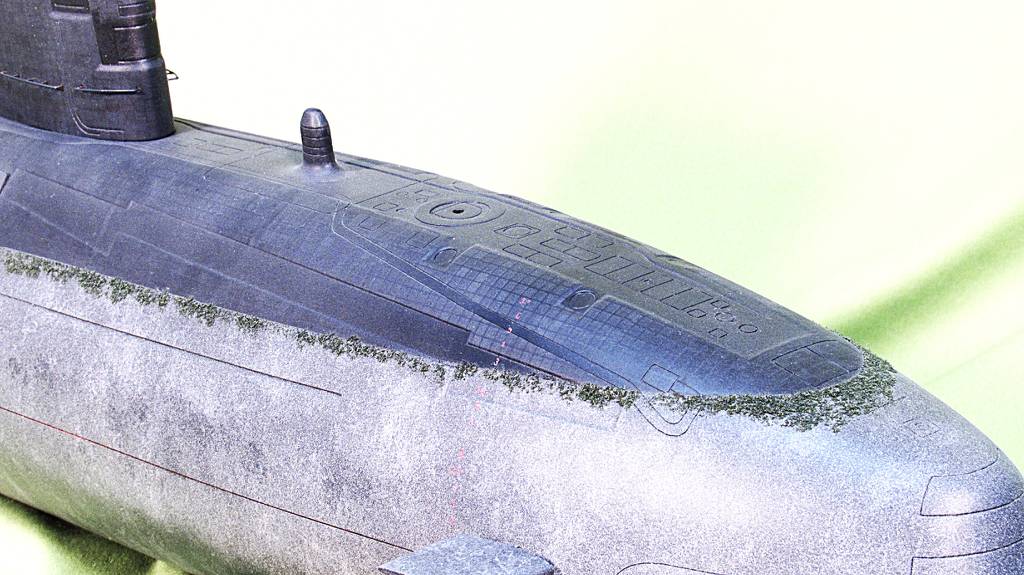
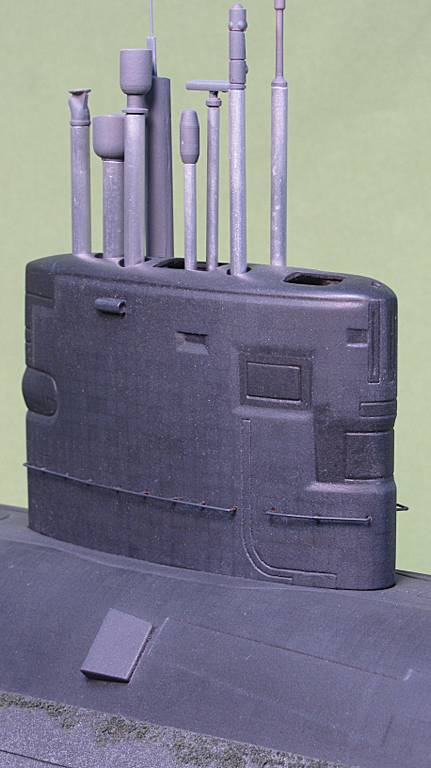
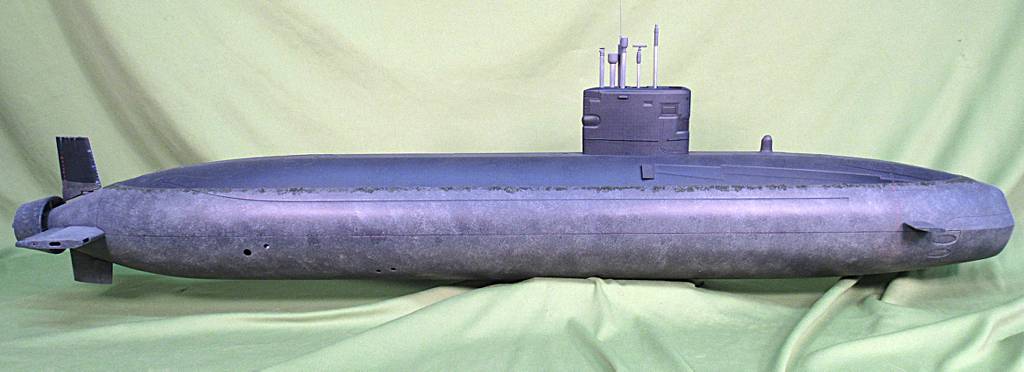
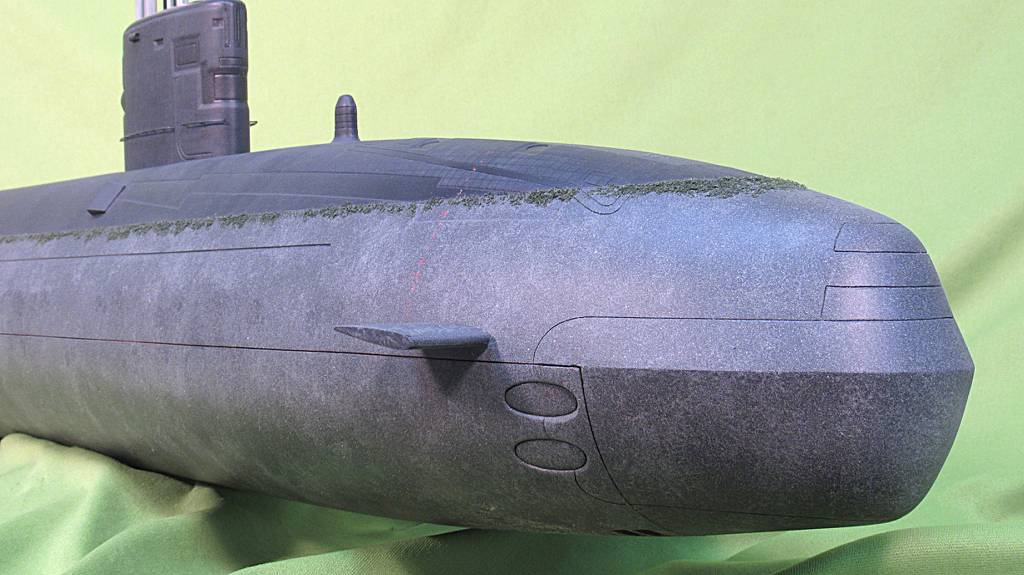
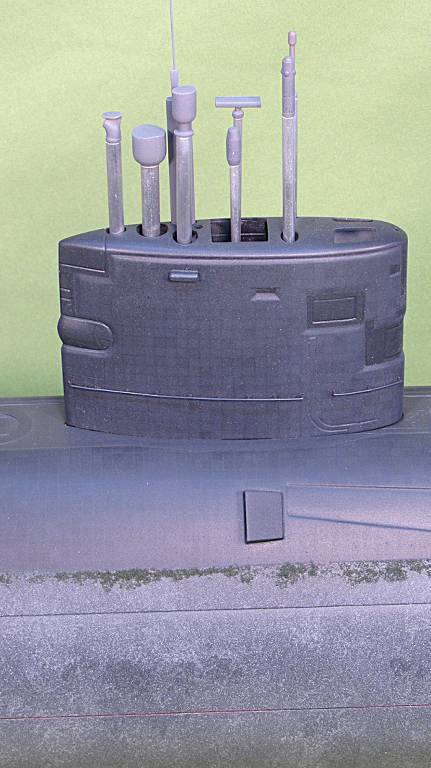
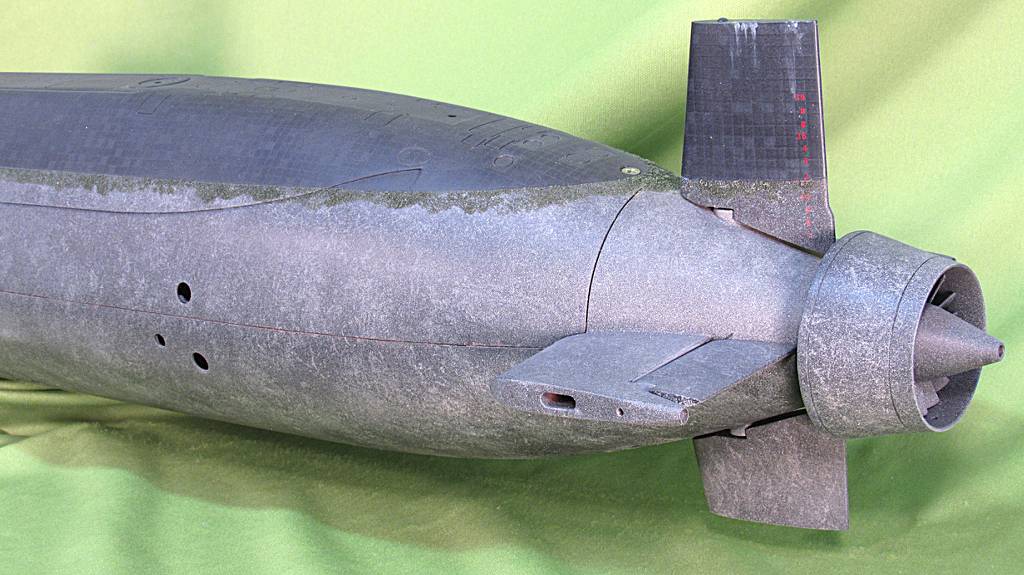
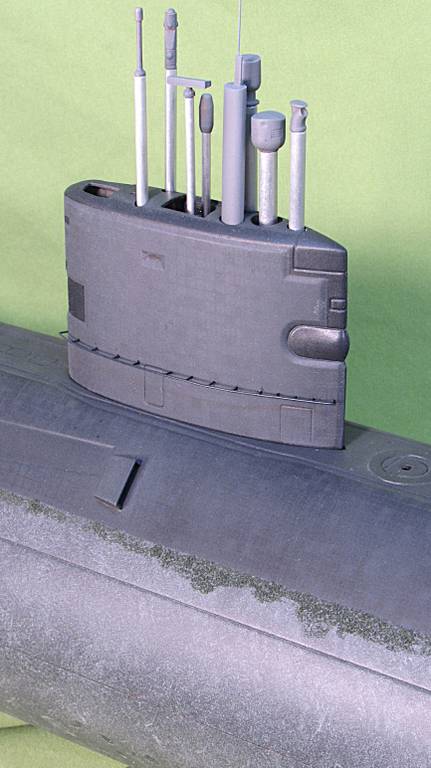
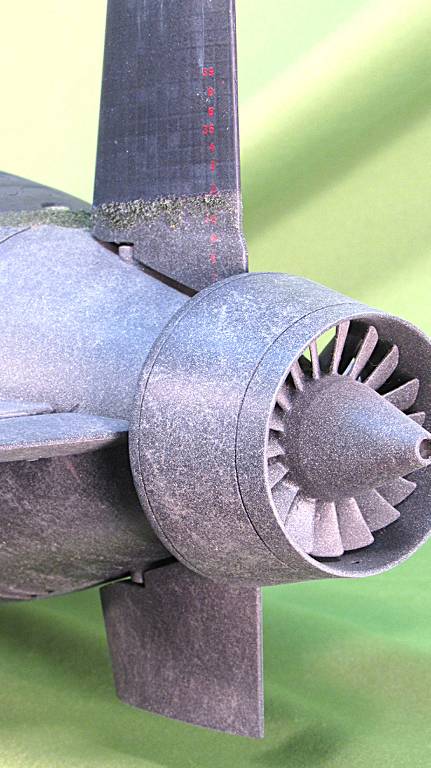
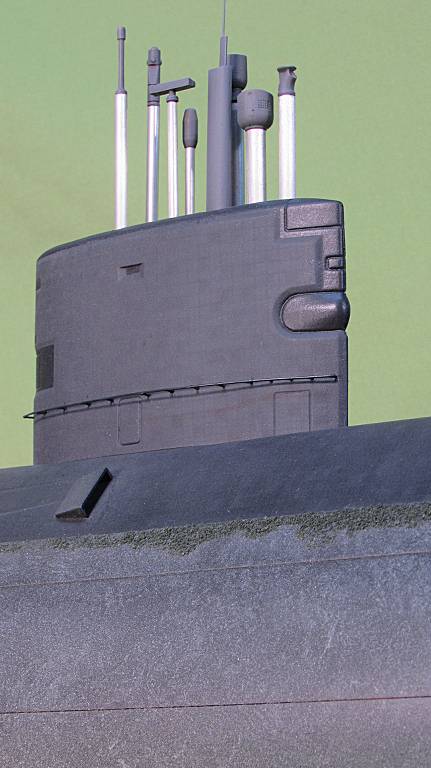
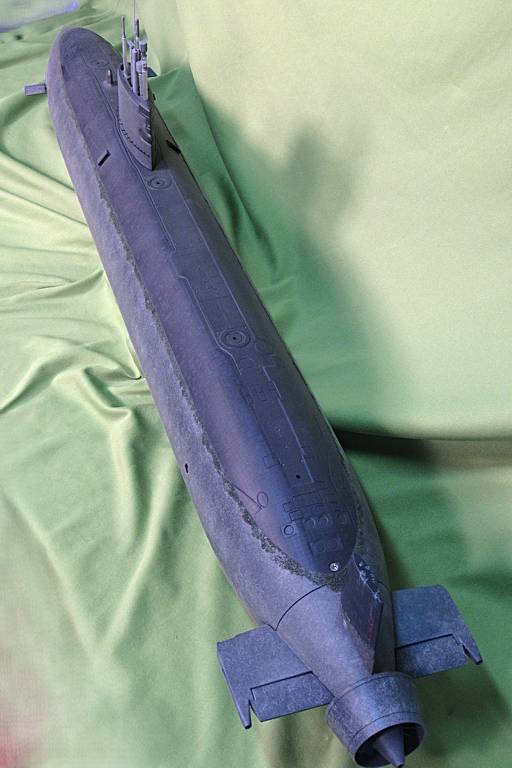
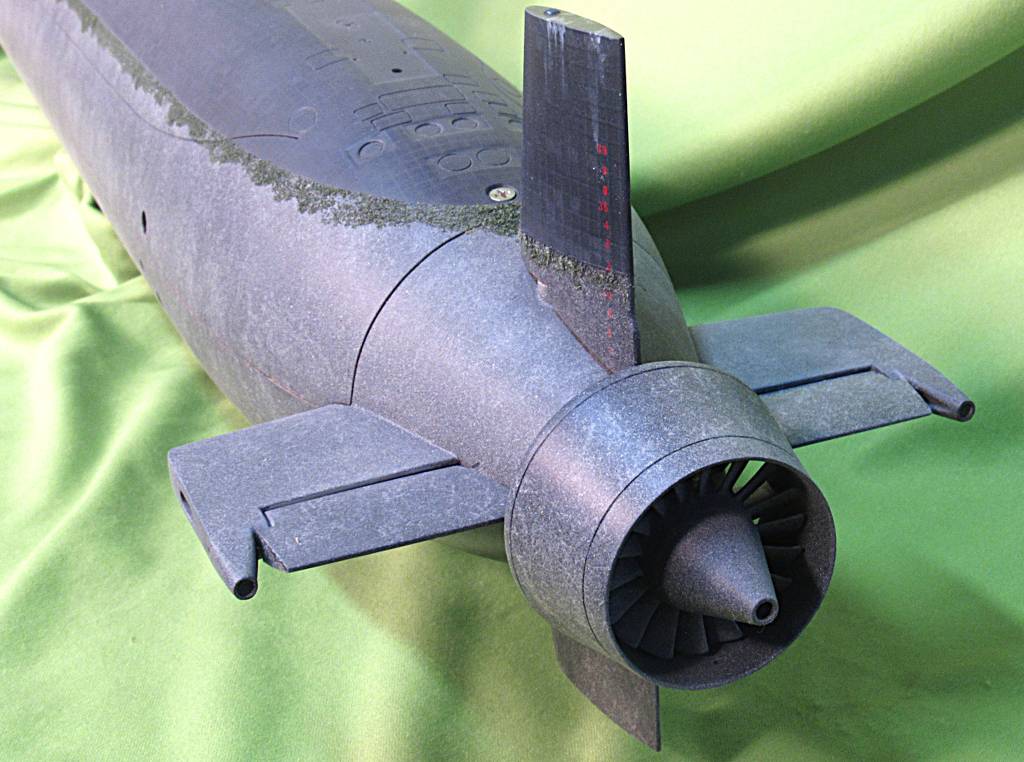
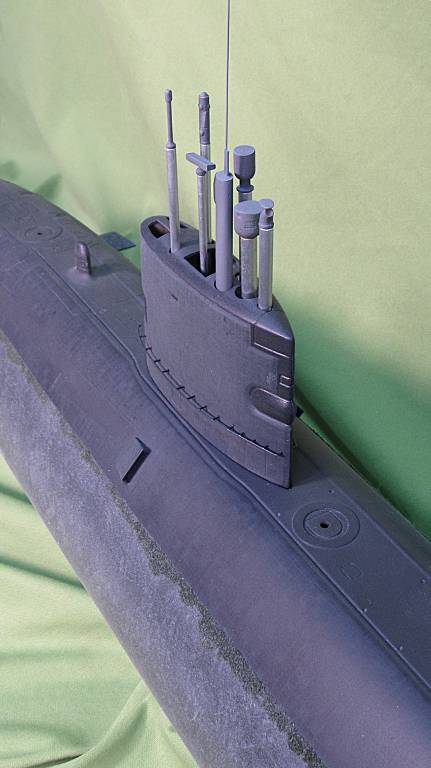
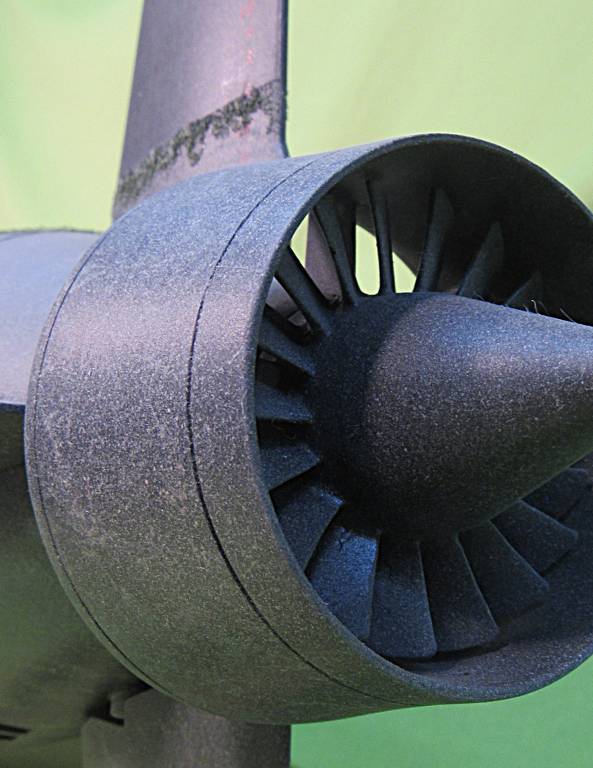
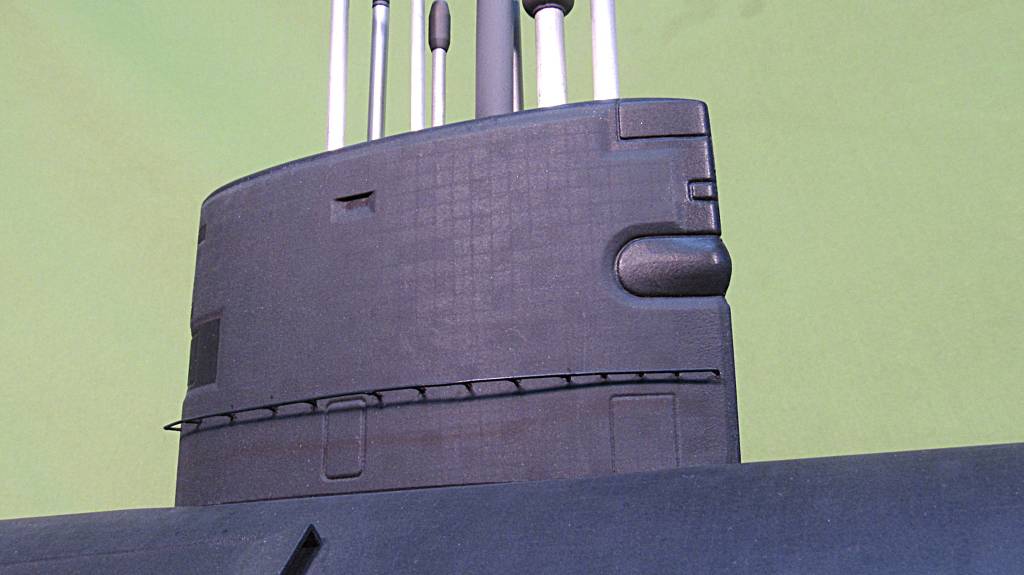
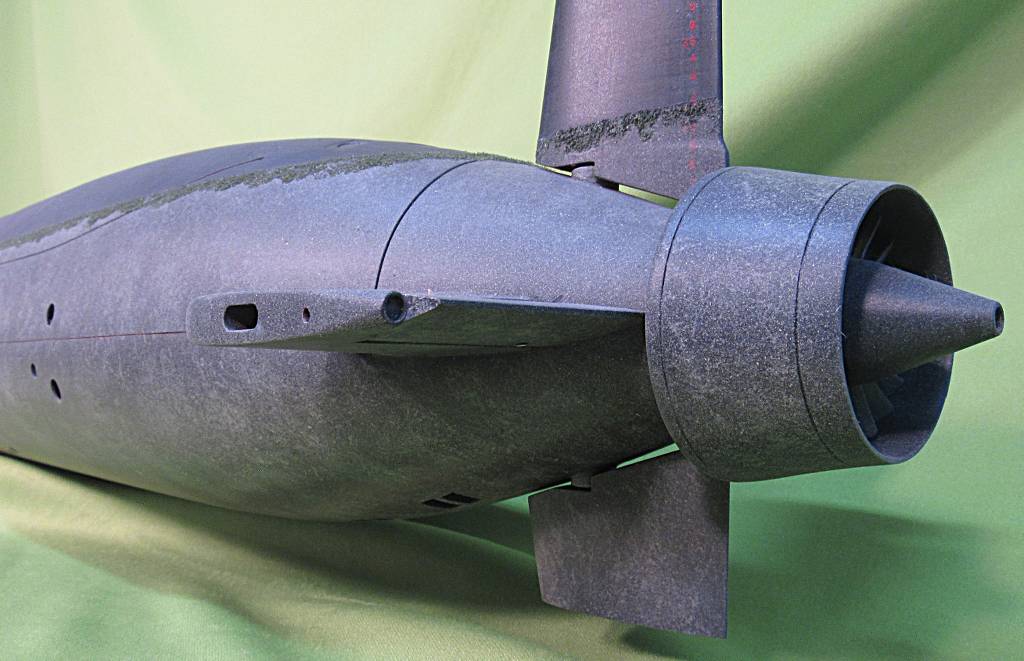
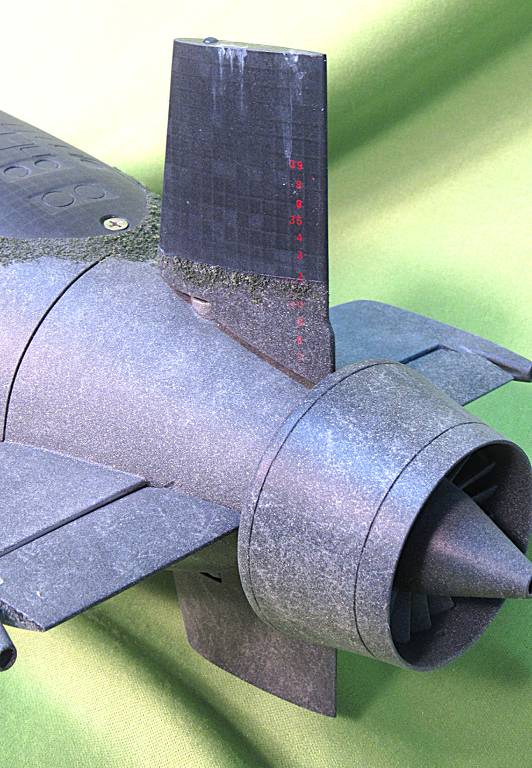
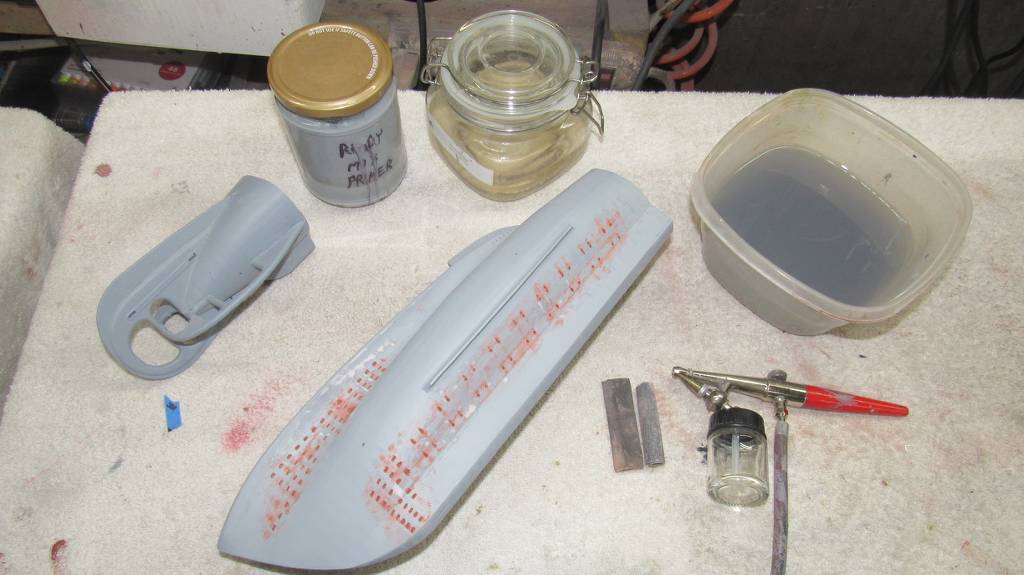
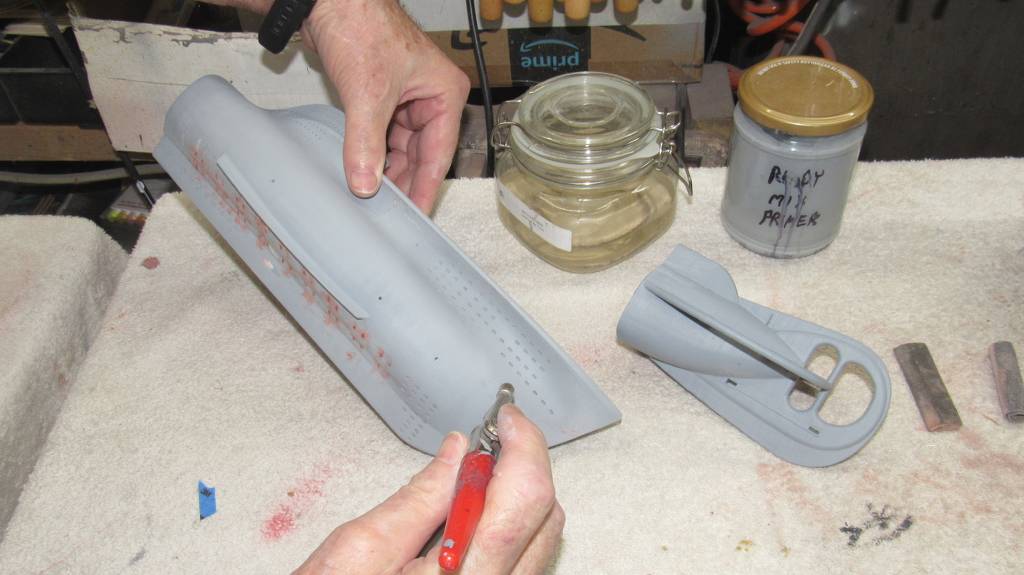
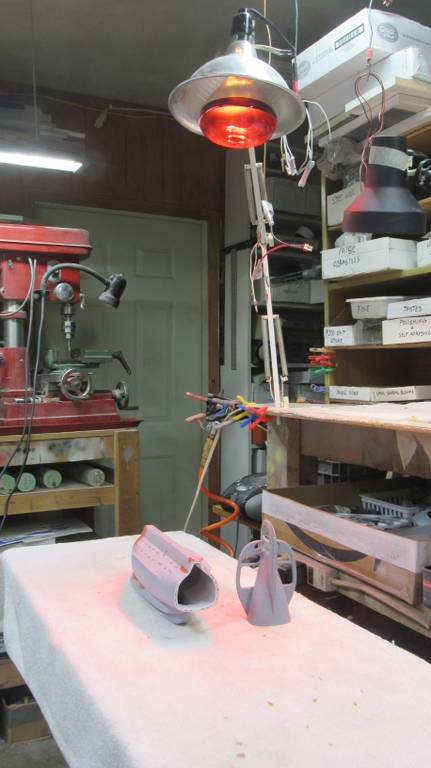
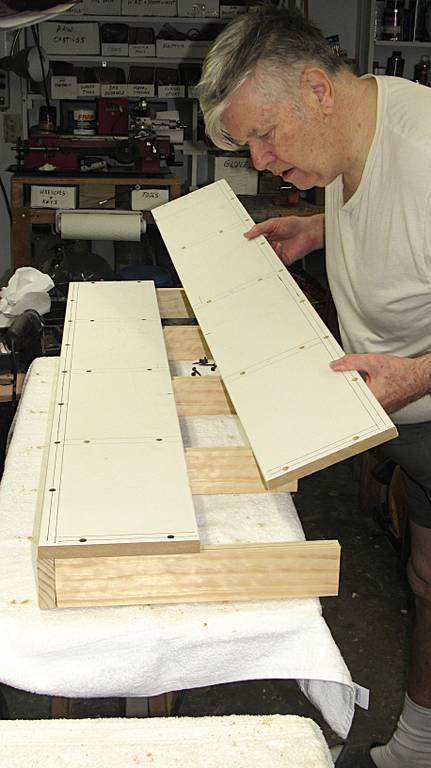
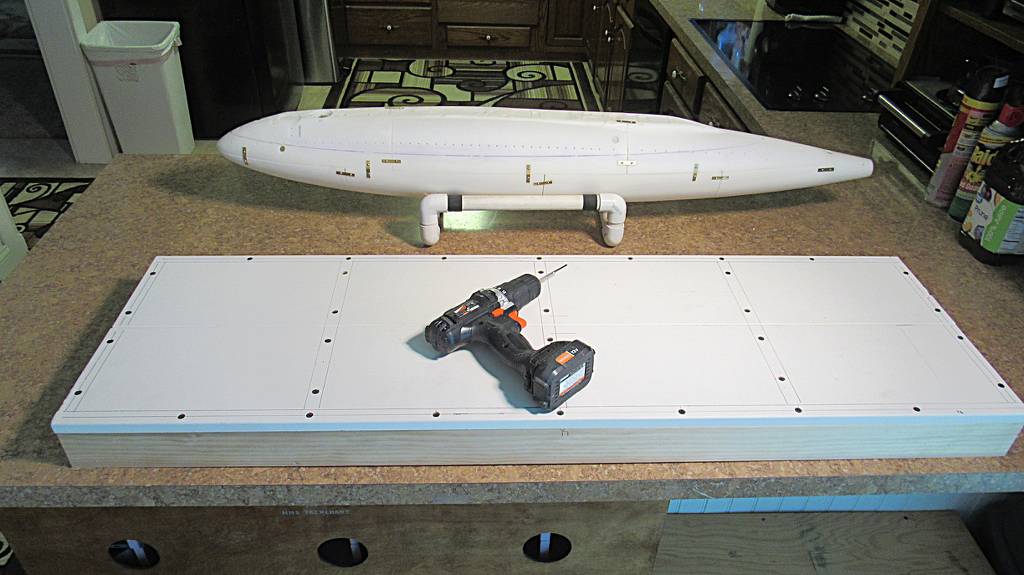
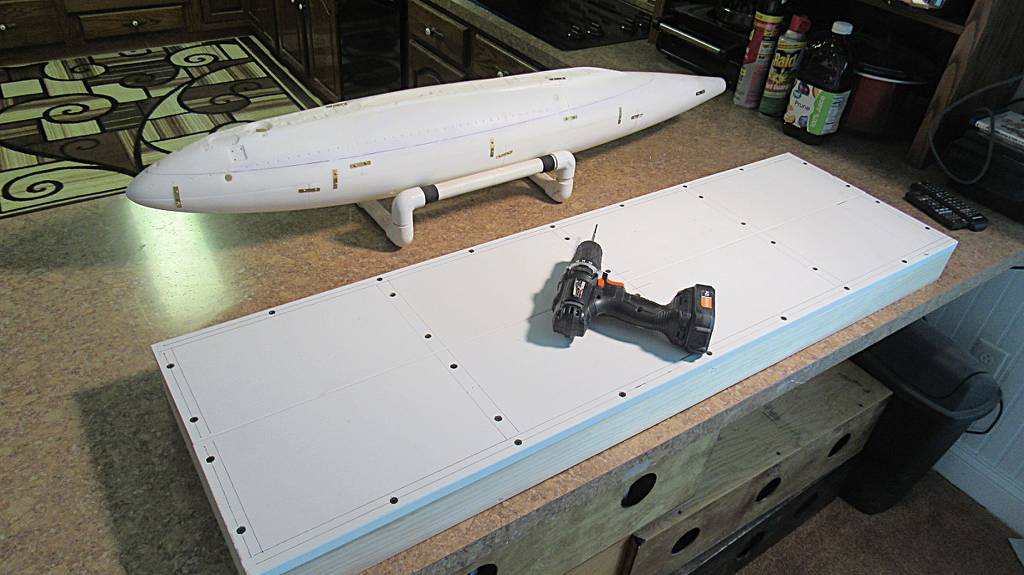
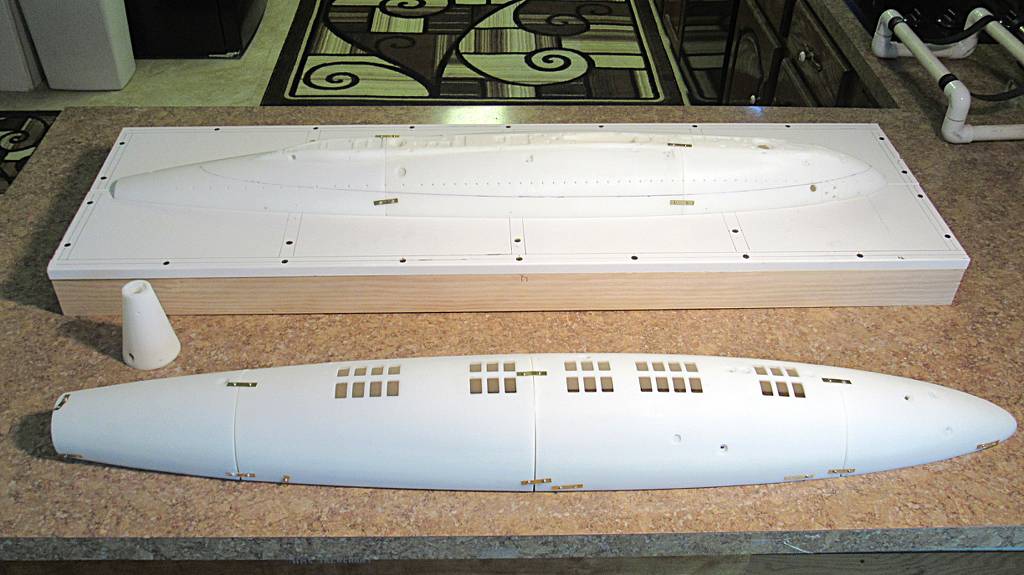
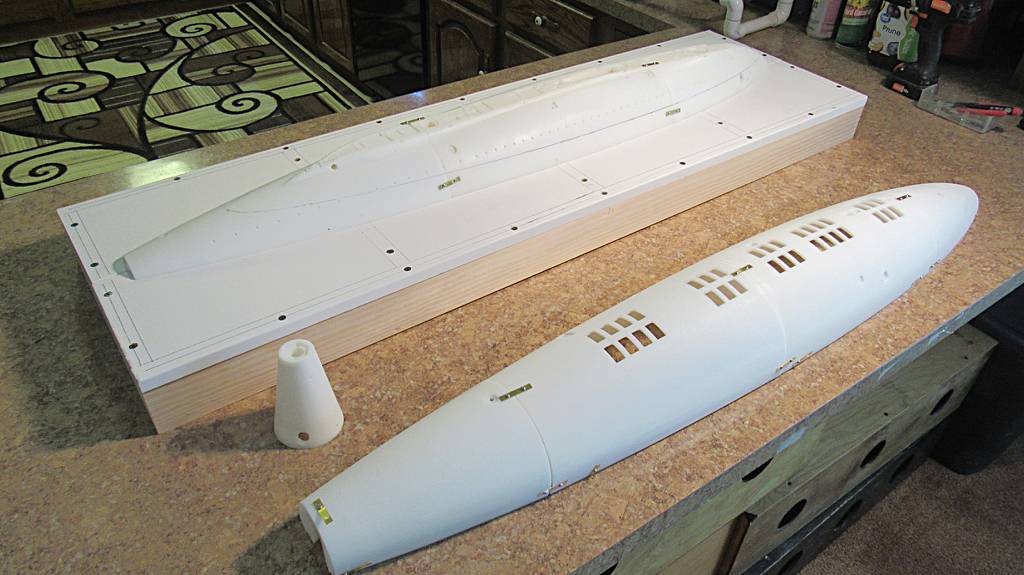
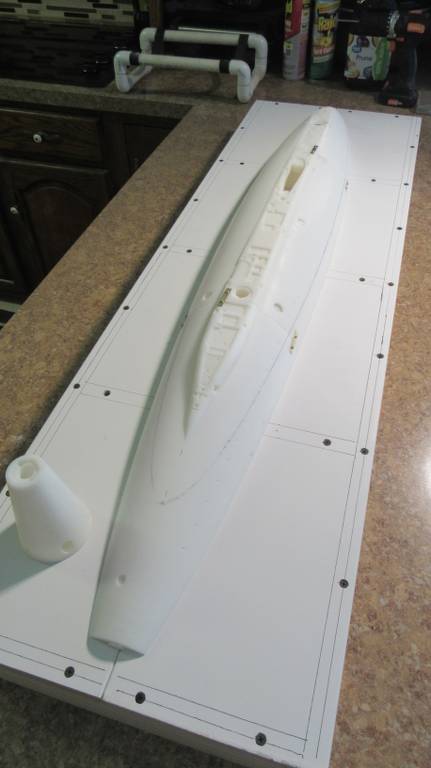
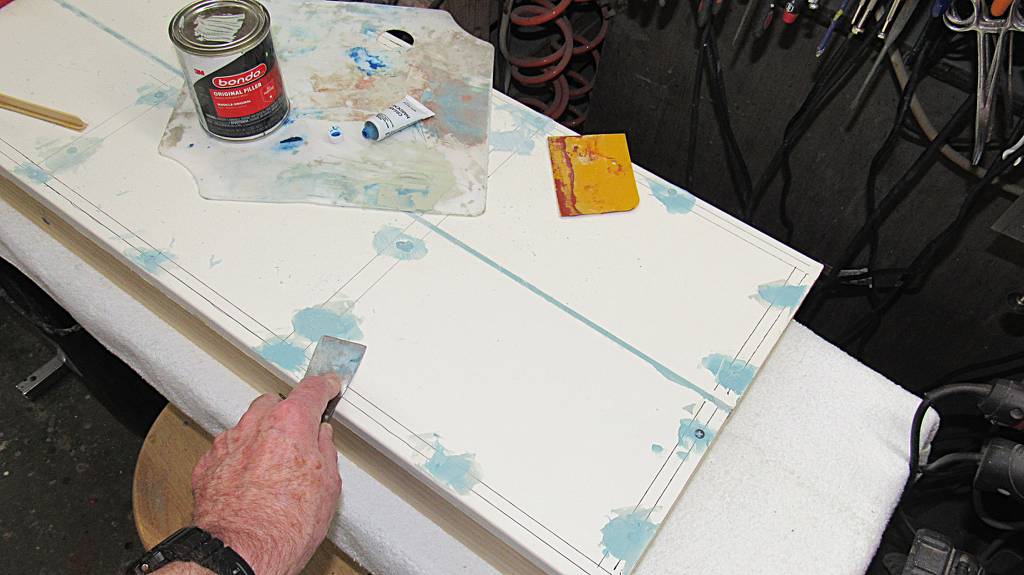
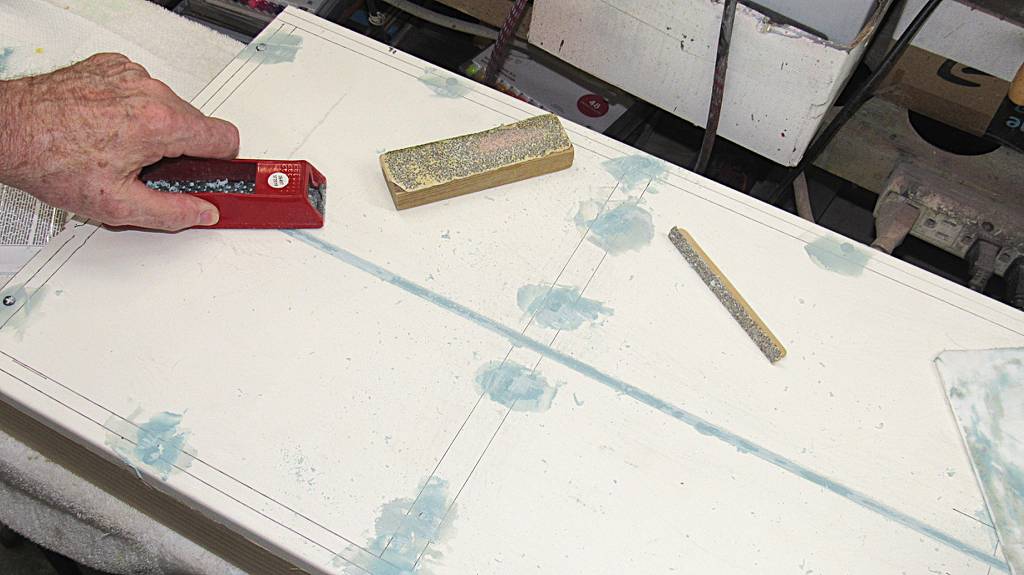
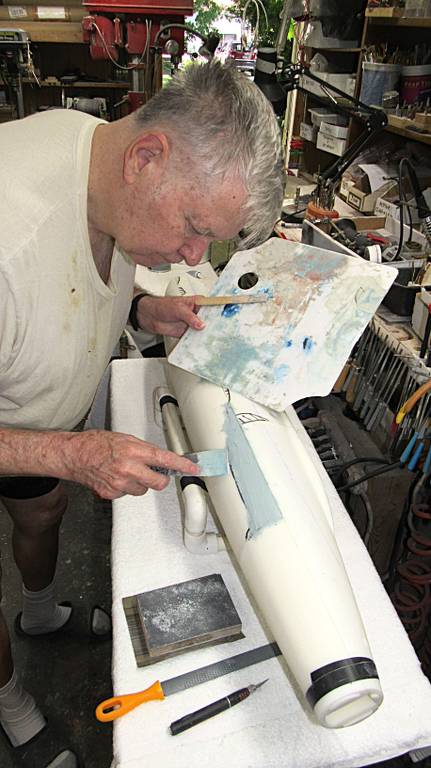
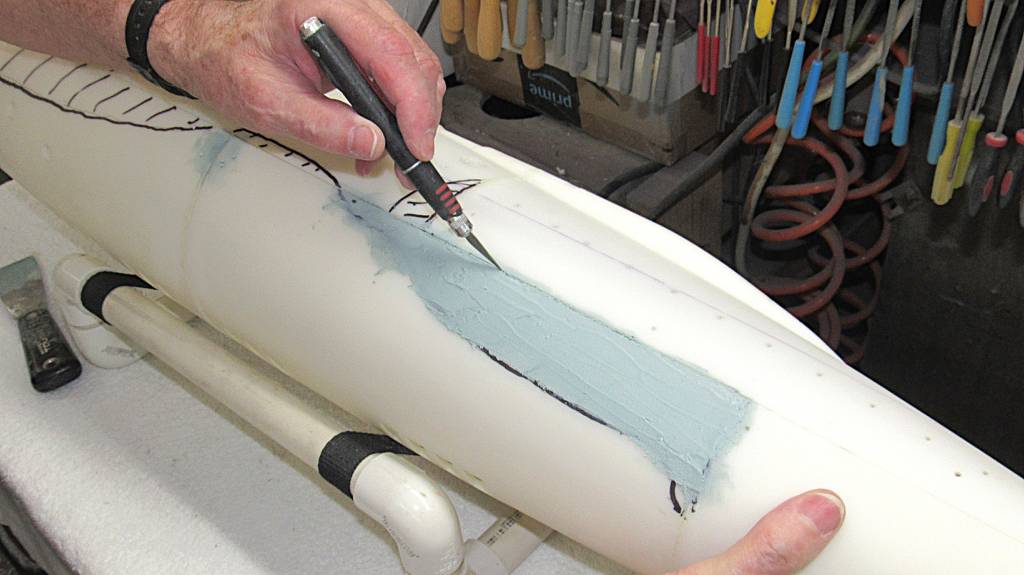
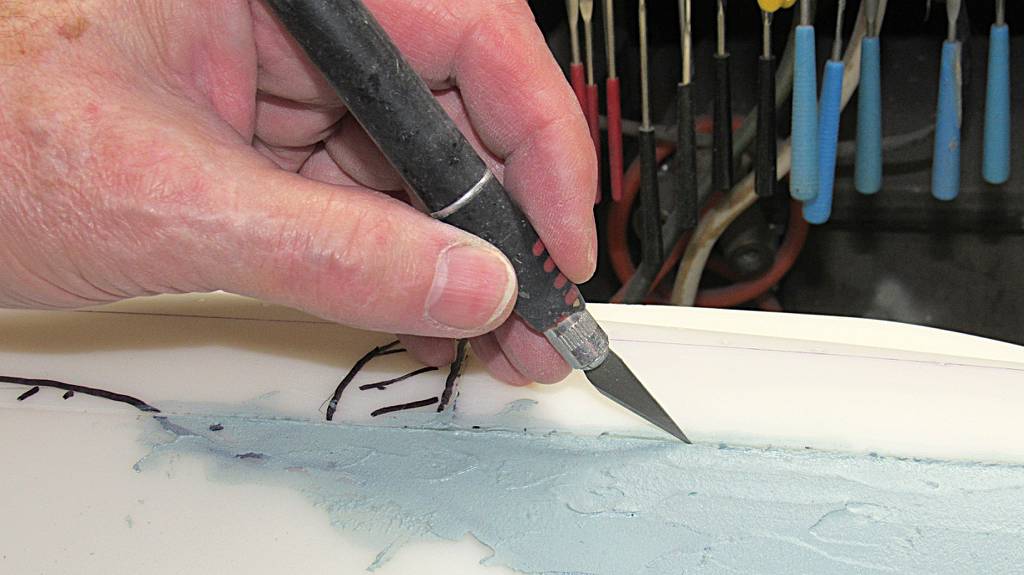
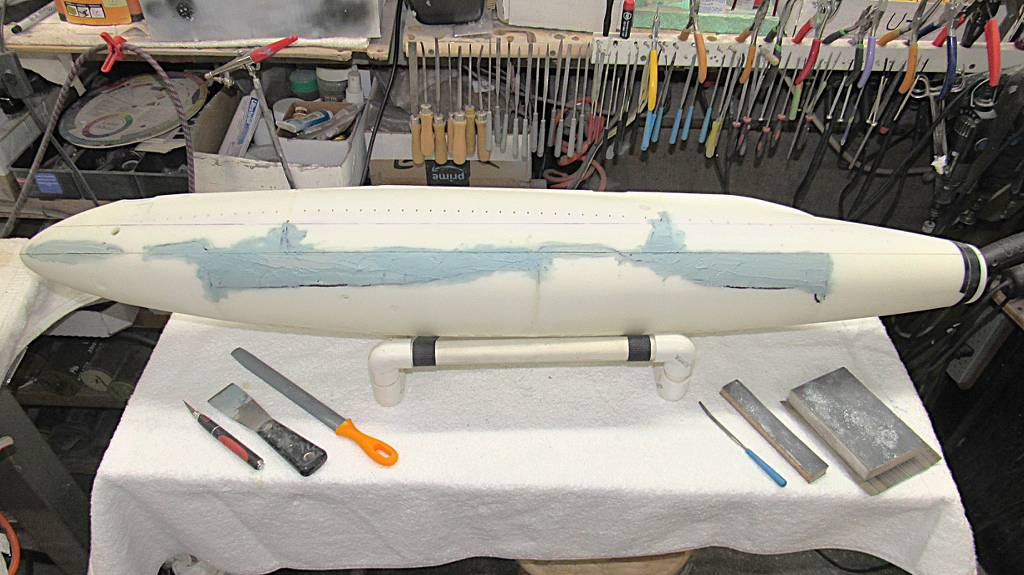
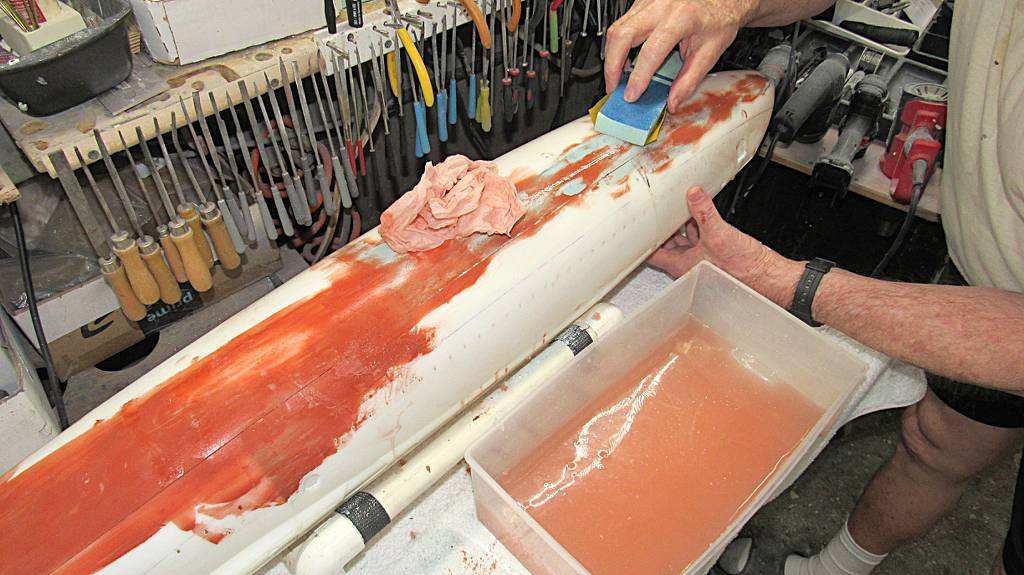
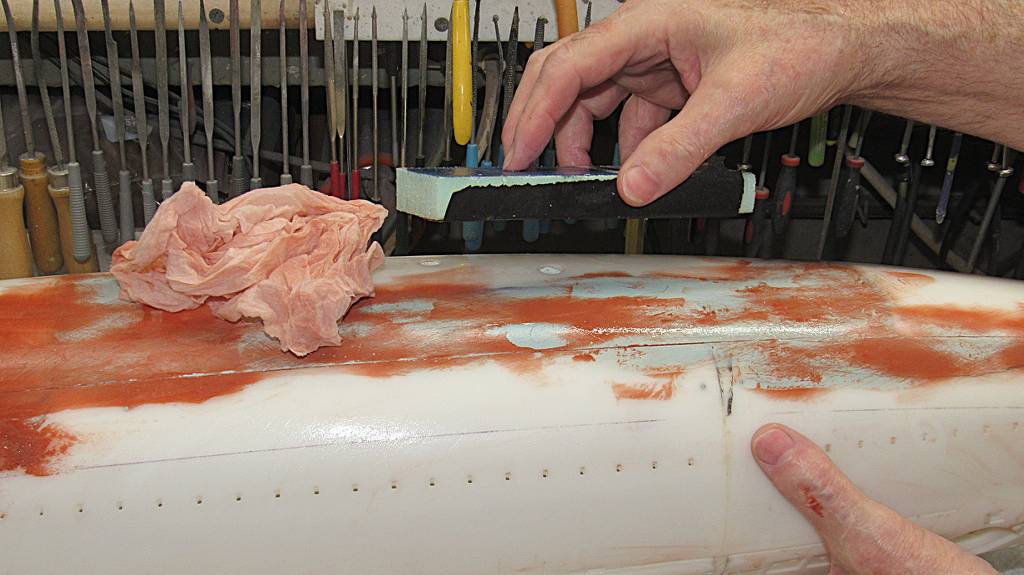
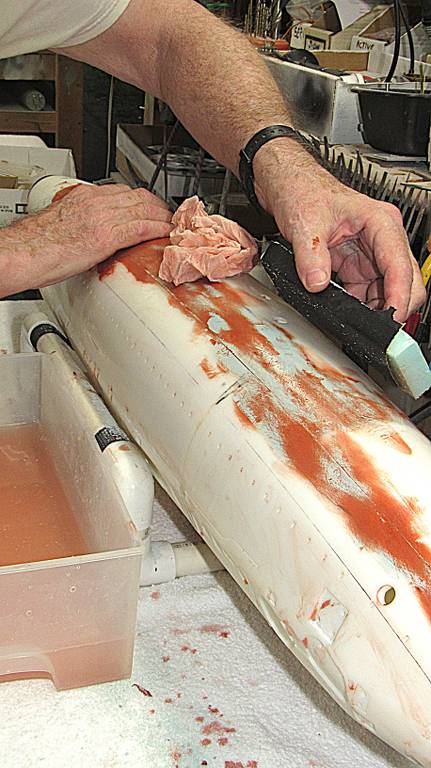
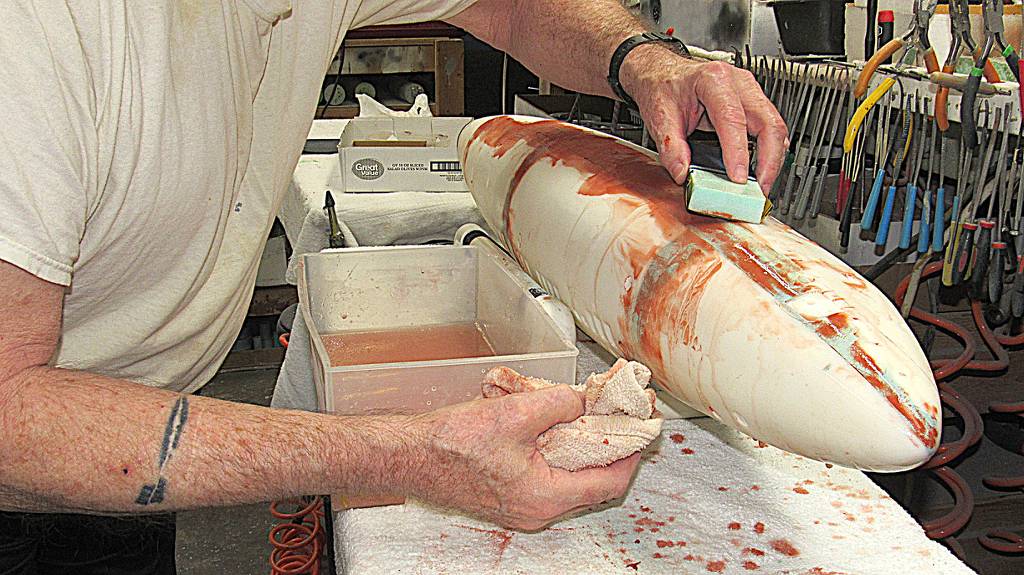
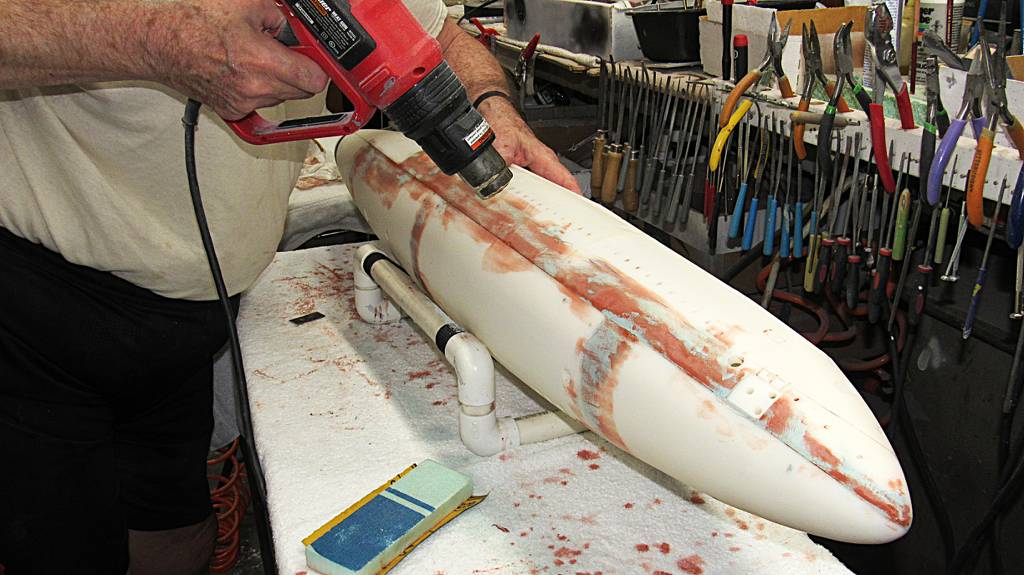
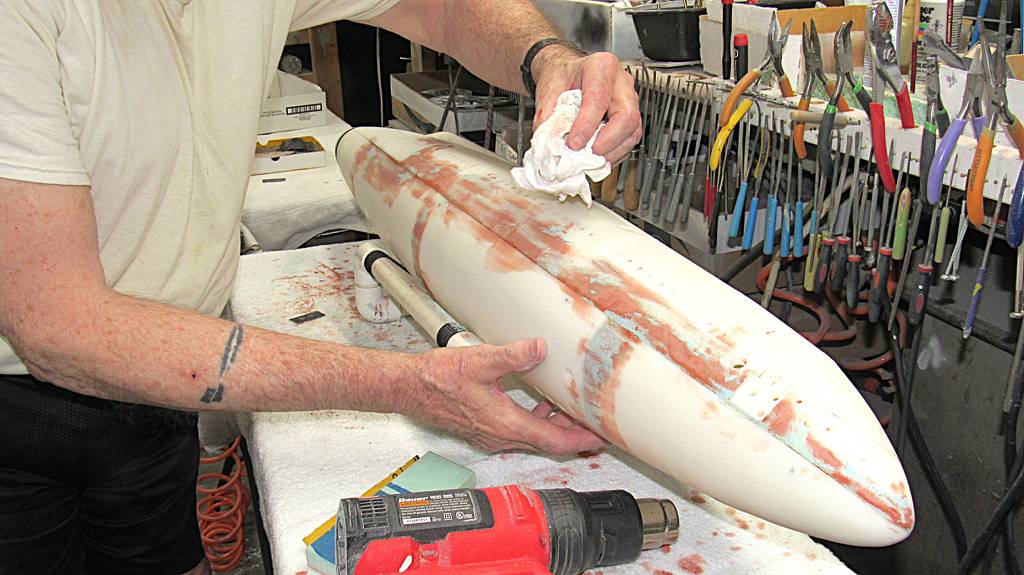
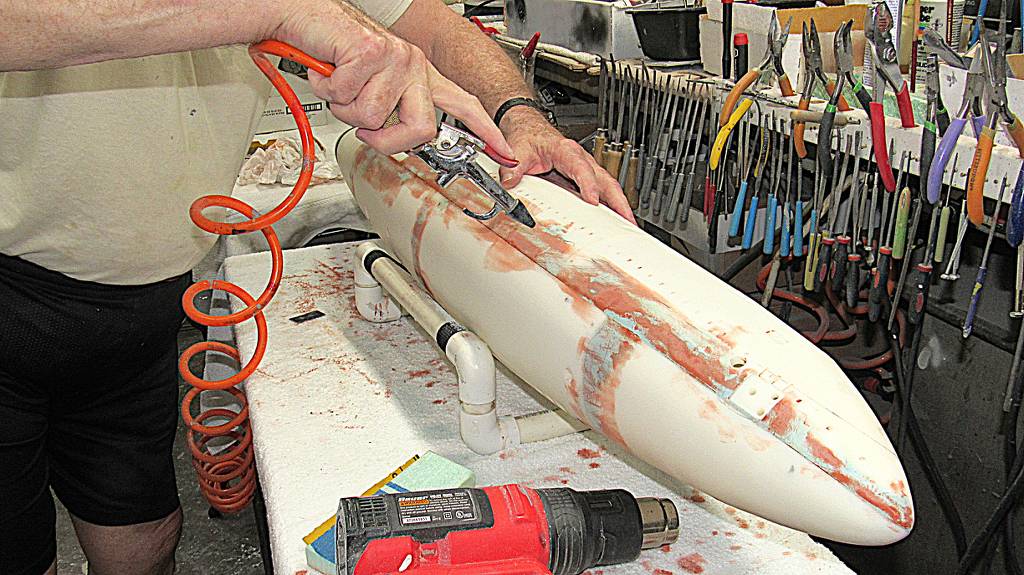
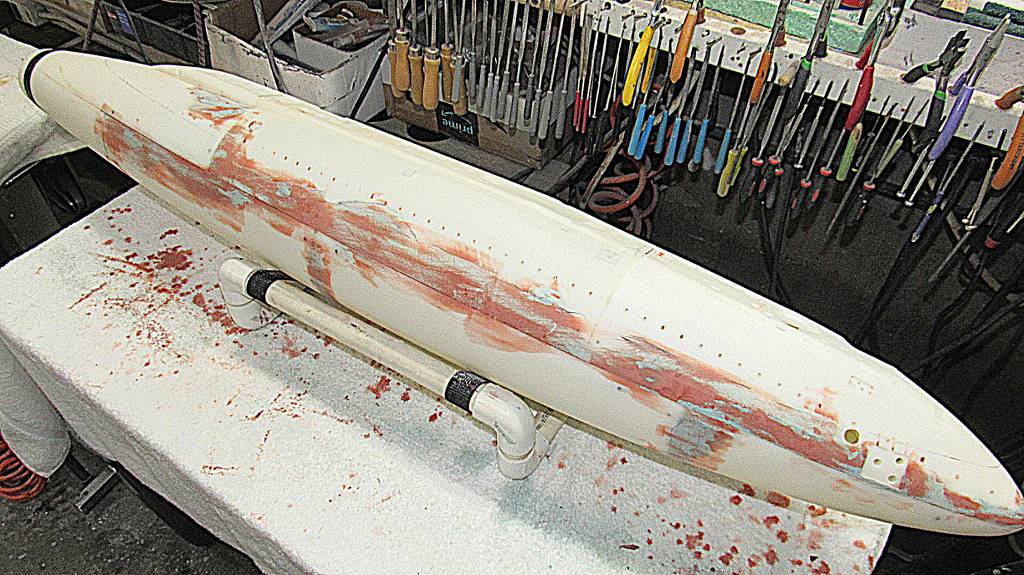
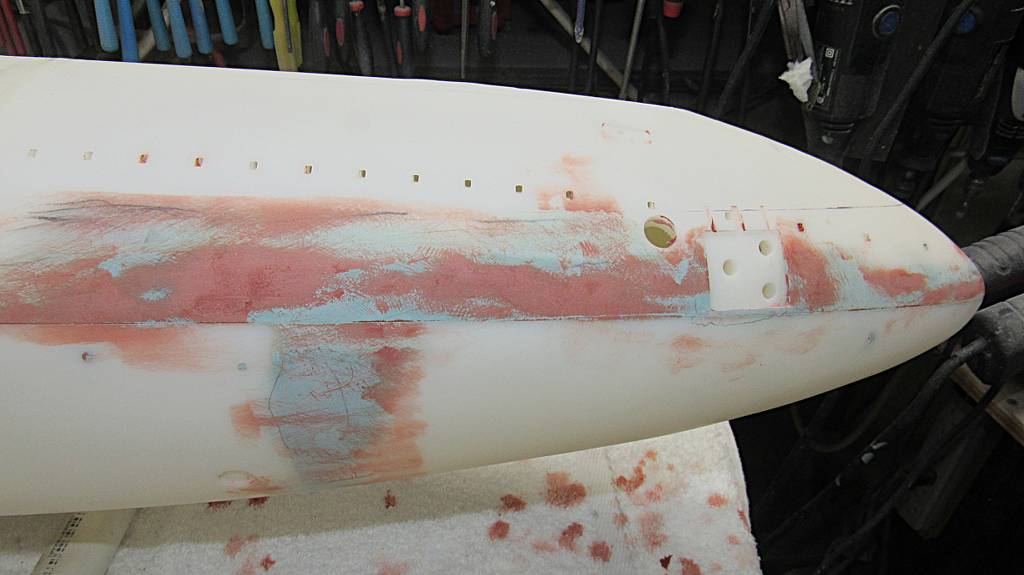
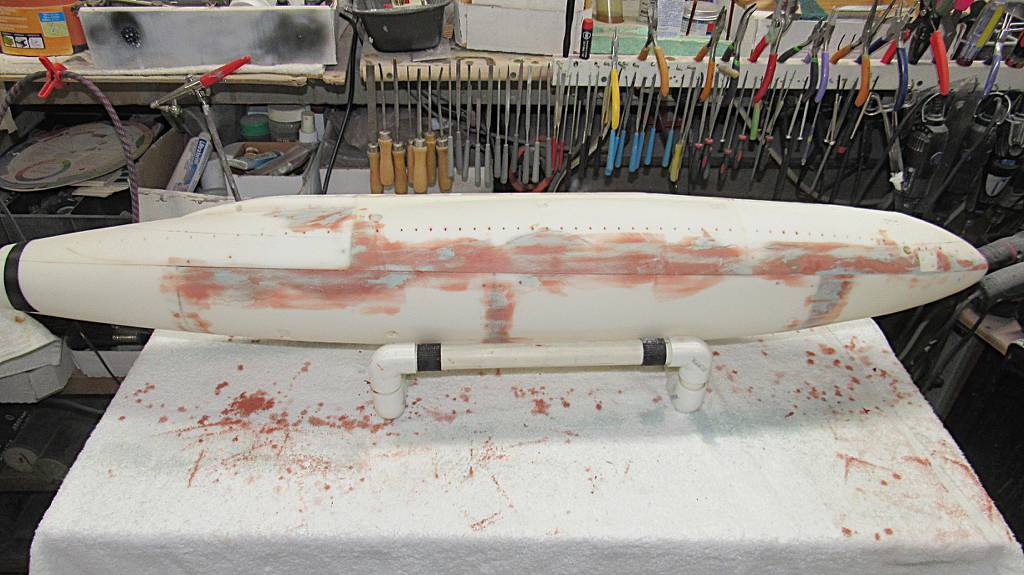
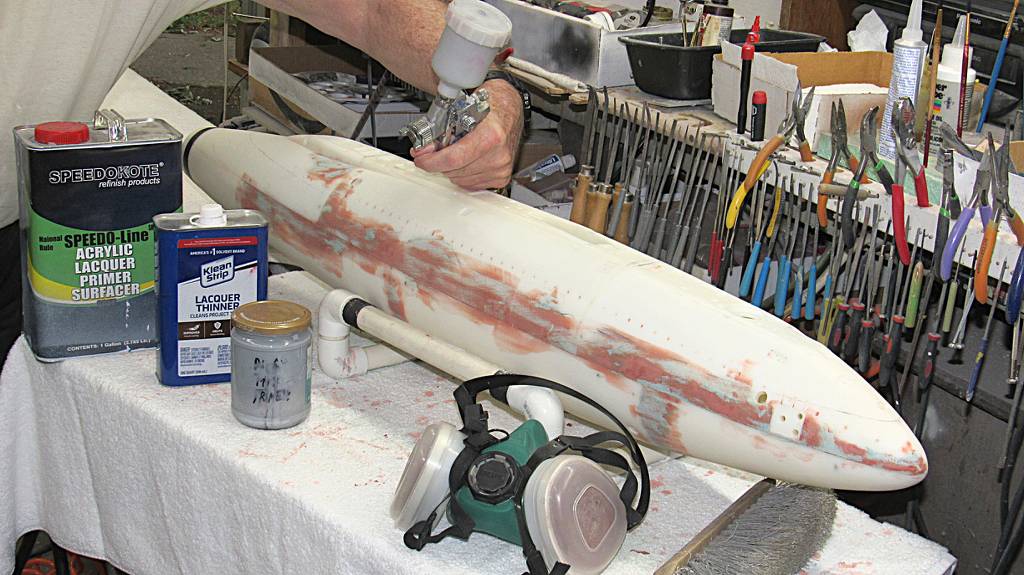
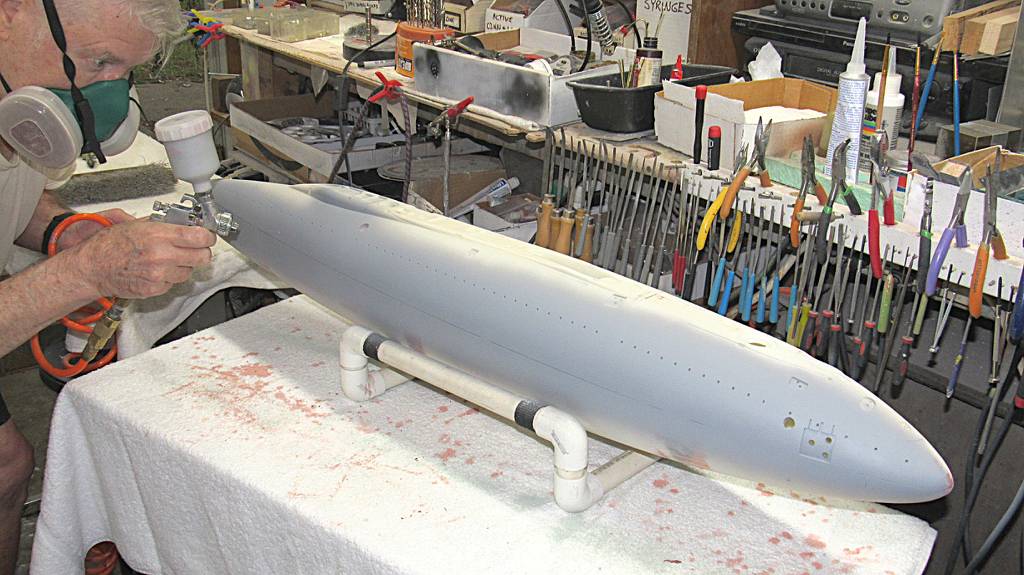
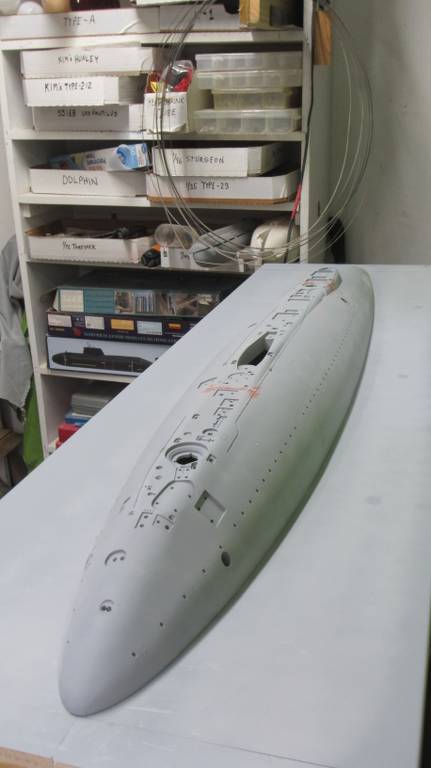
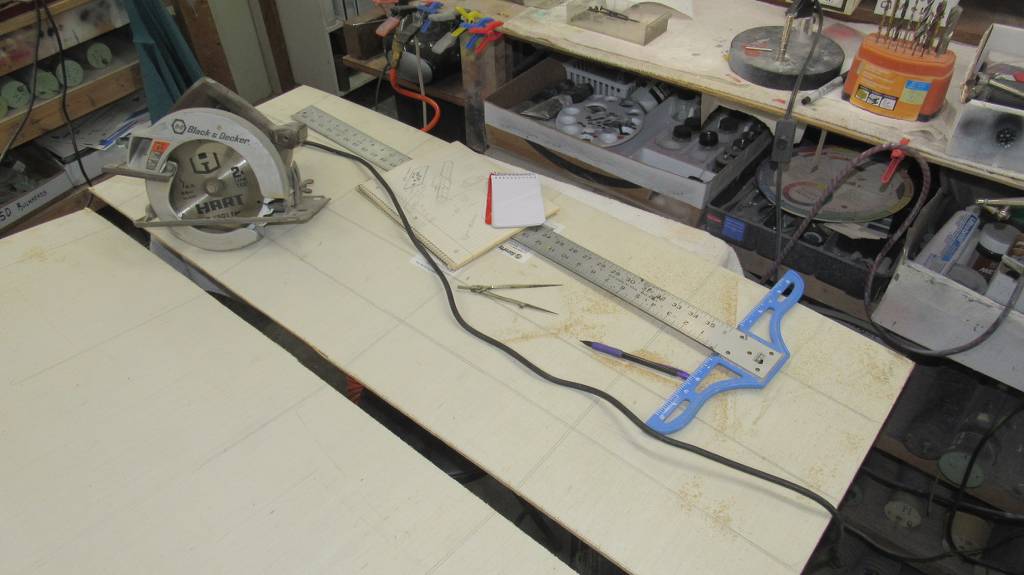
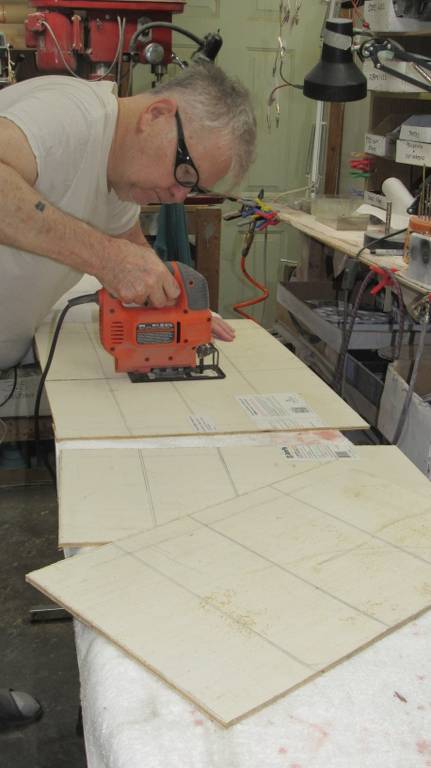
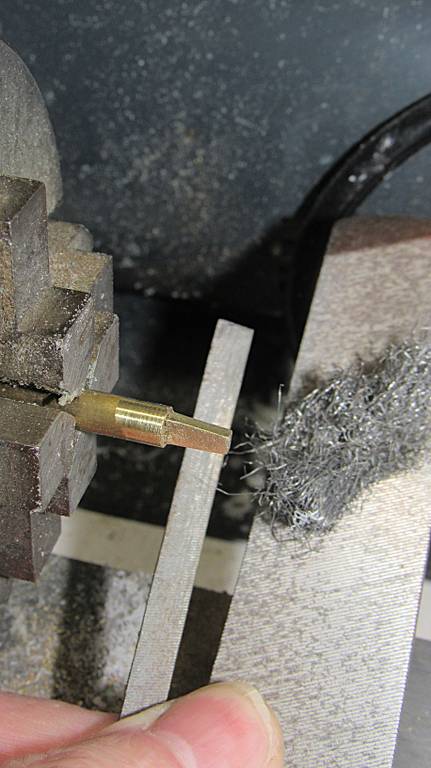
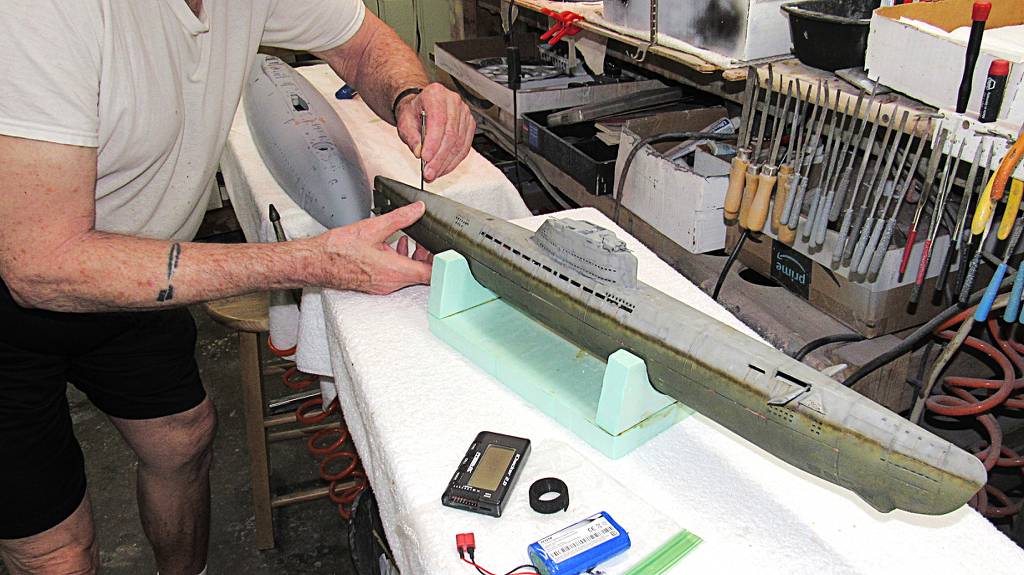
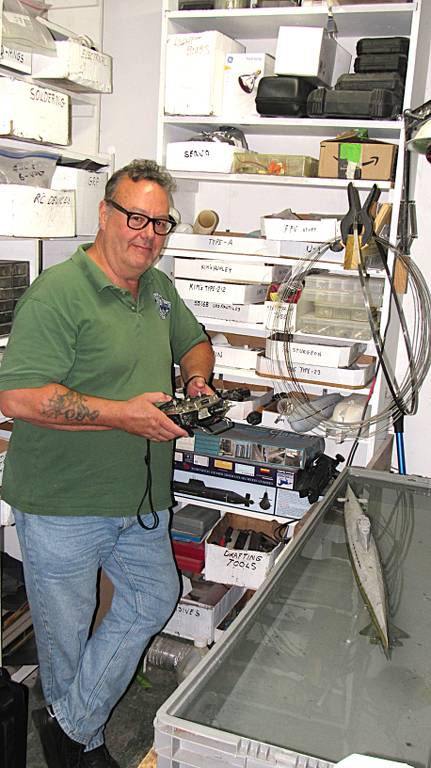
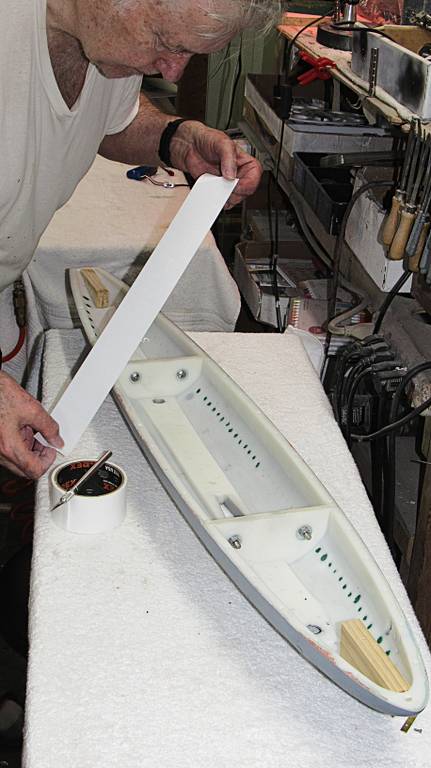
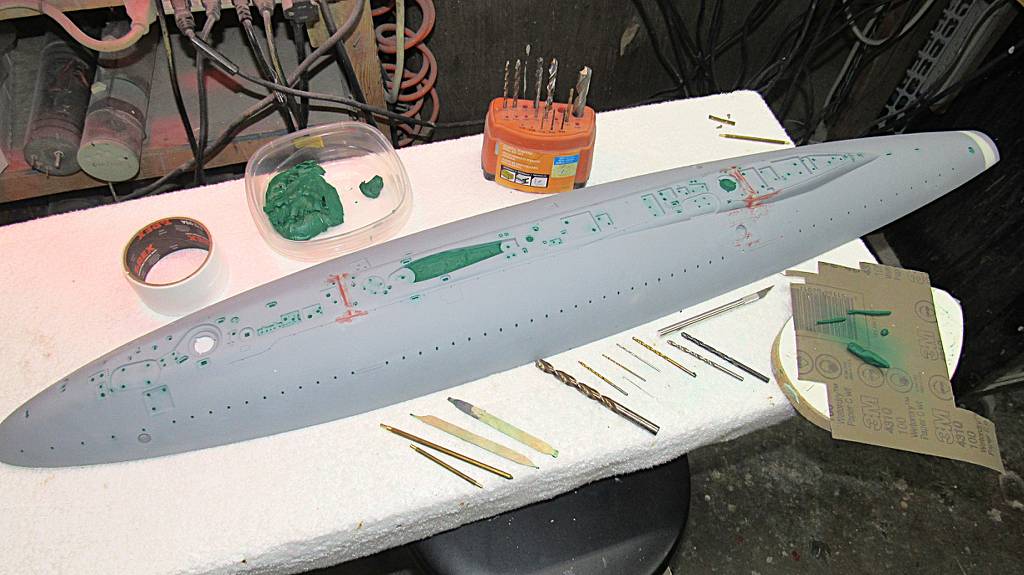
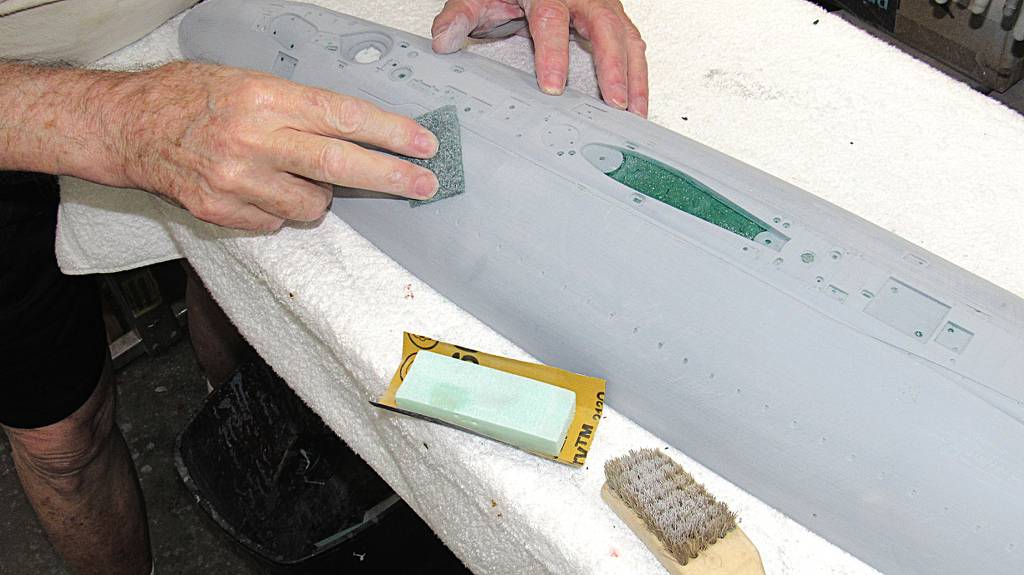
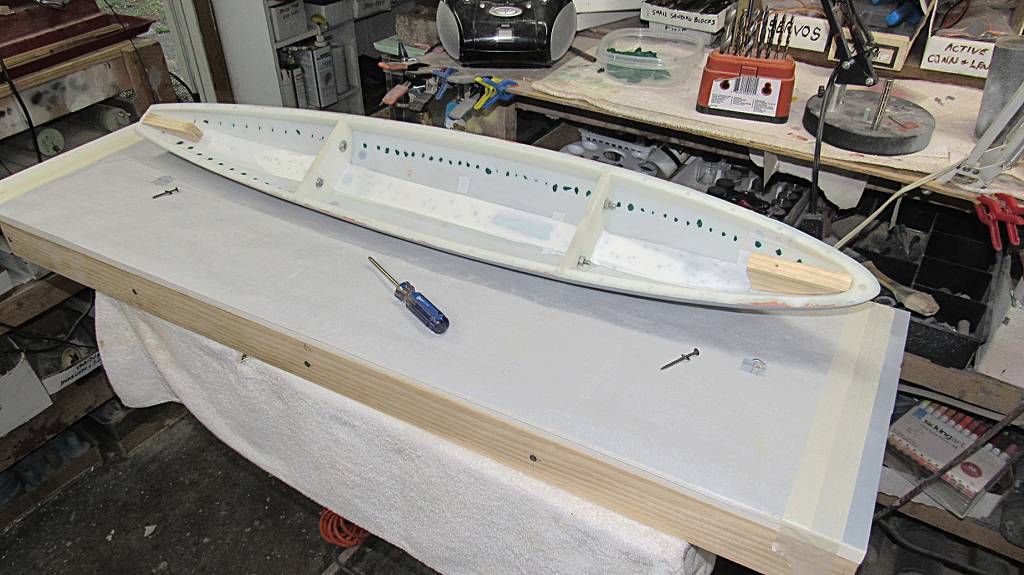
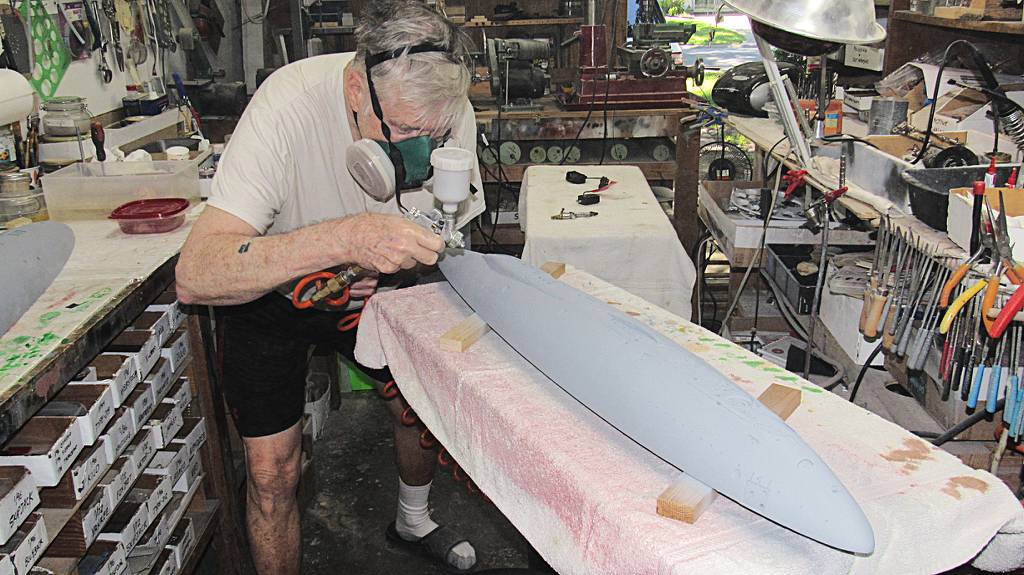
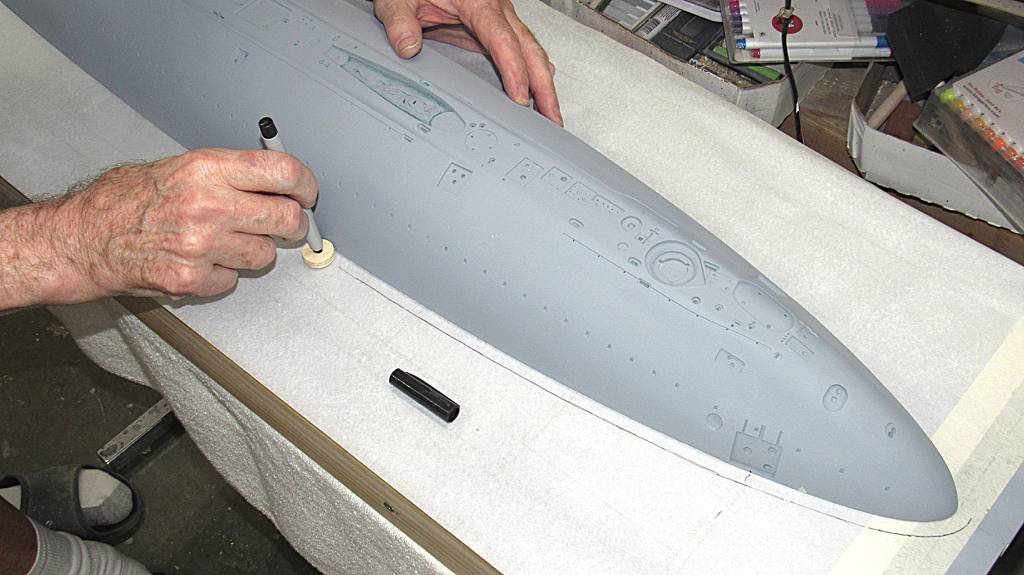
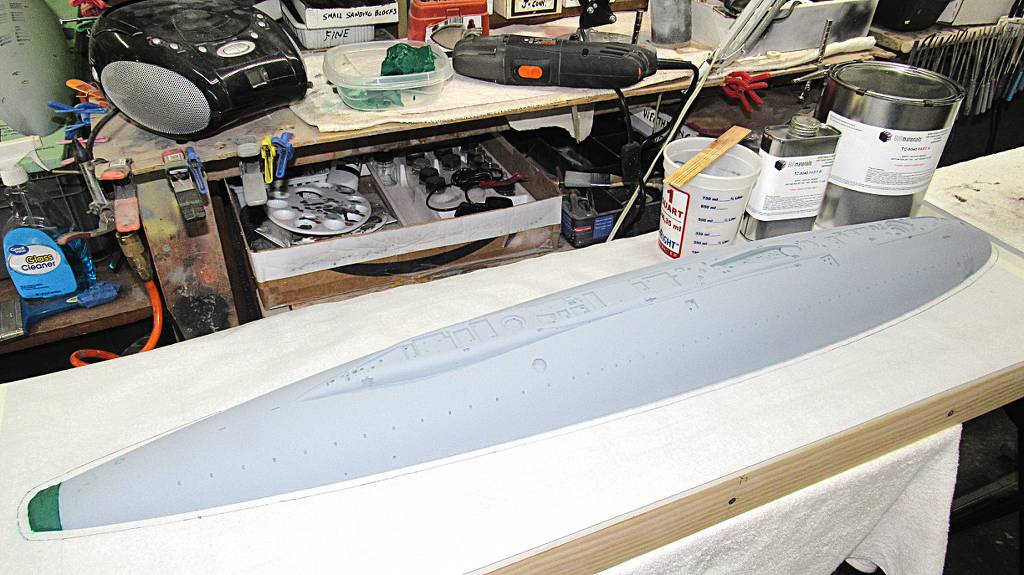
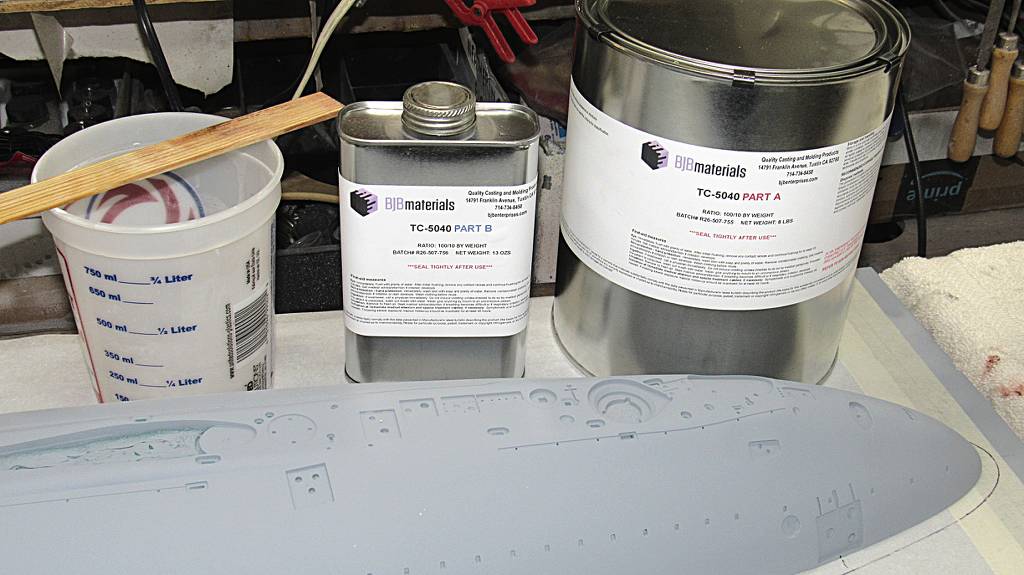
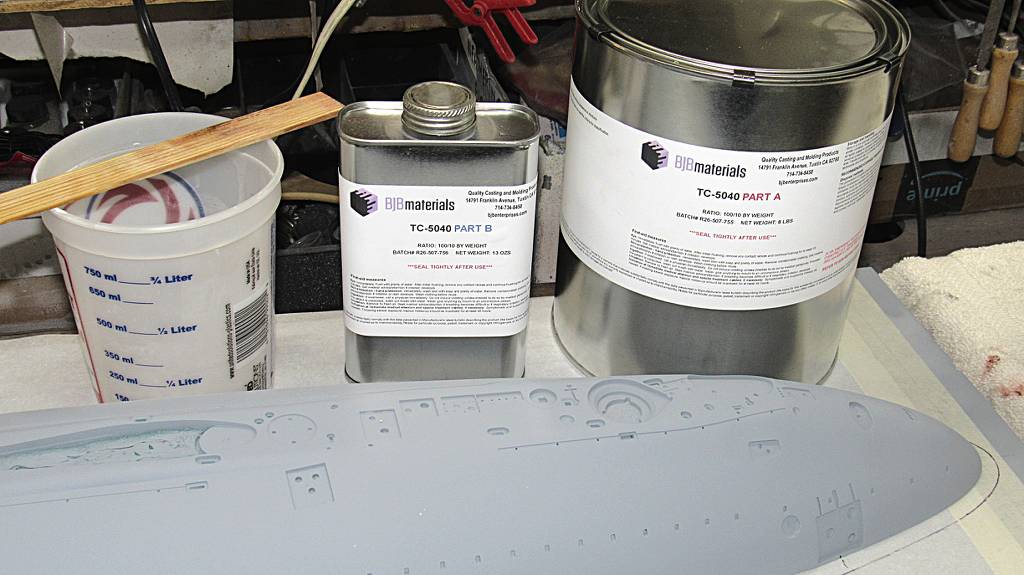
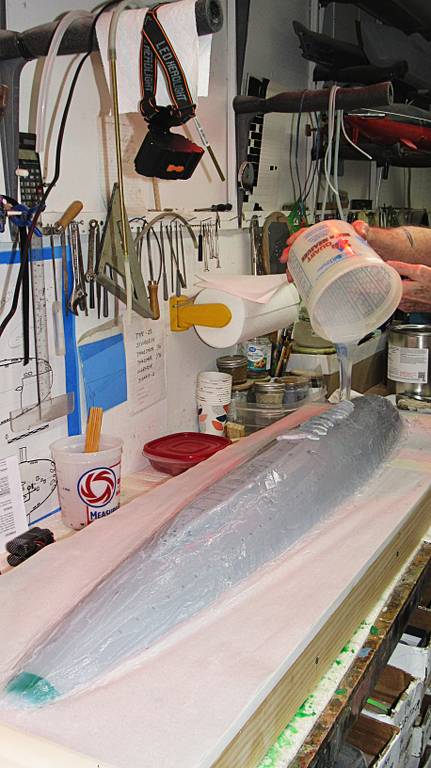
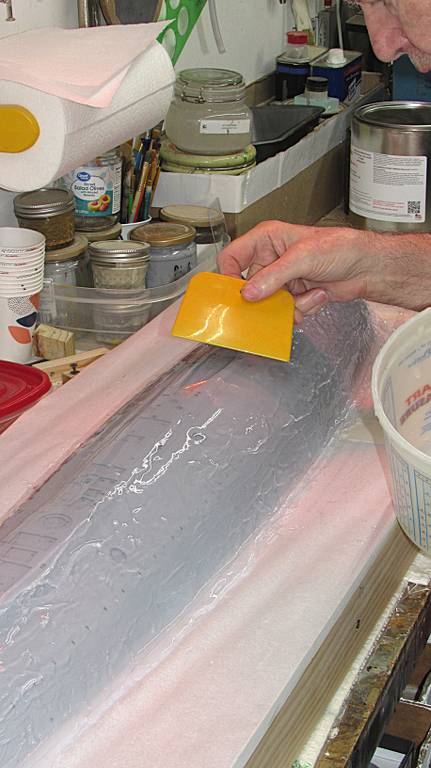
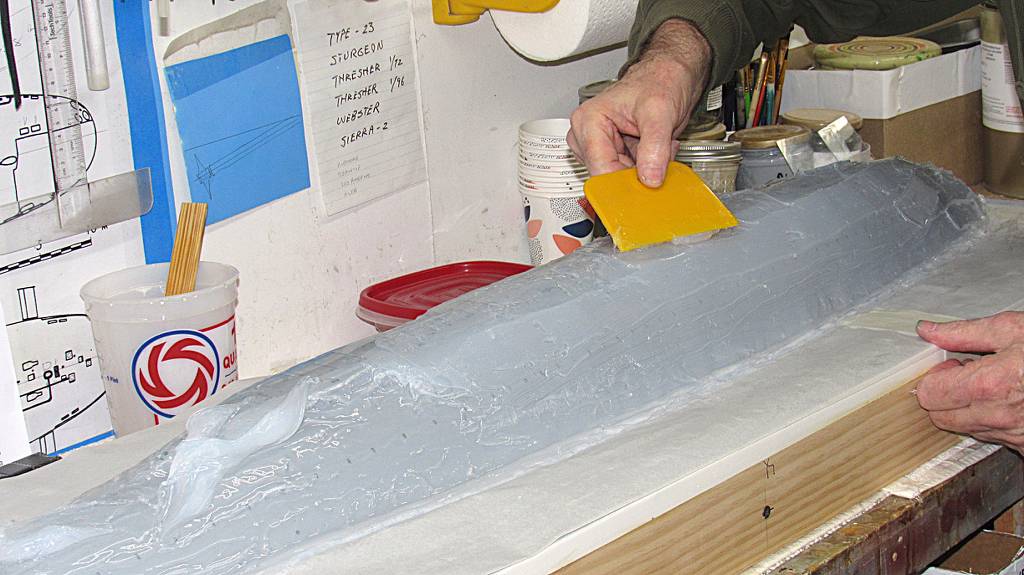
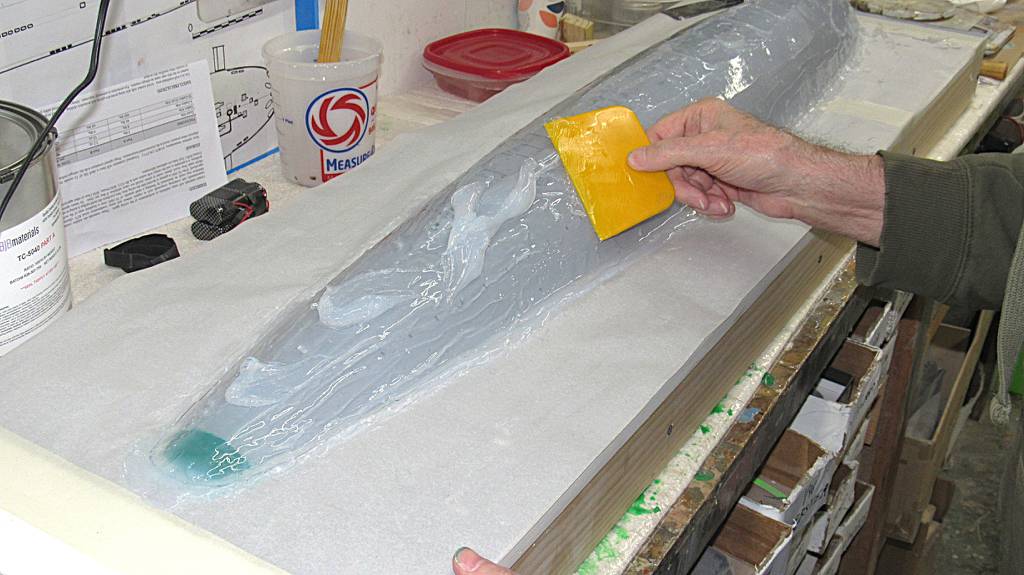
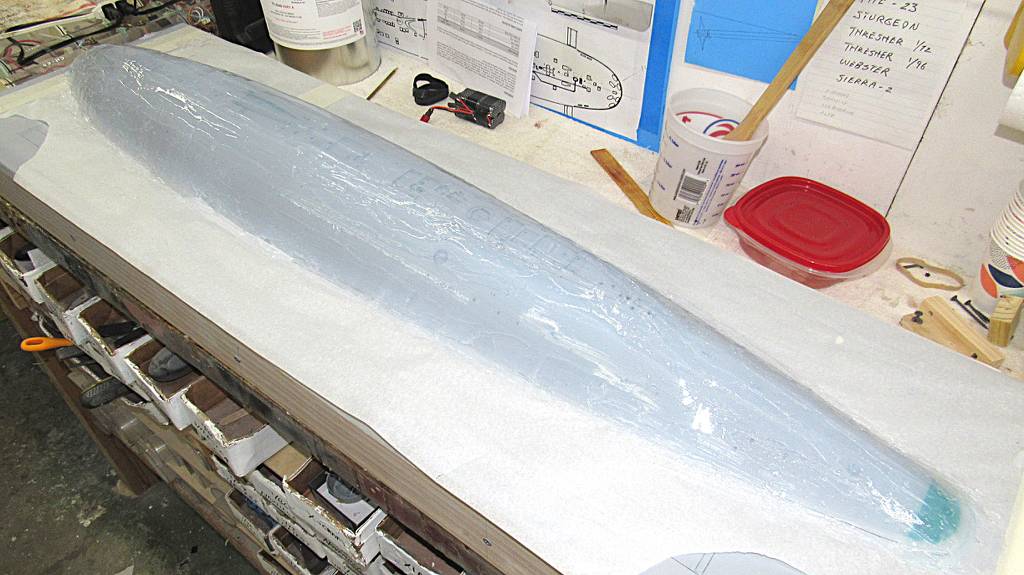
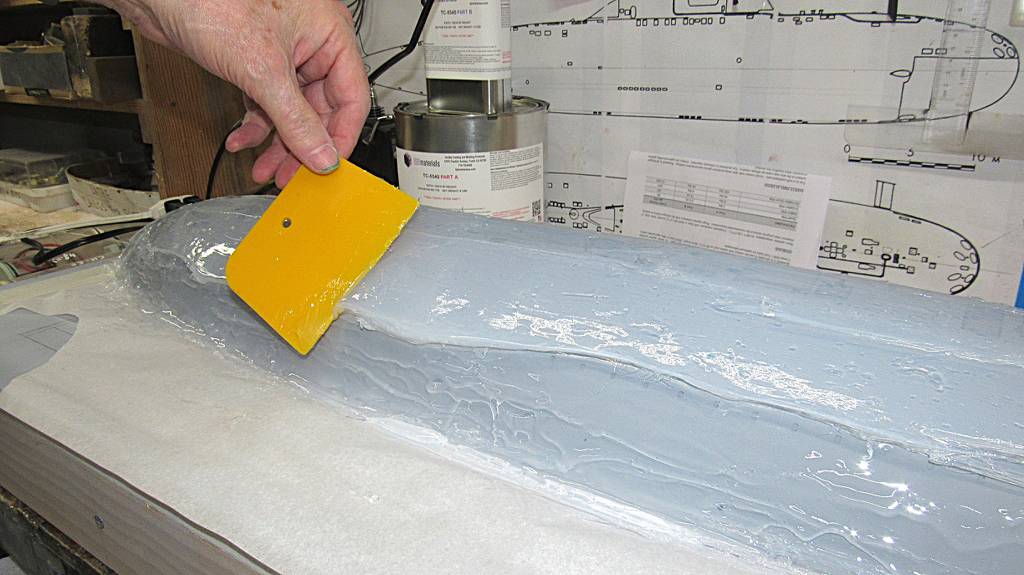
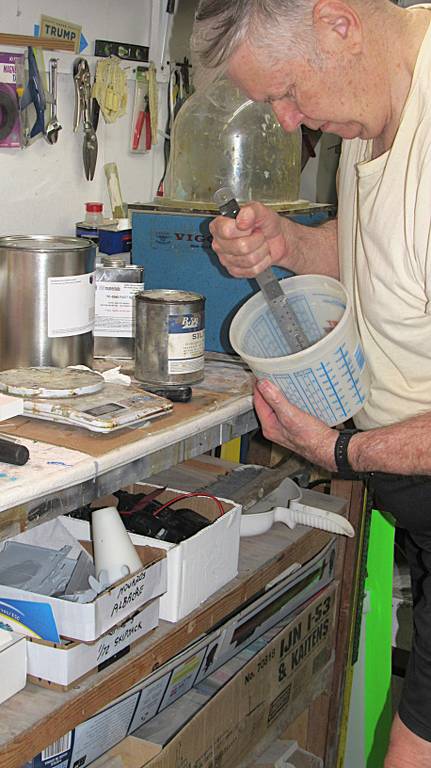
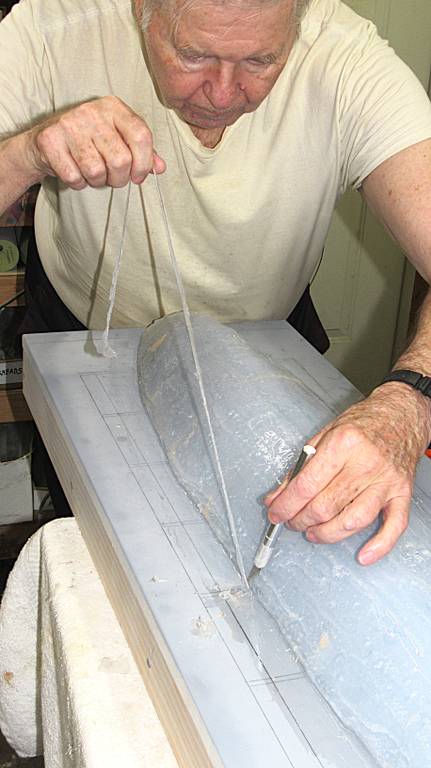
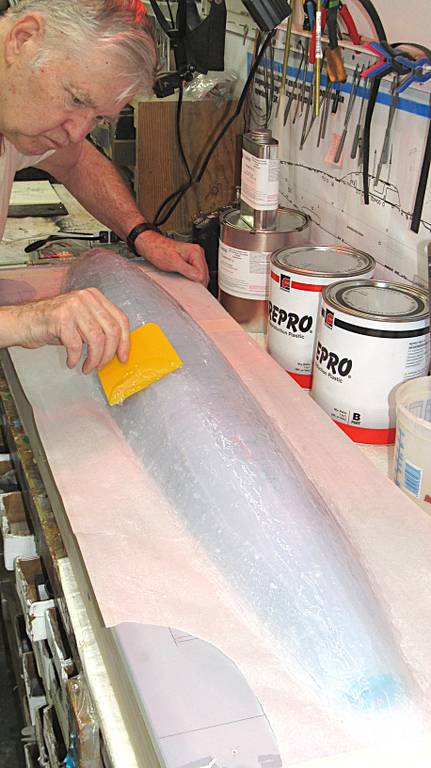
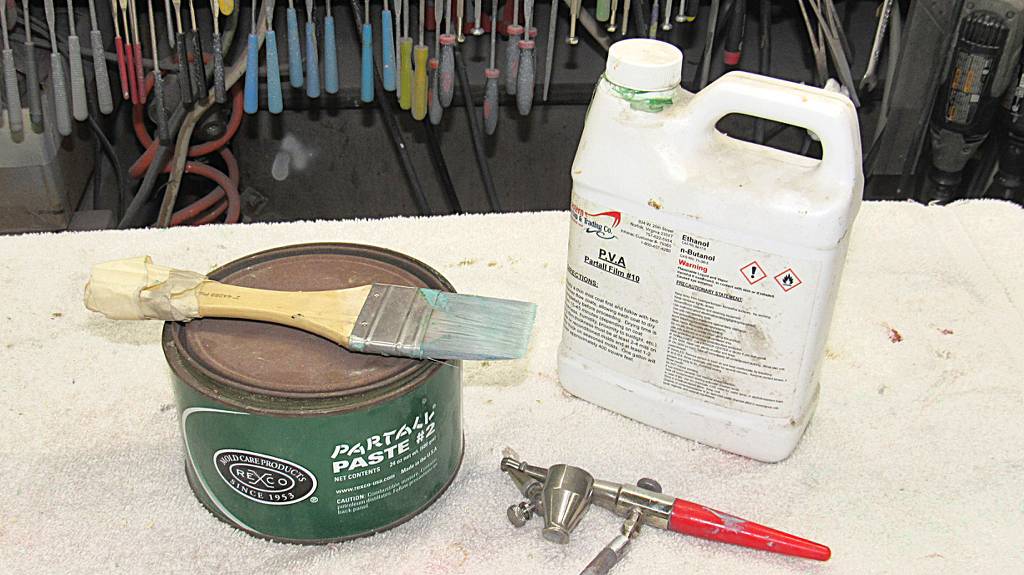
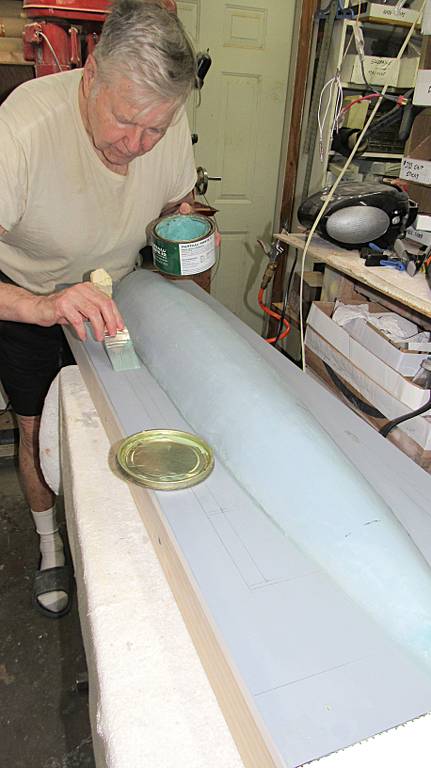
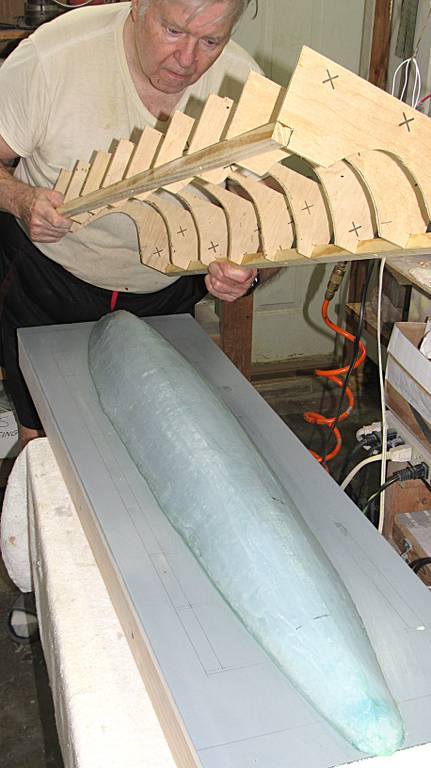
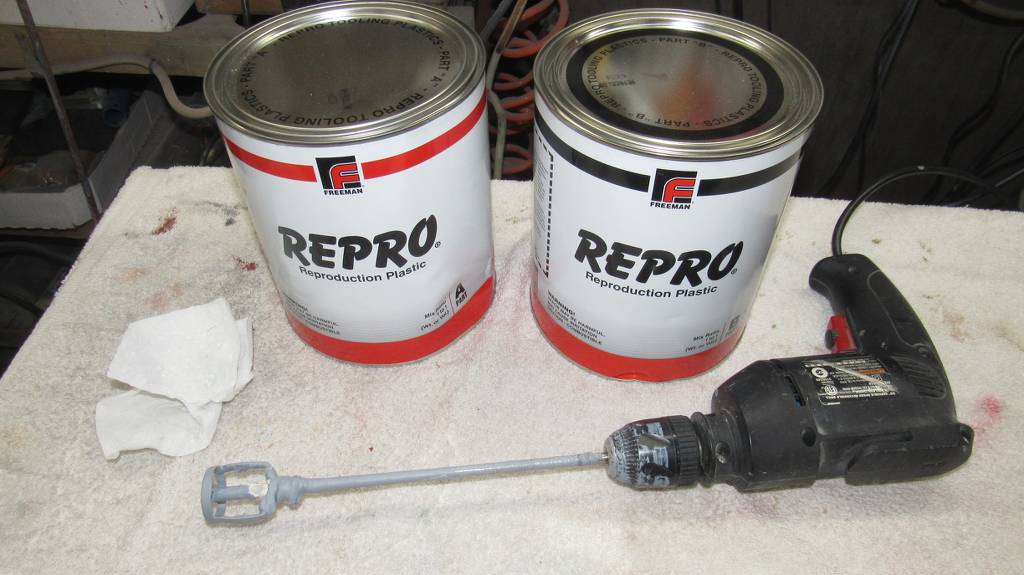
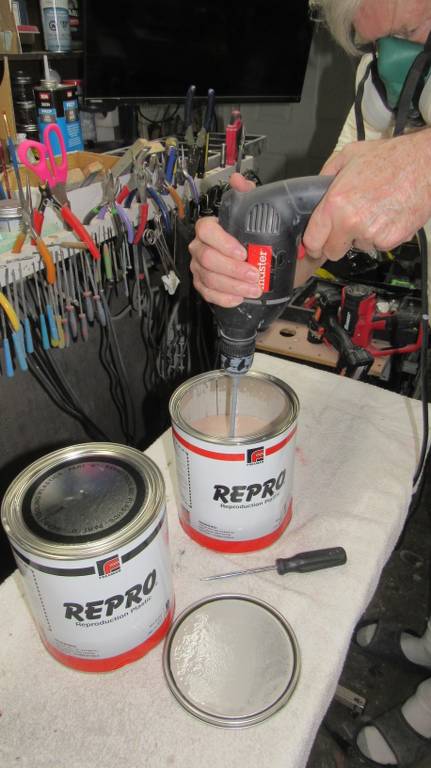
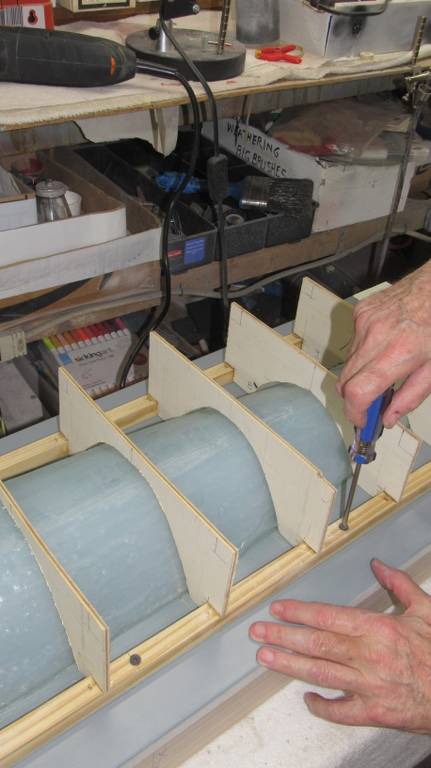
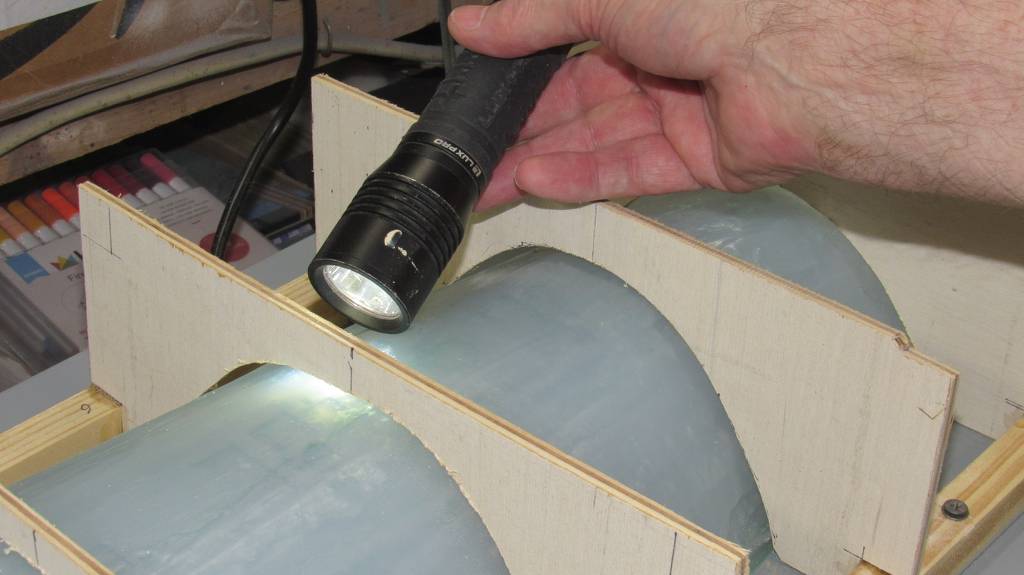
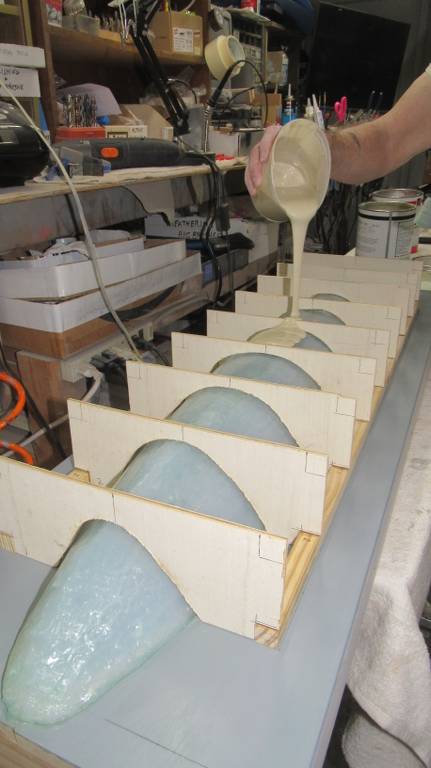
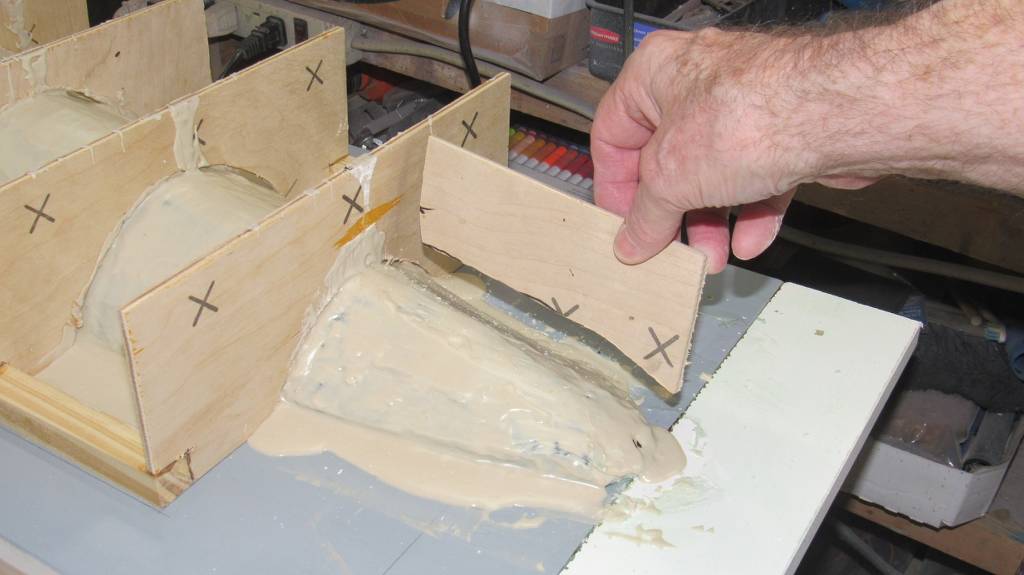
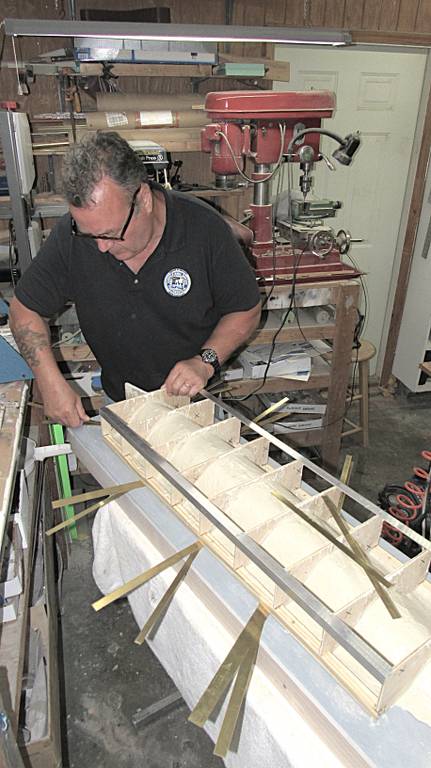
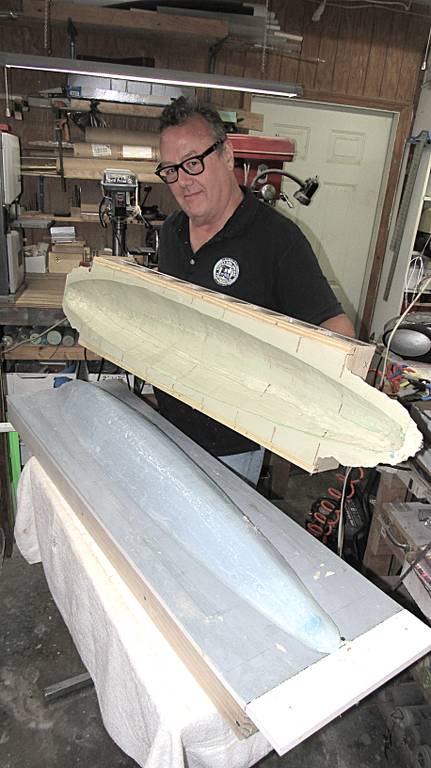
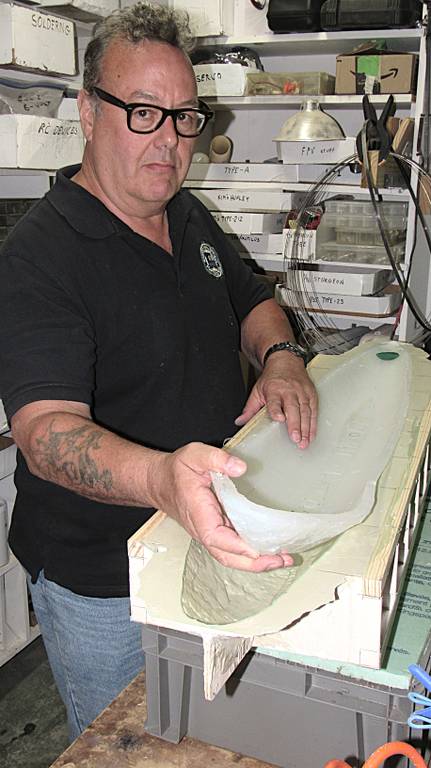
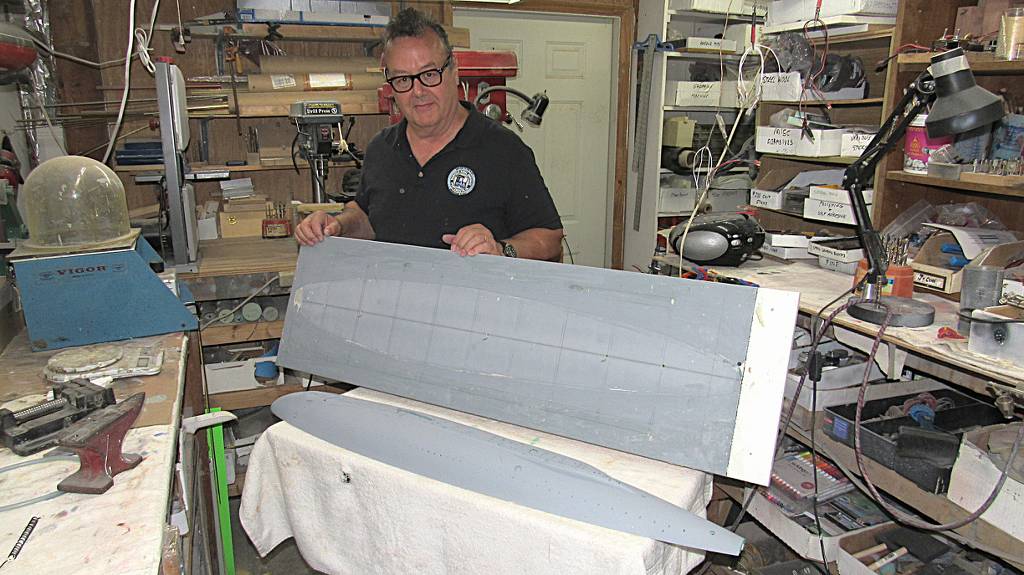
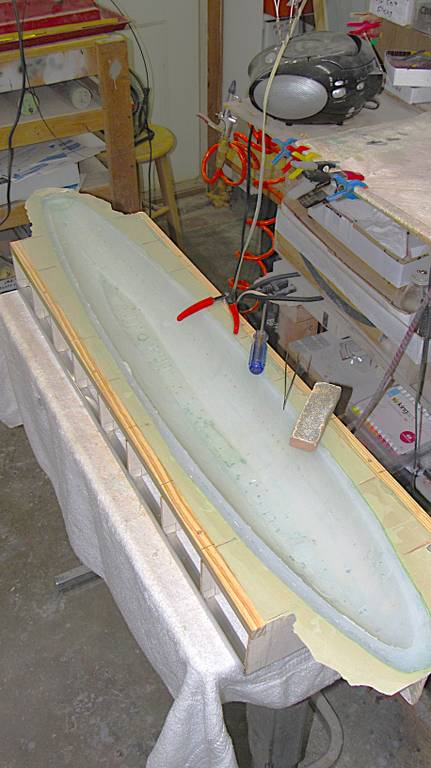
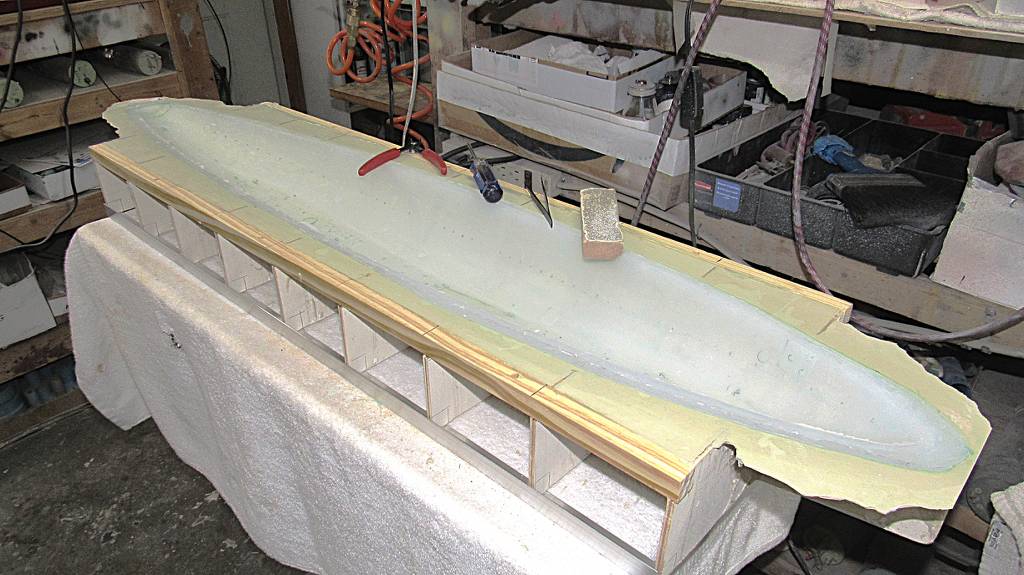
I was handed this 1/48 scale resin printed master to turn into tooling from which GRP hulls, resin appendages, and metal propellers and fittings would be produced for a very limited run of 'kits'.
That's my story and I'm sticking to it!
David
The Horrible
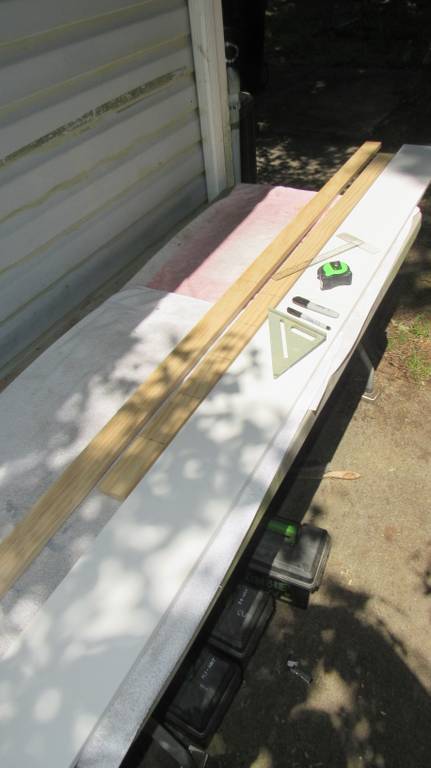
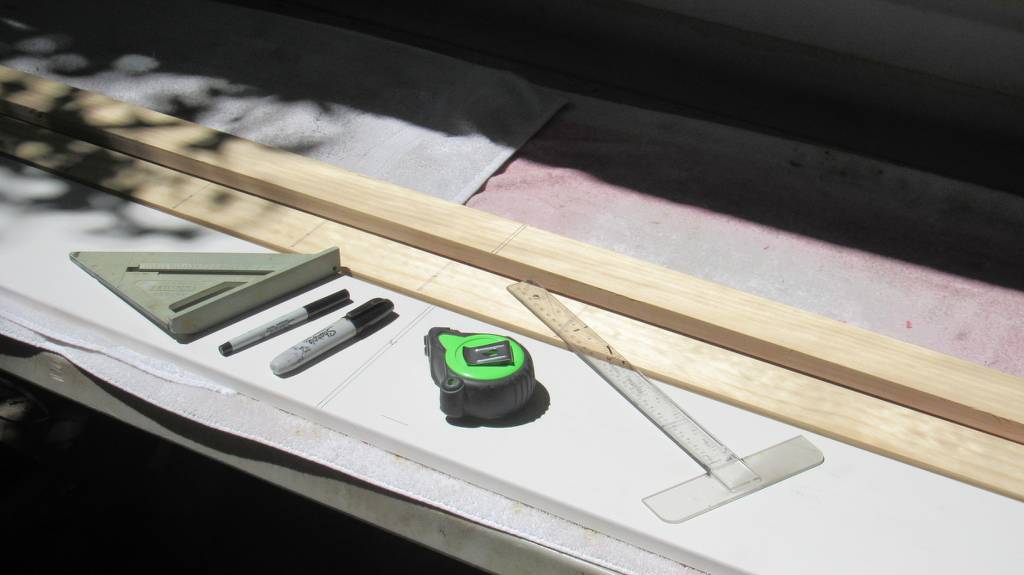
- Joined
- 18 March 2013
- Messages
- 1,586
- Reaction score
- 5,791
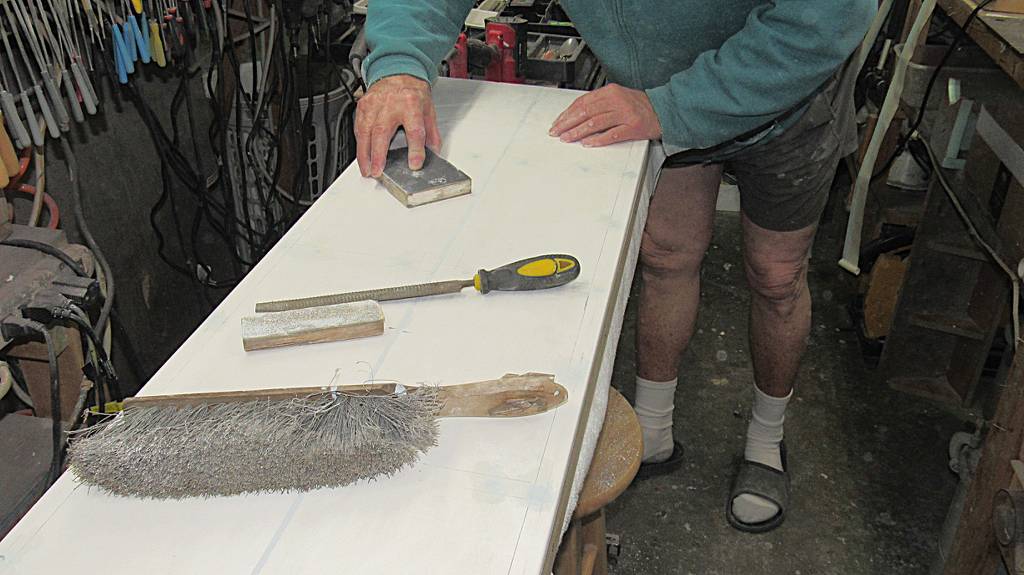
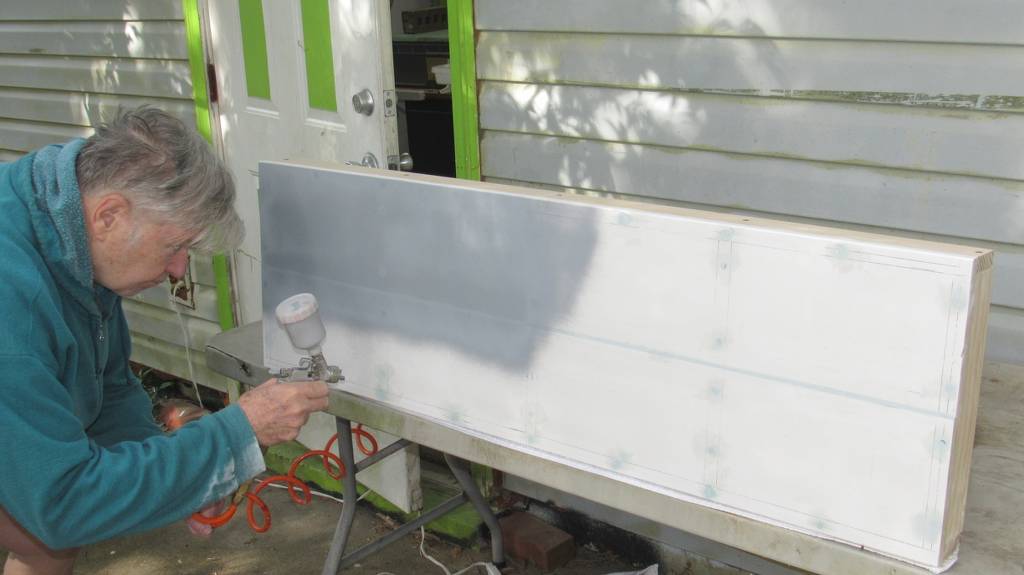
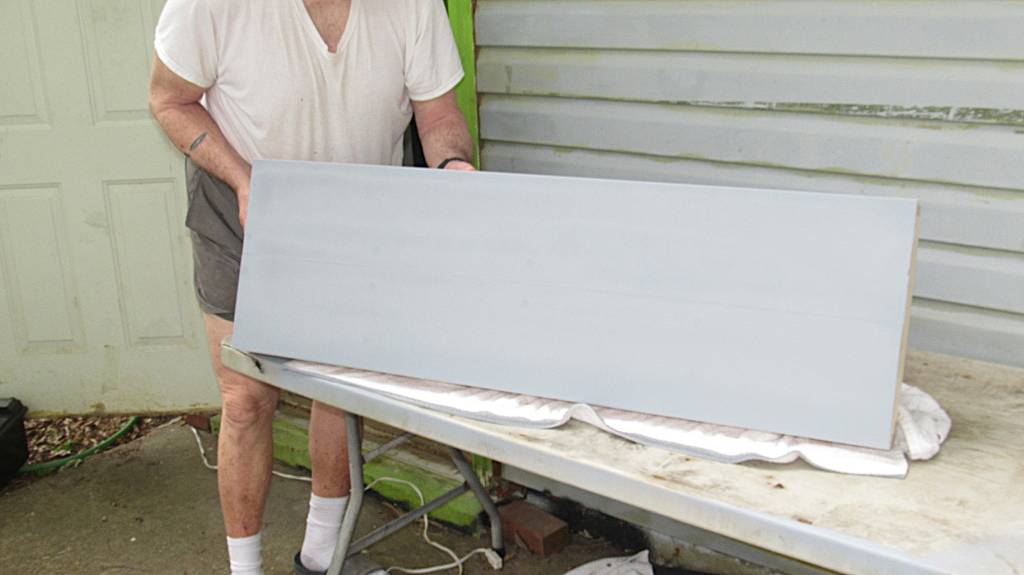
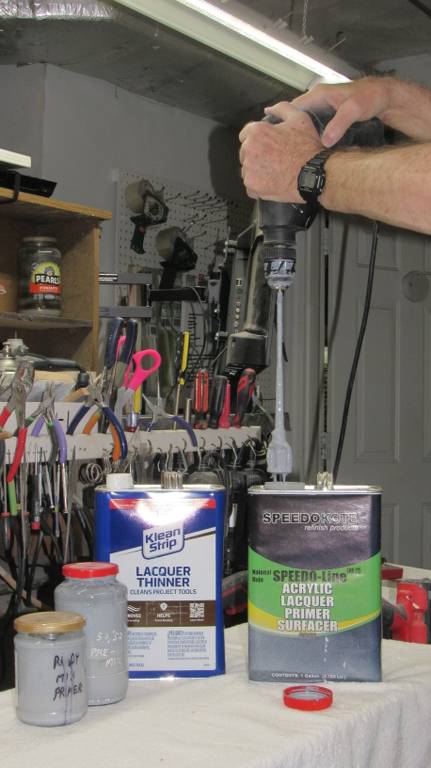
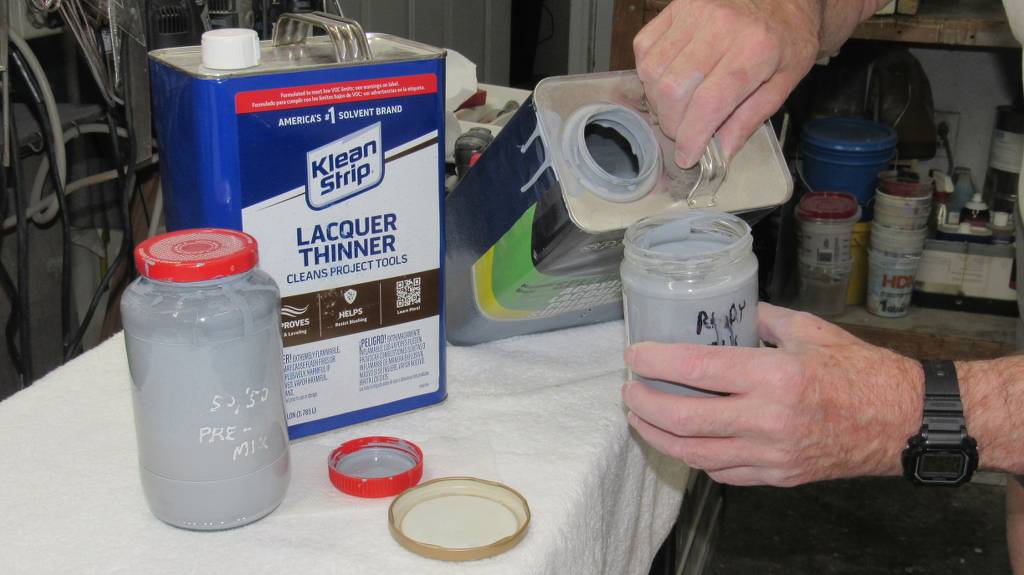
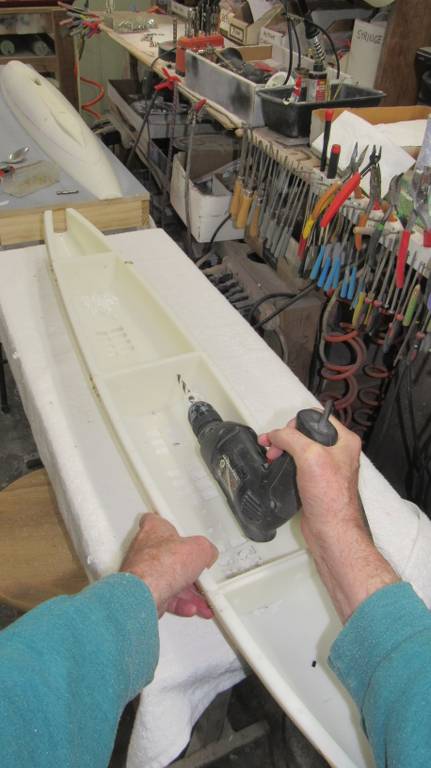
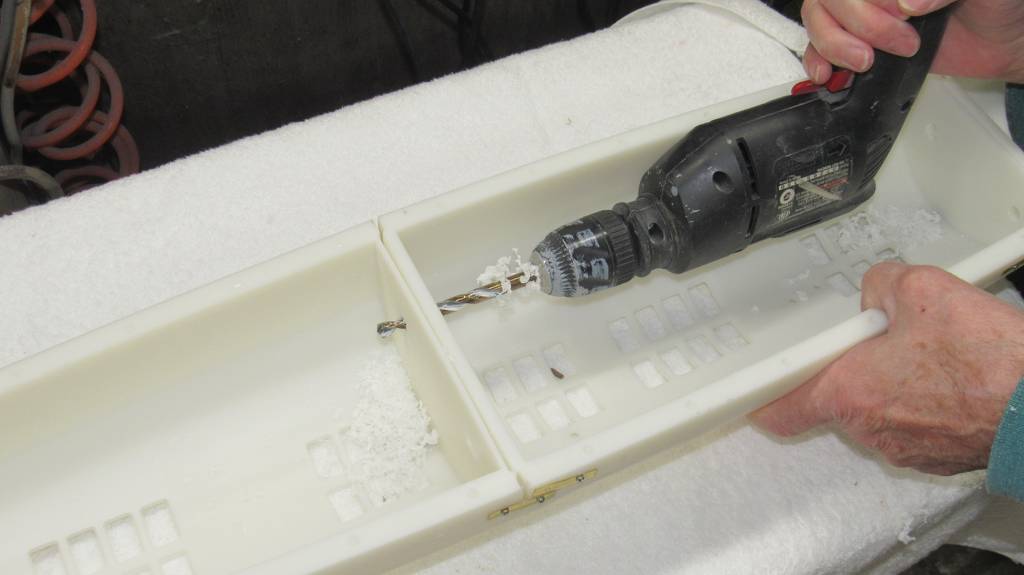
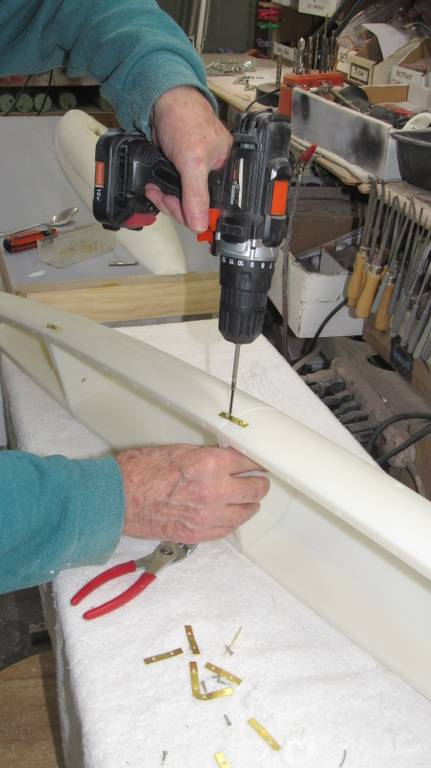
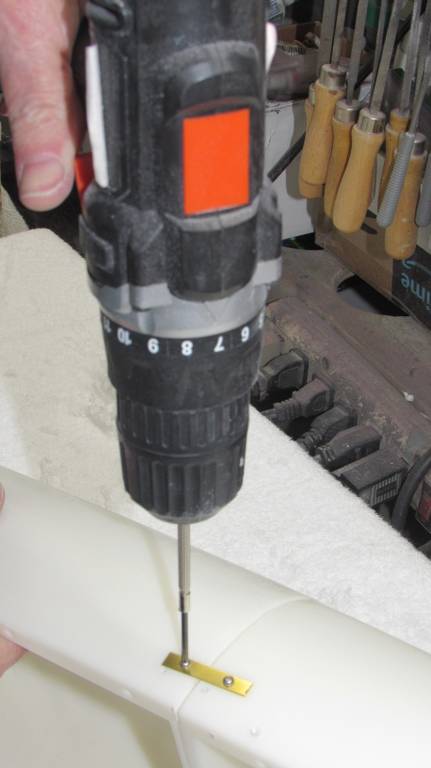
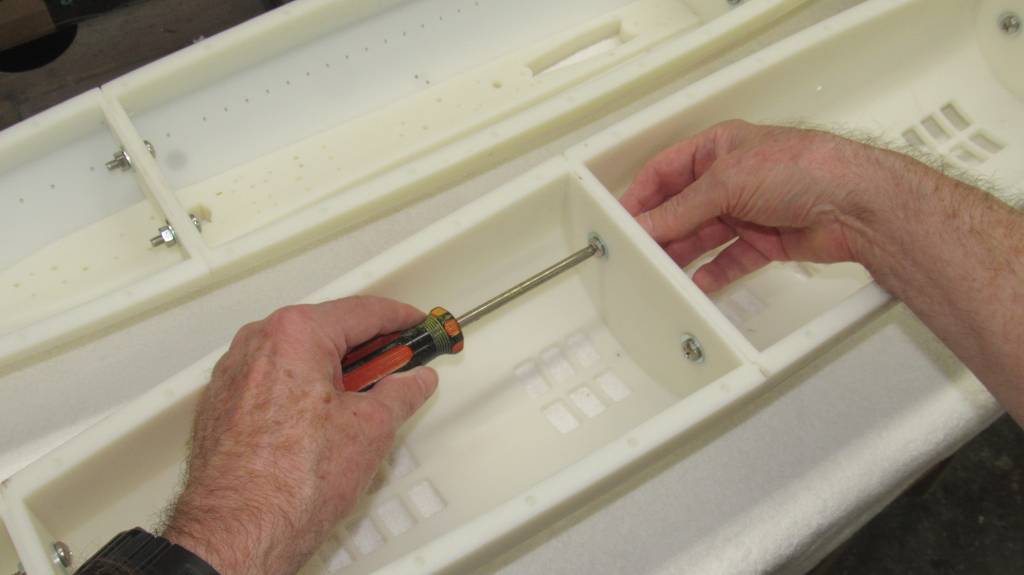
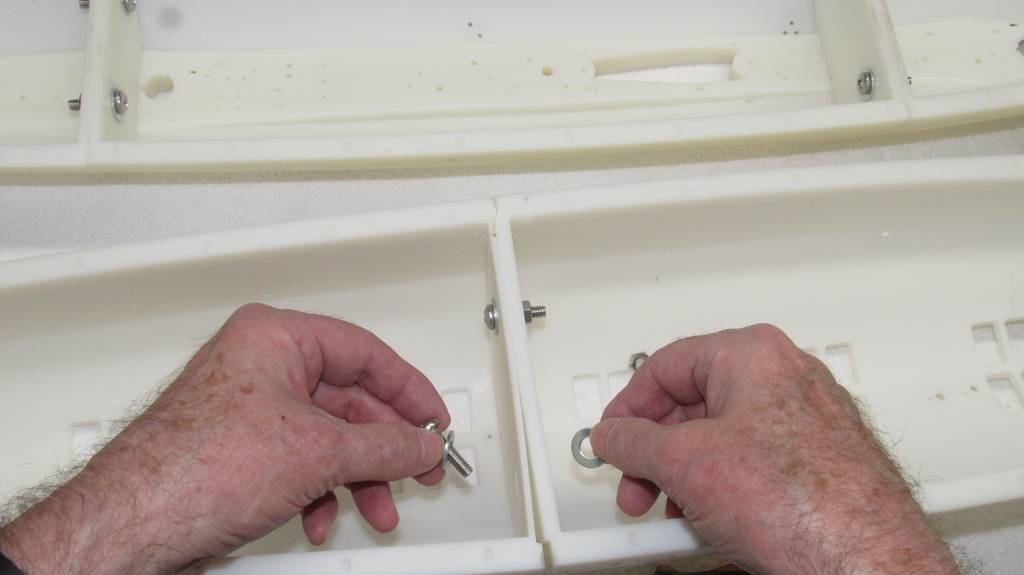
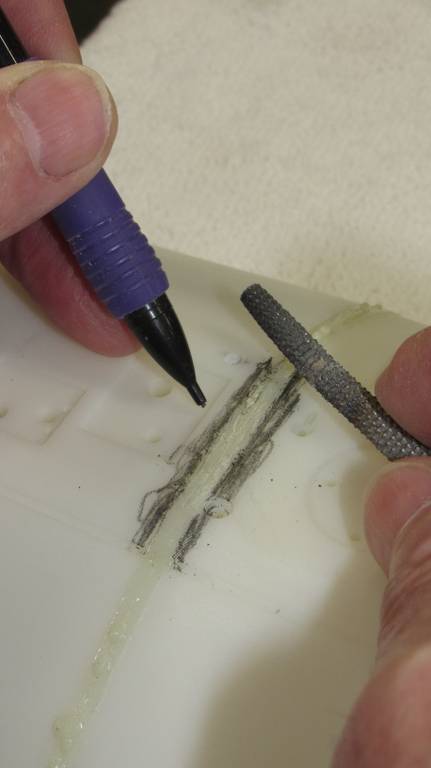
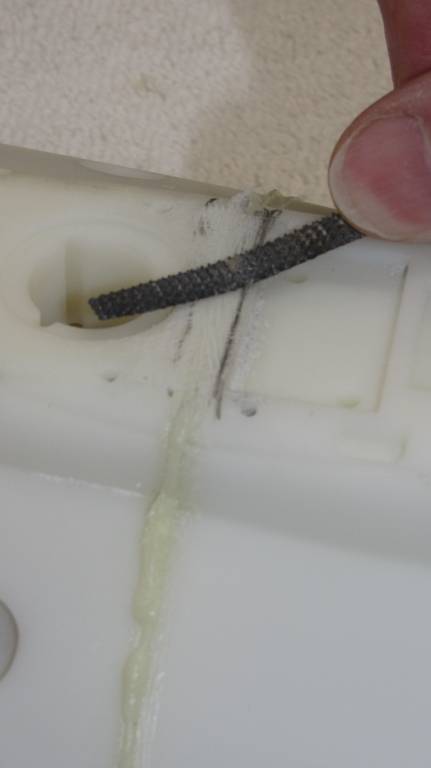
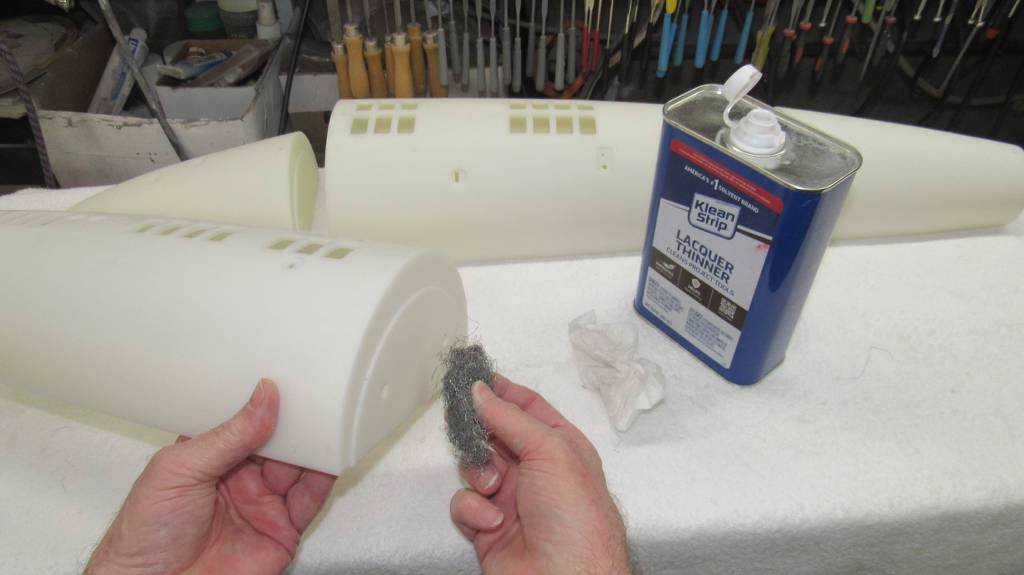
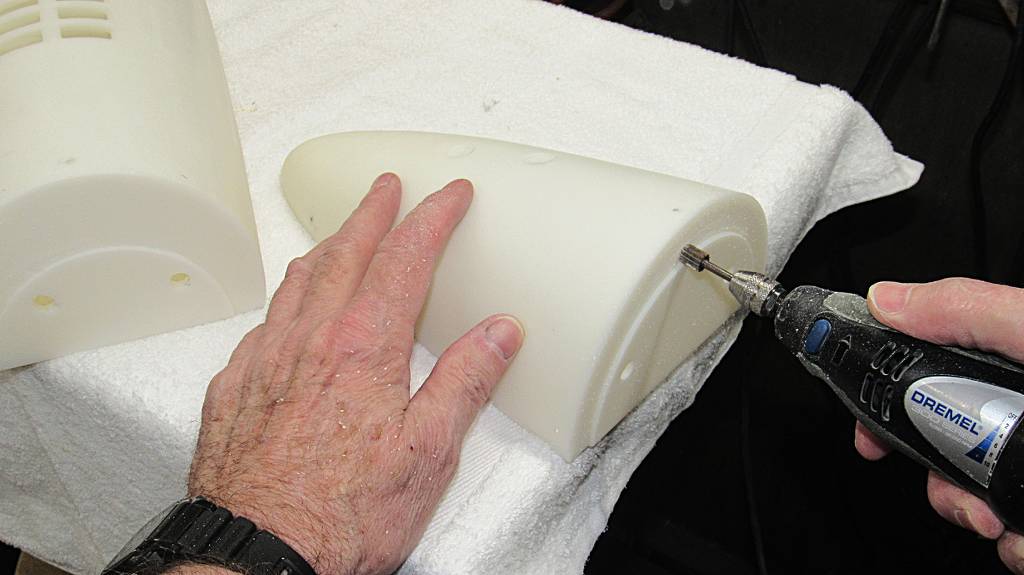
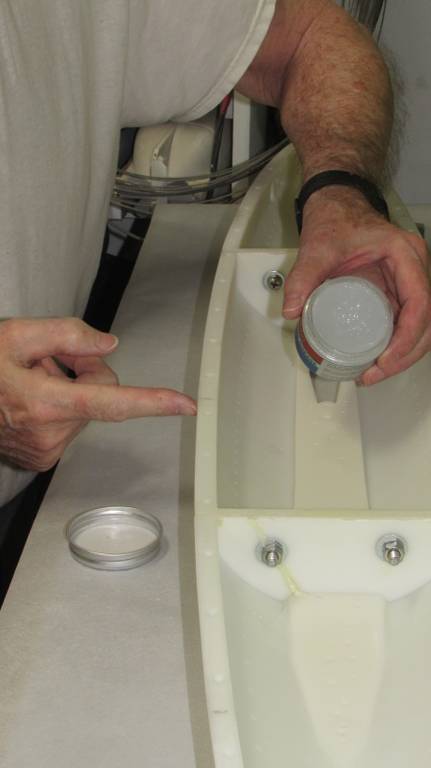
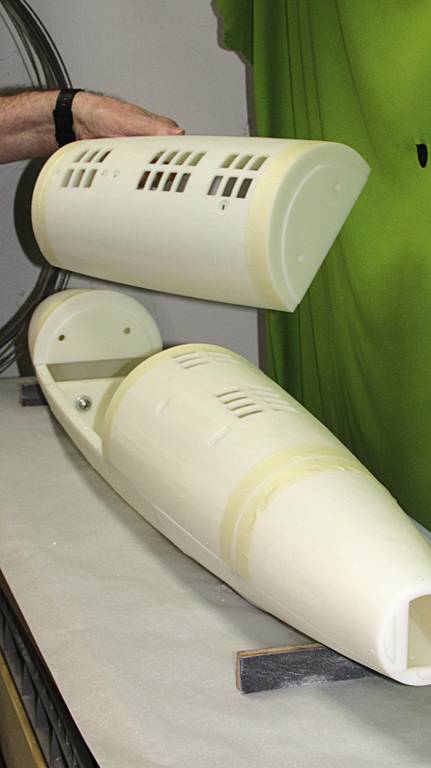
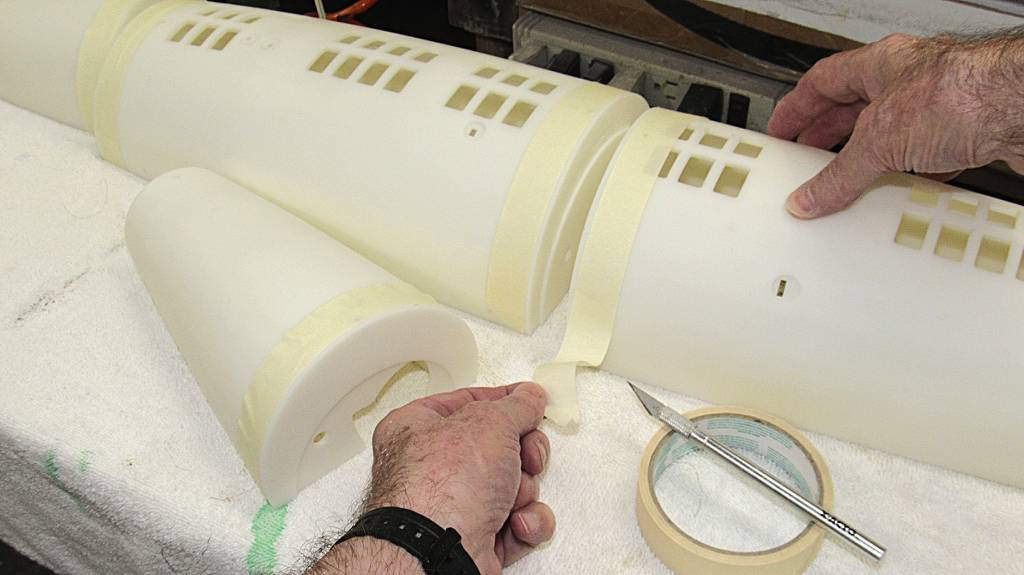
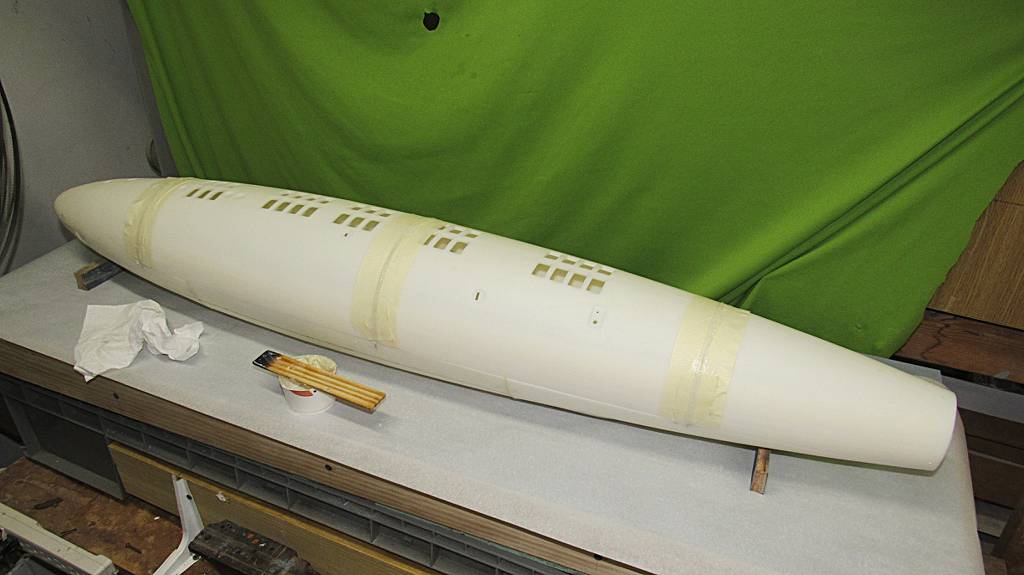
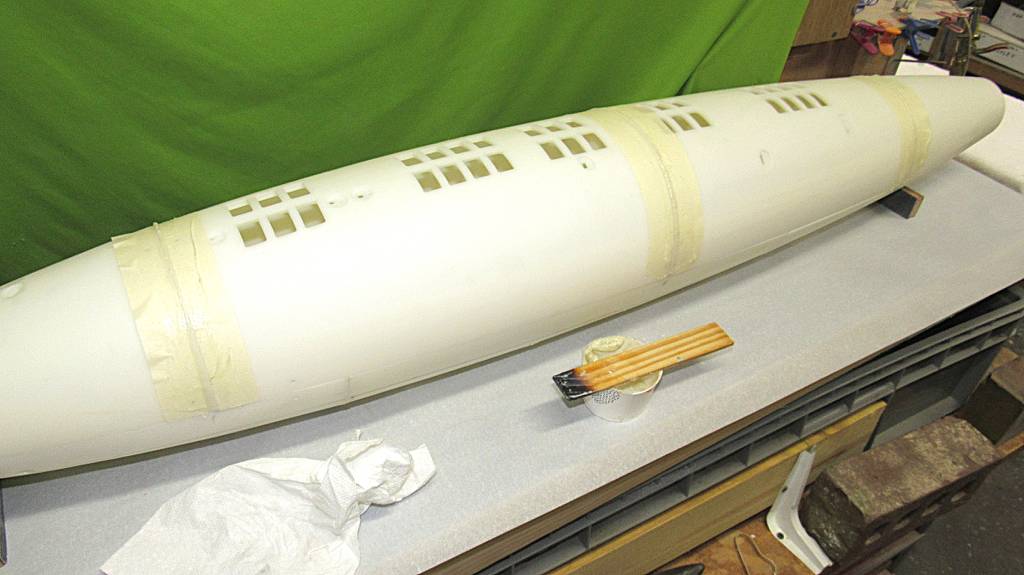
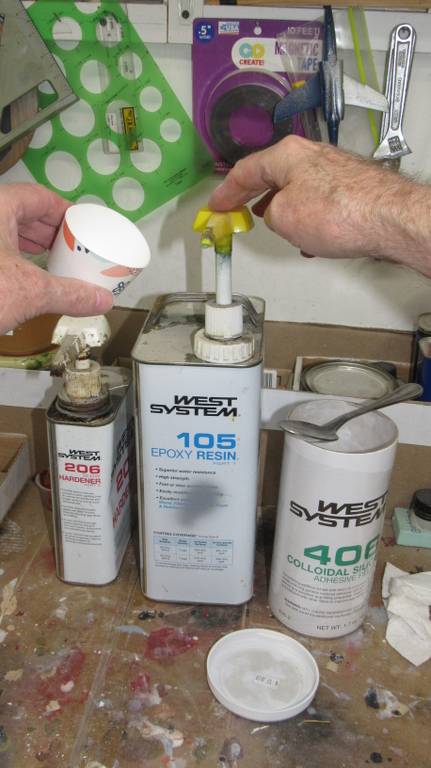
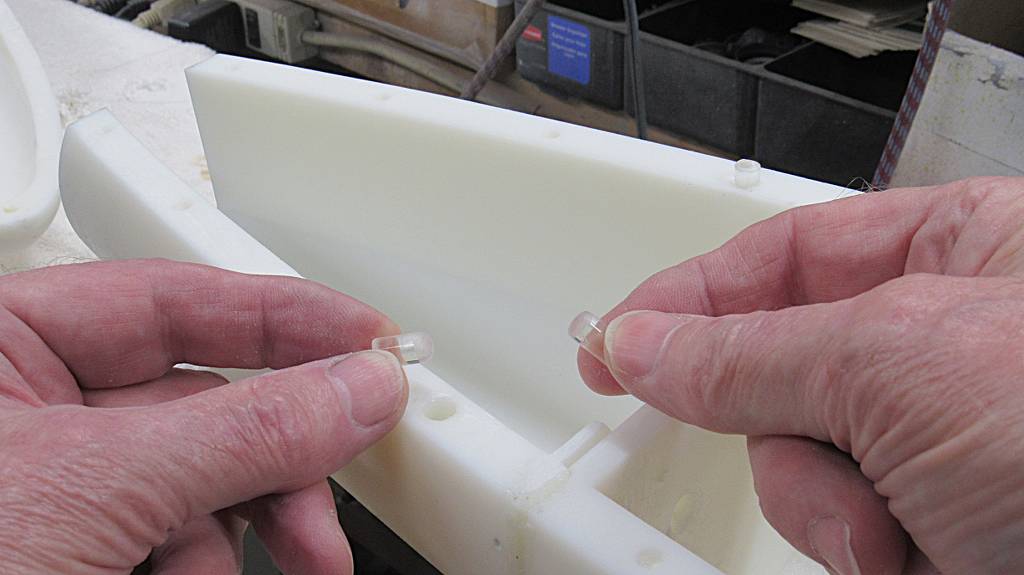
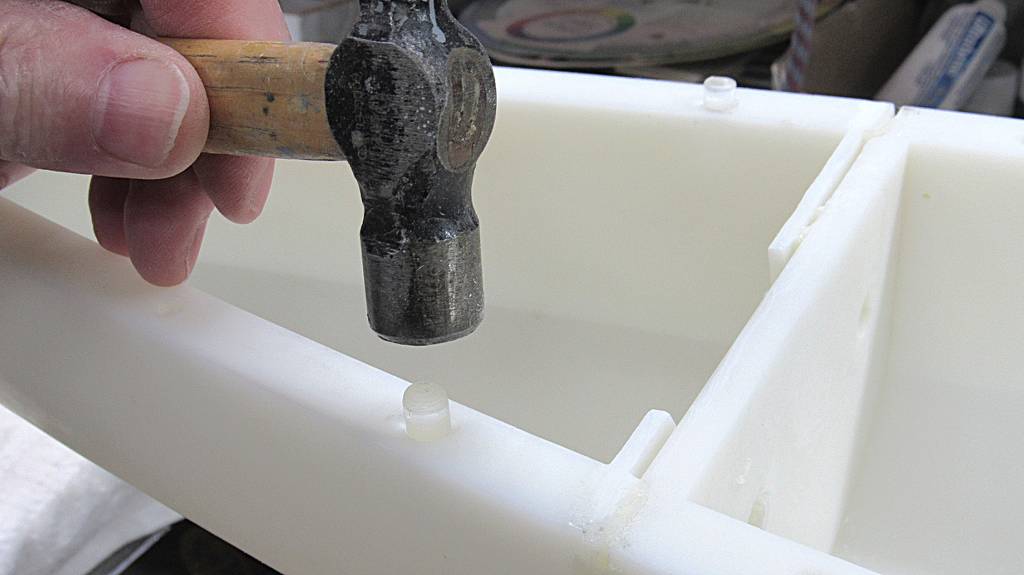
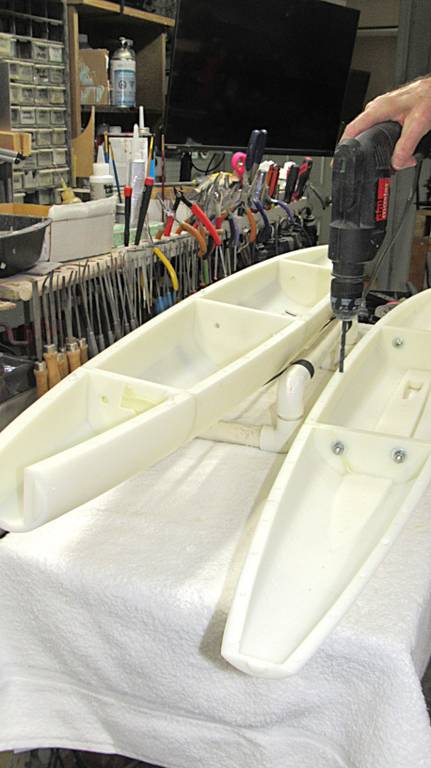
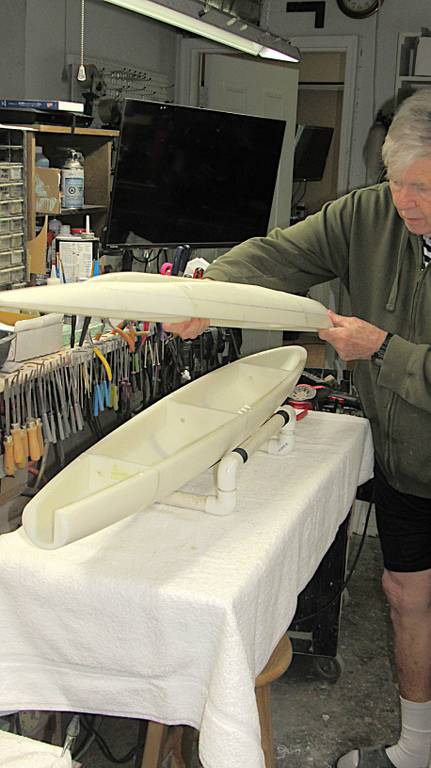
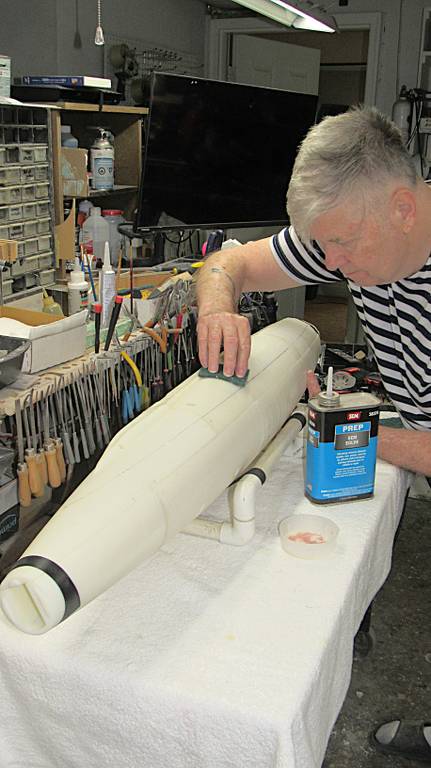
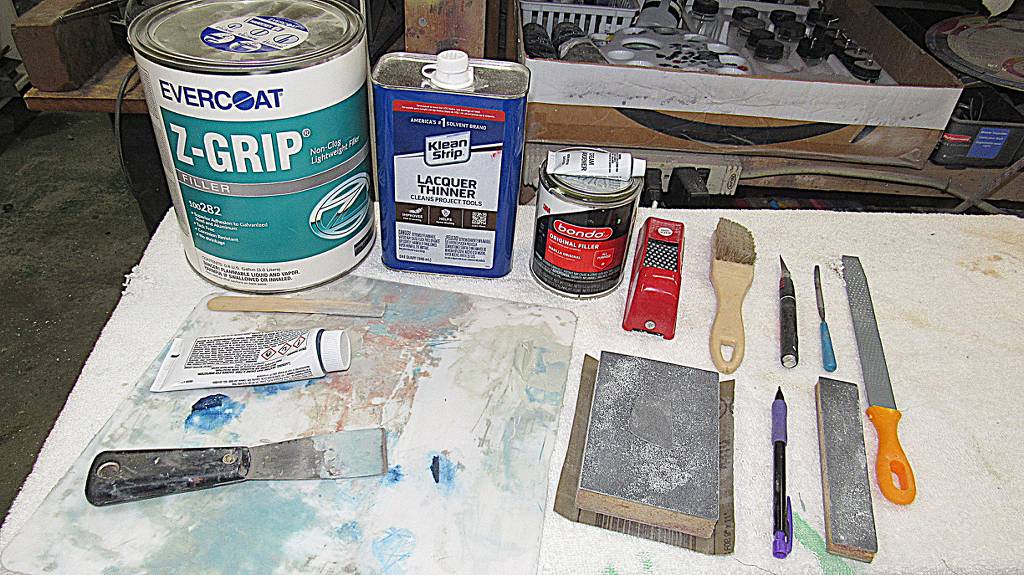
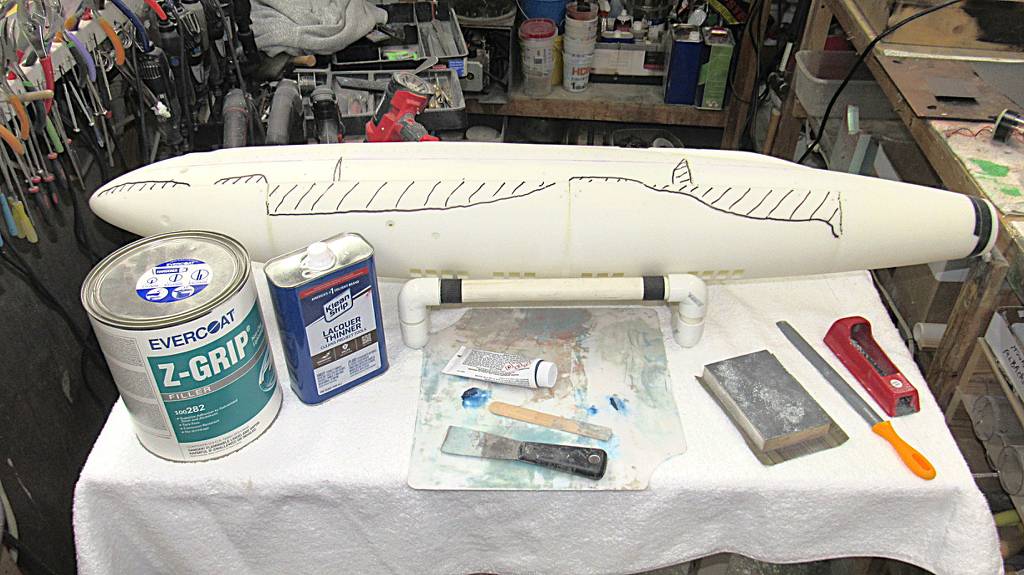
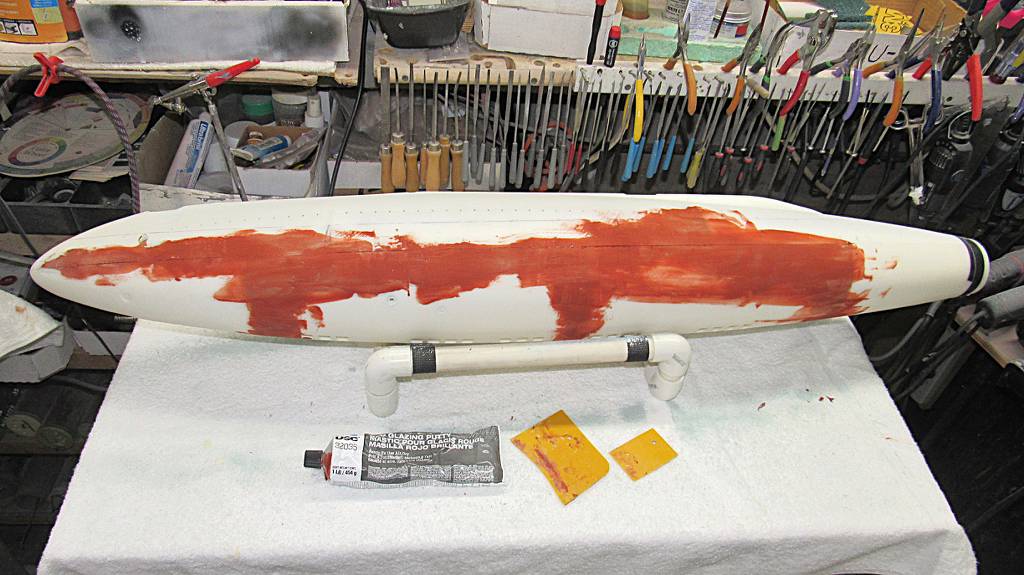
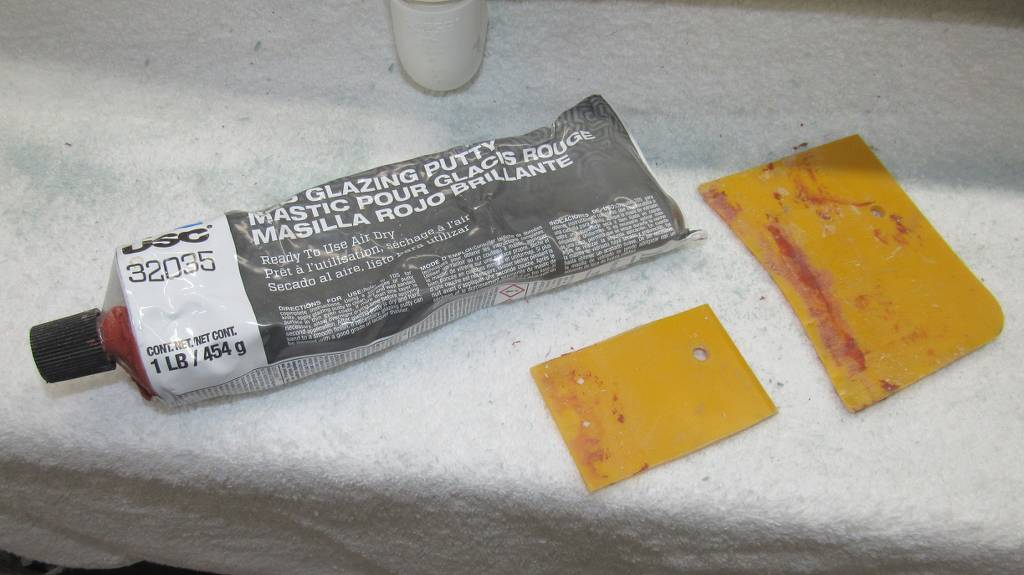
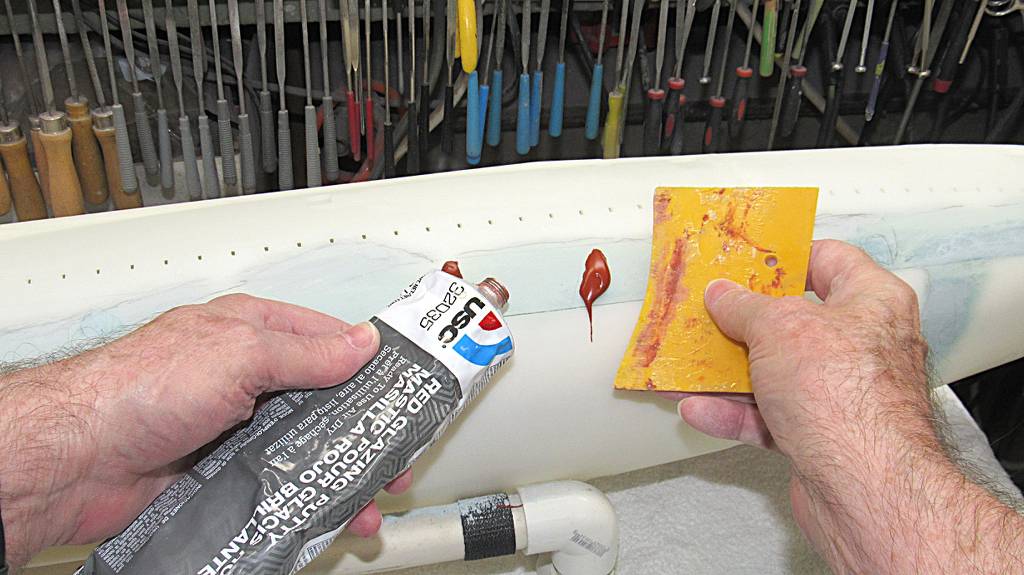
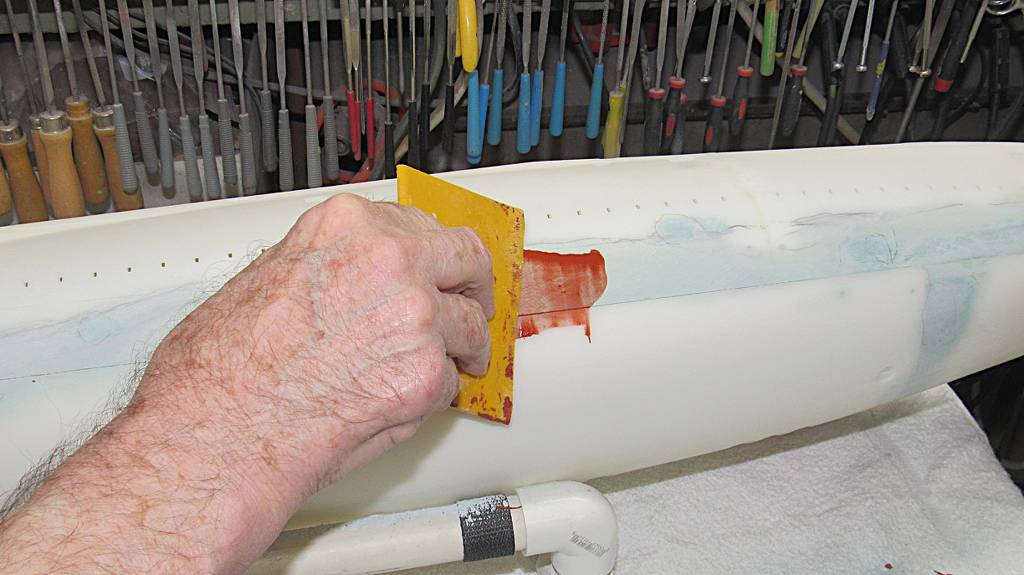
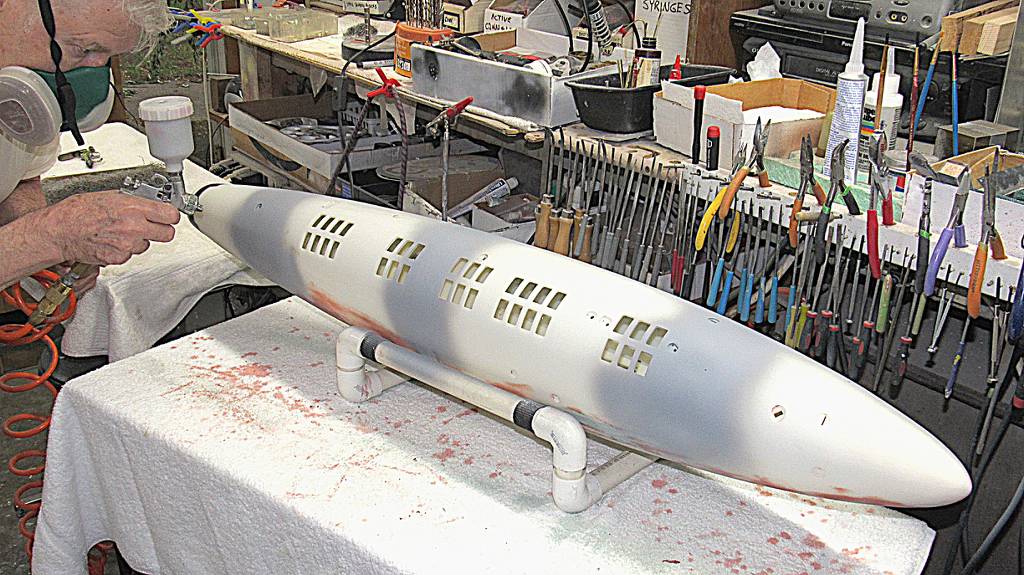
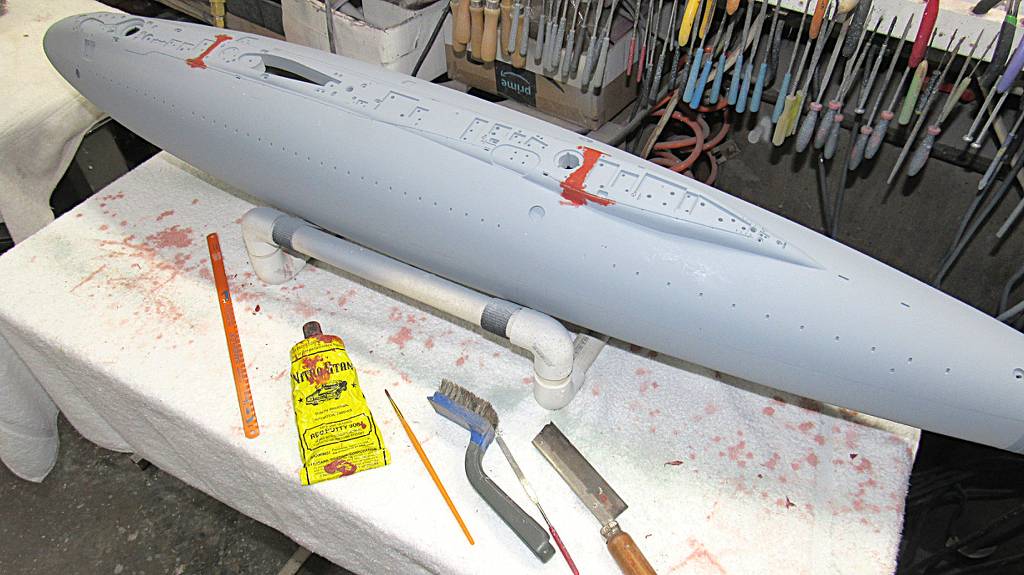
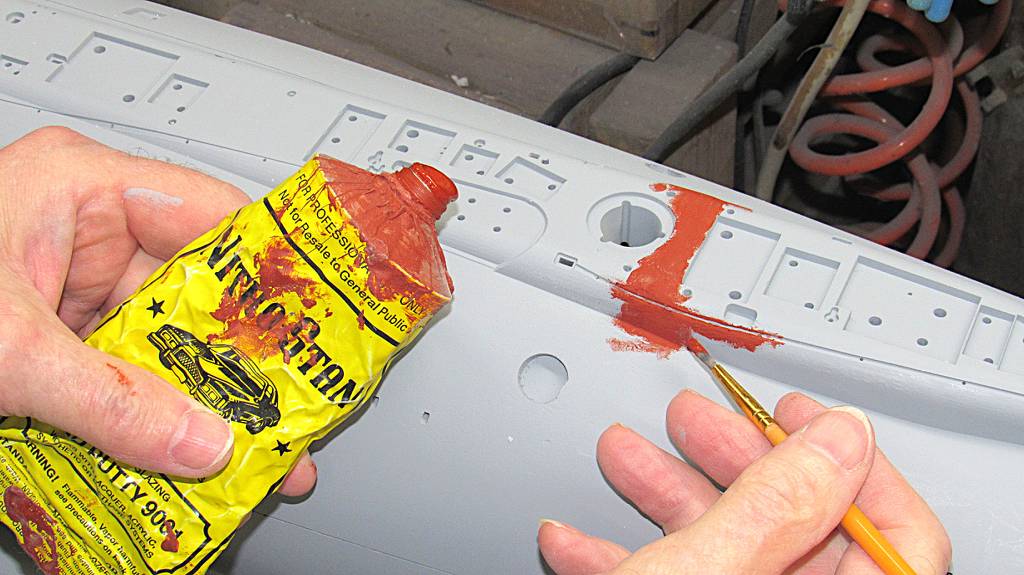
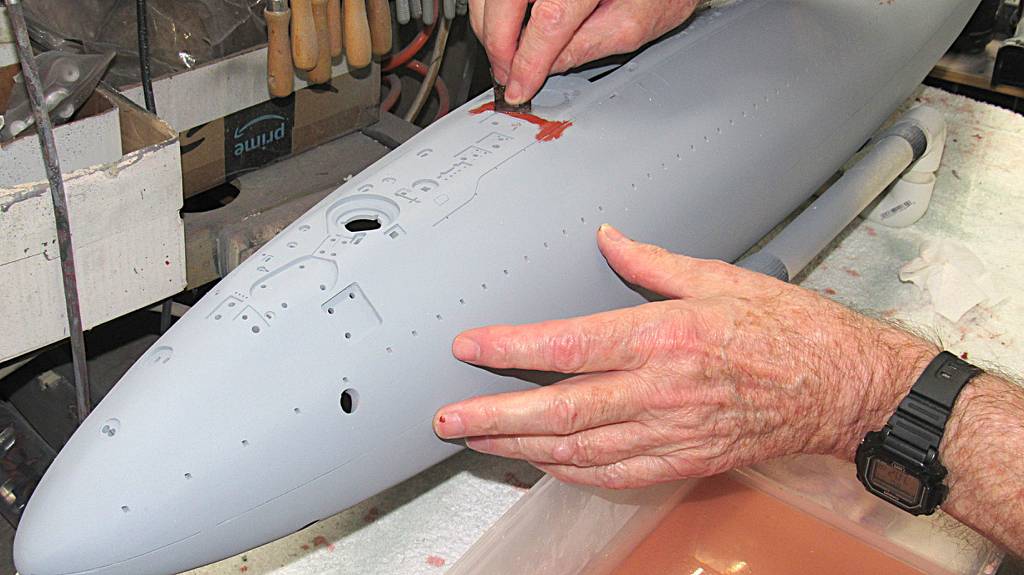
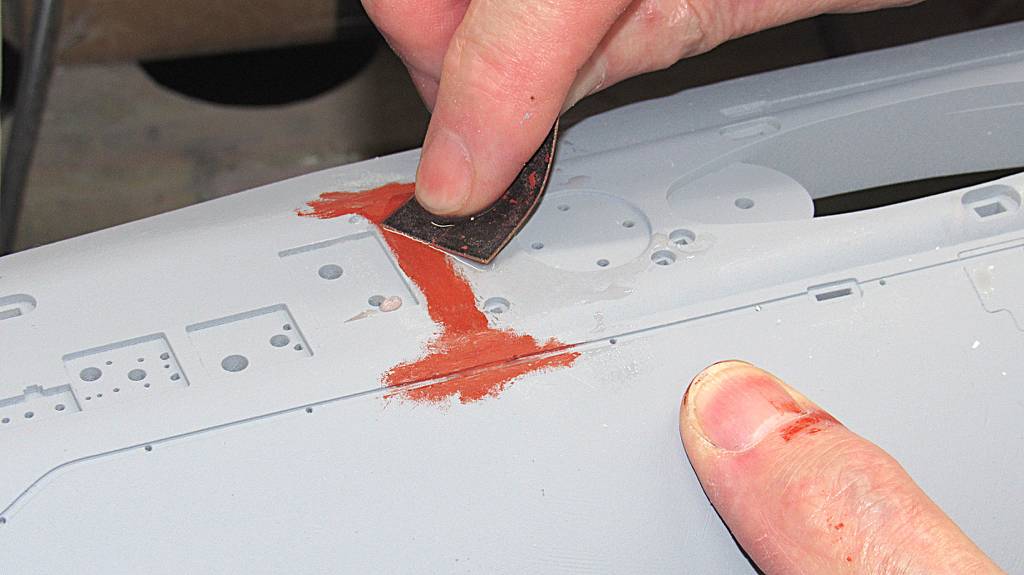
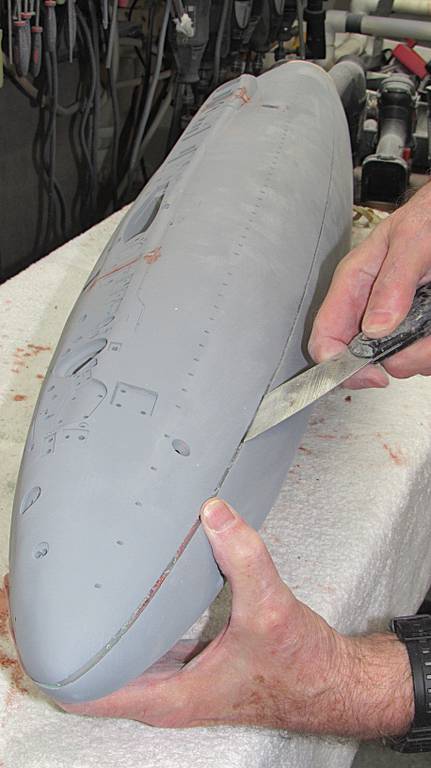
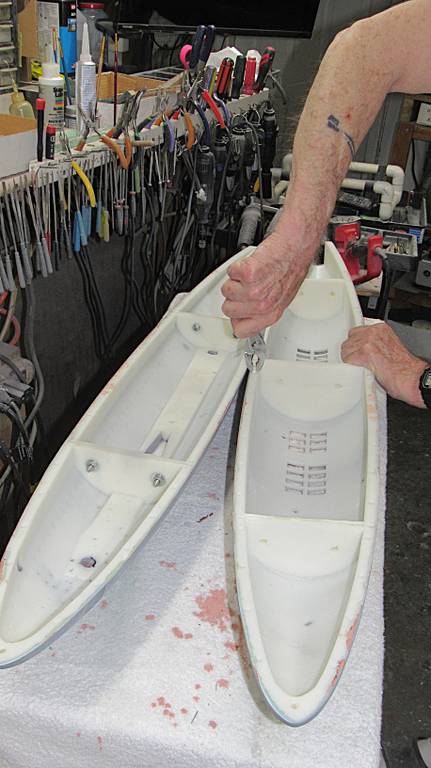
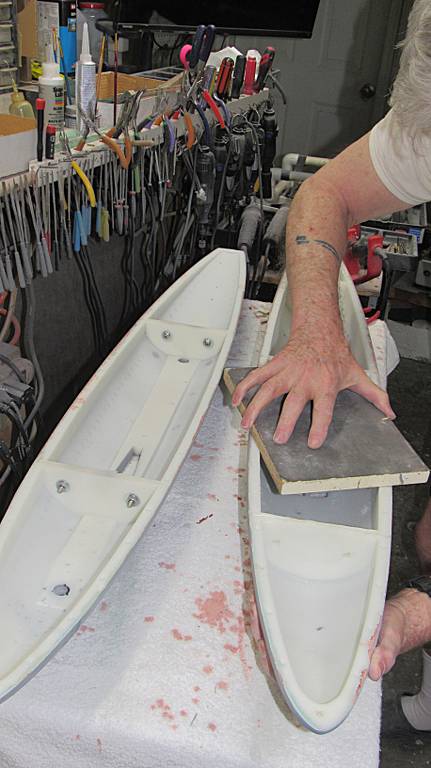
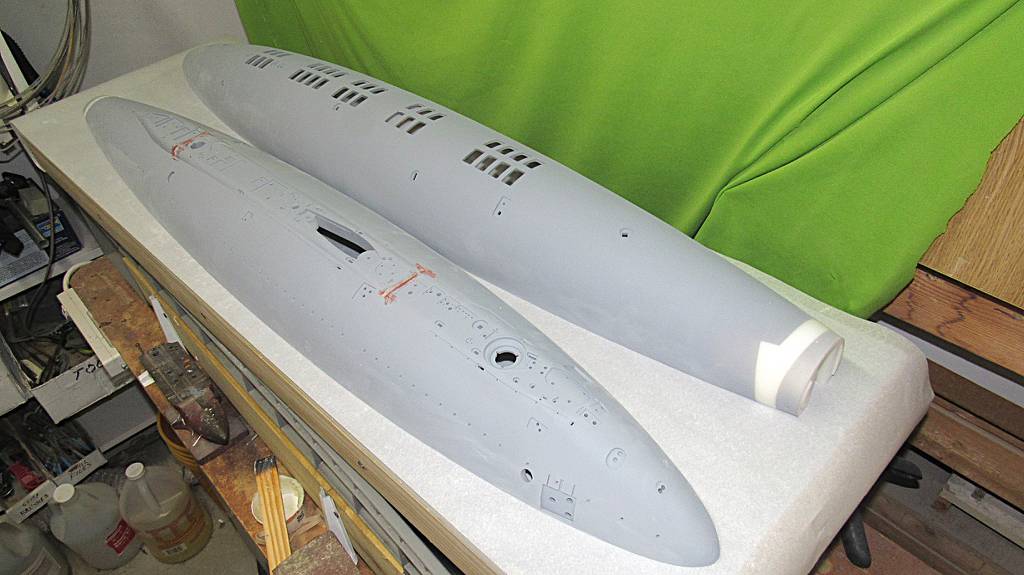
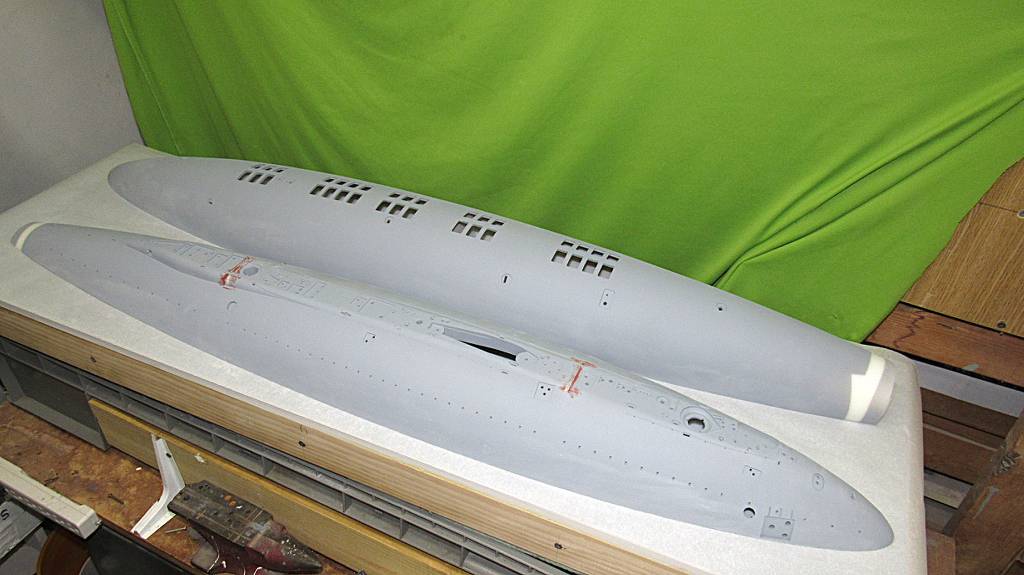
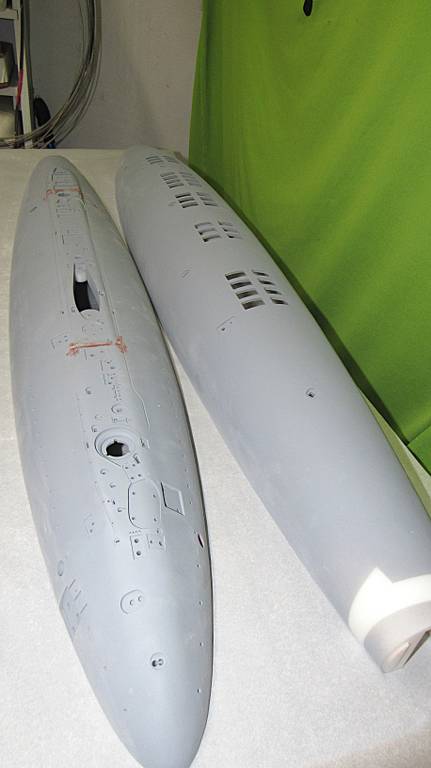
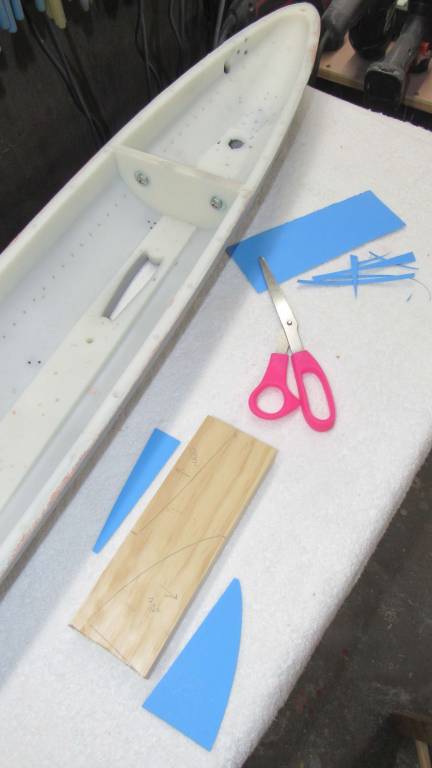
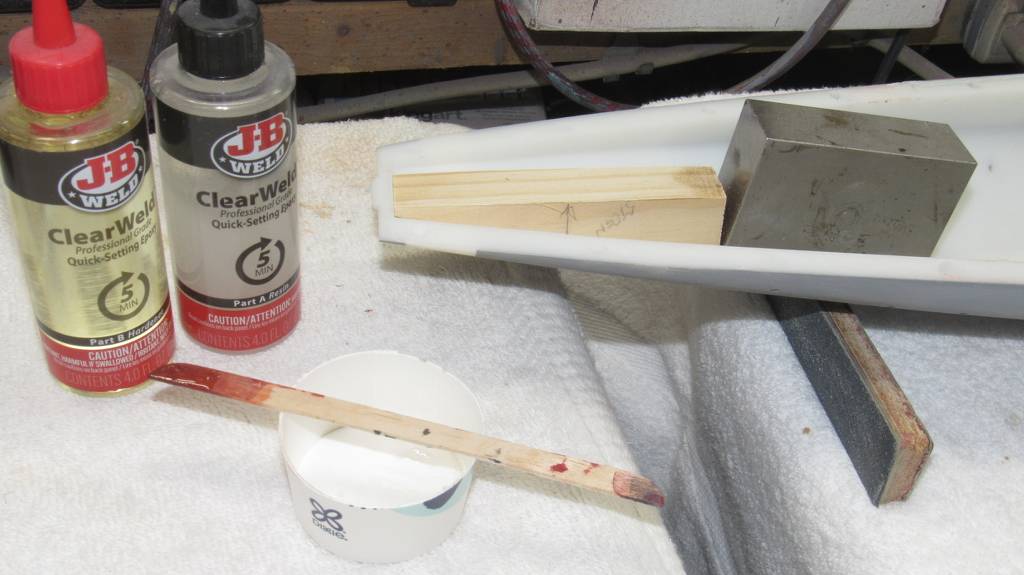
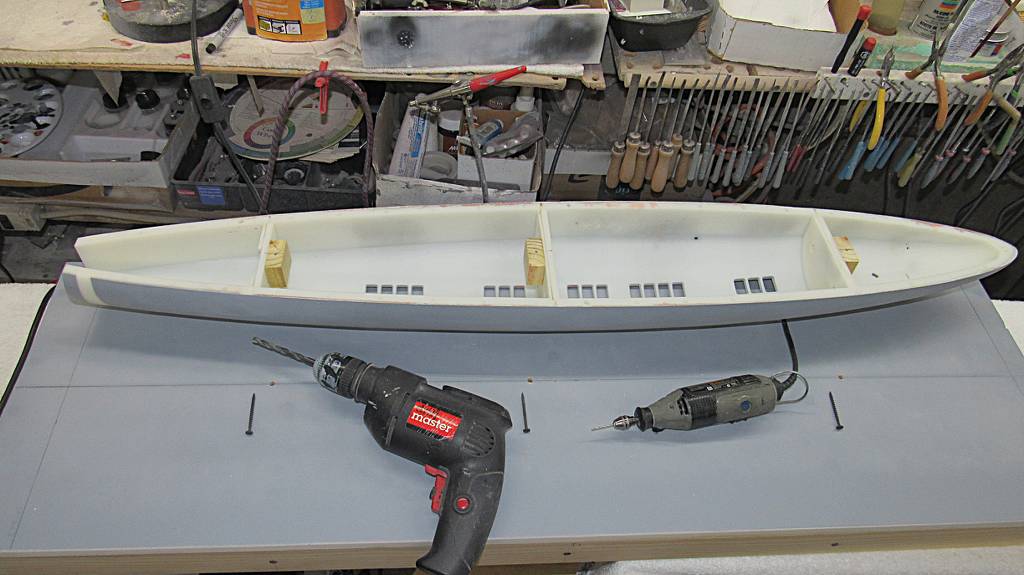
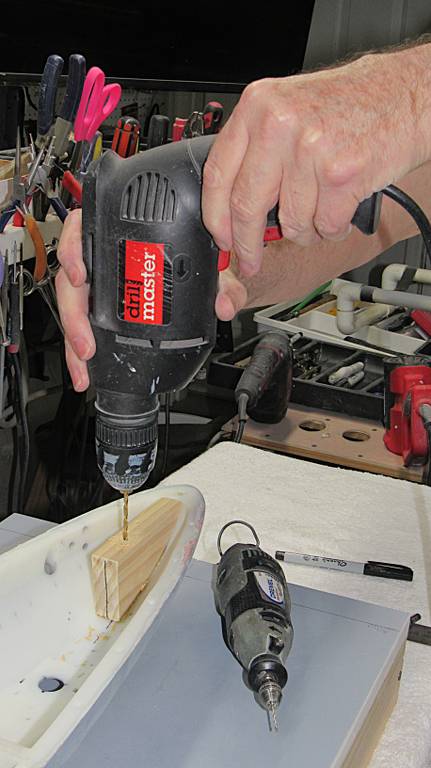
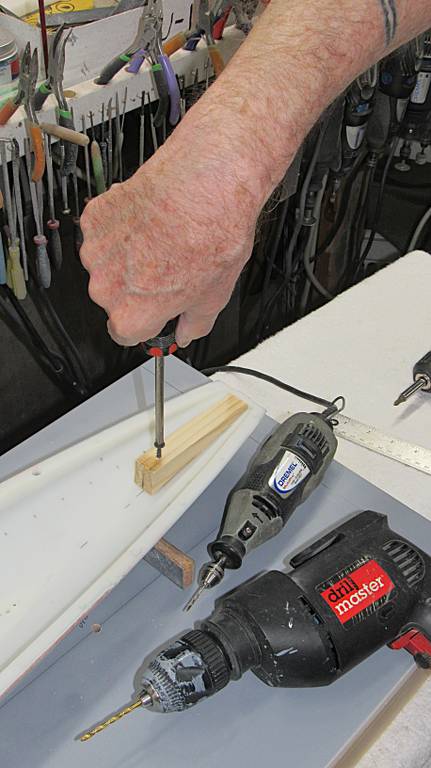
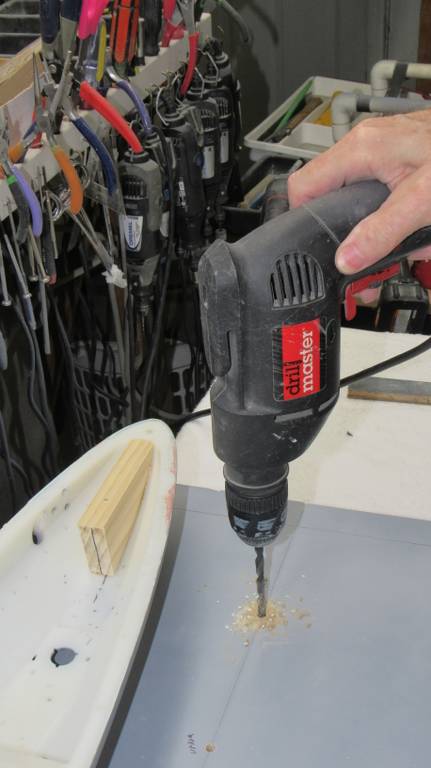
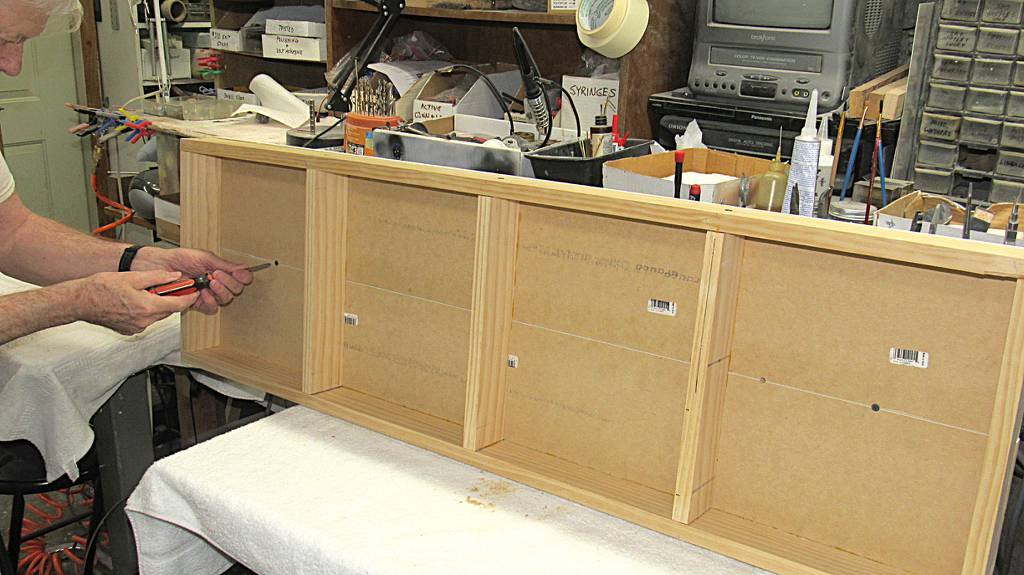
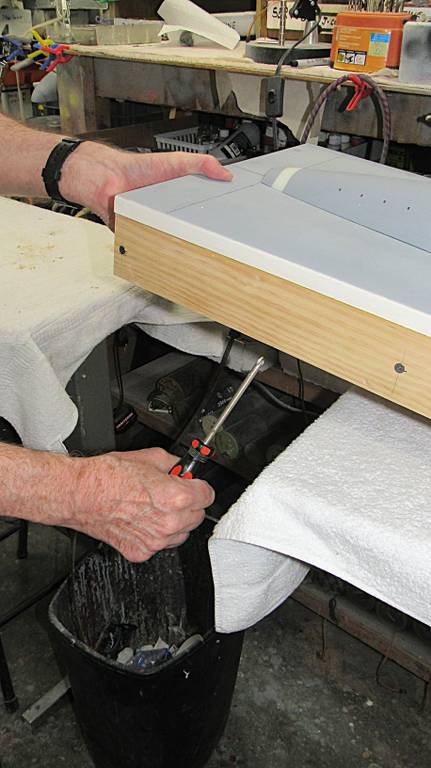
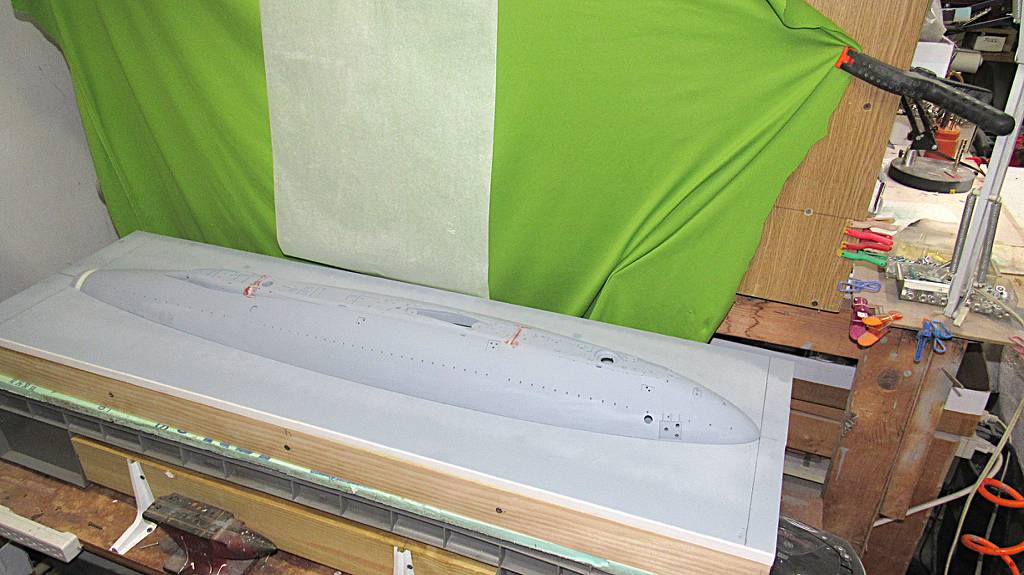
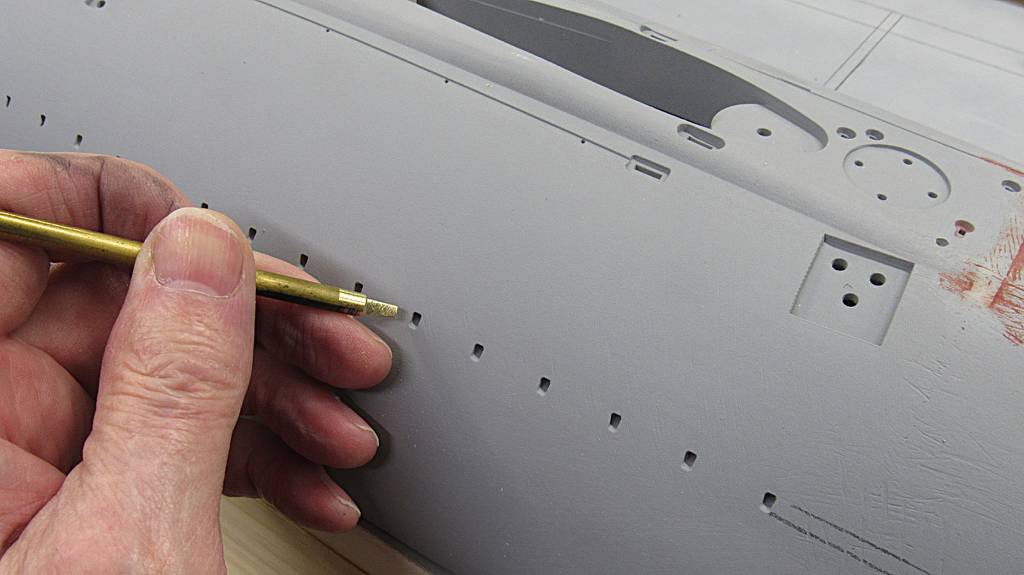
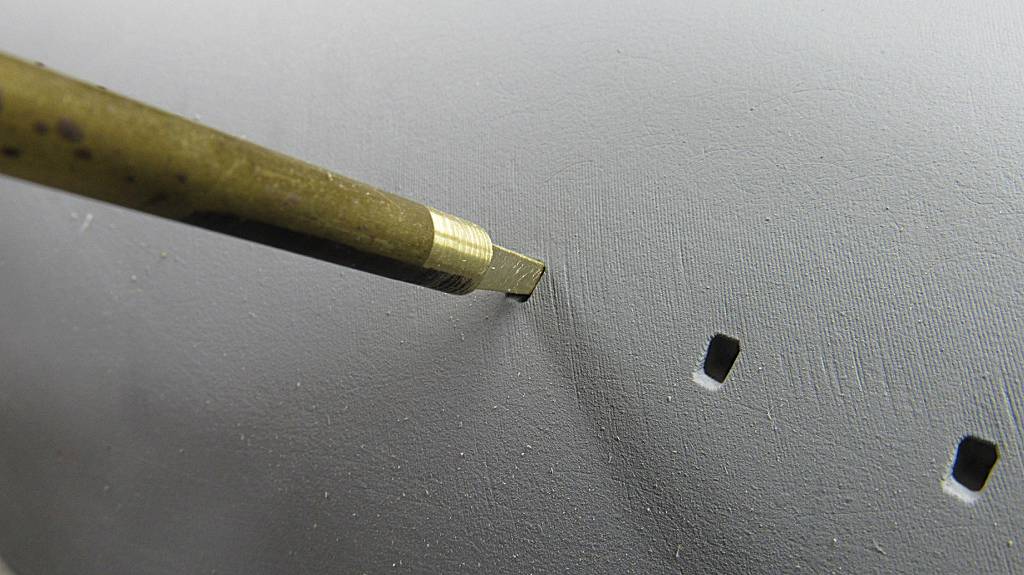
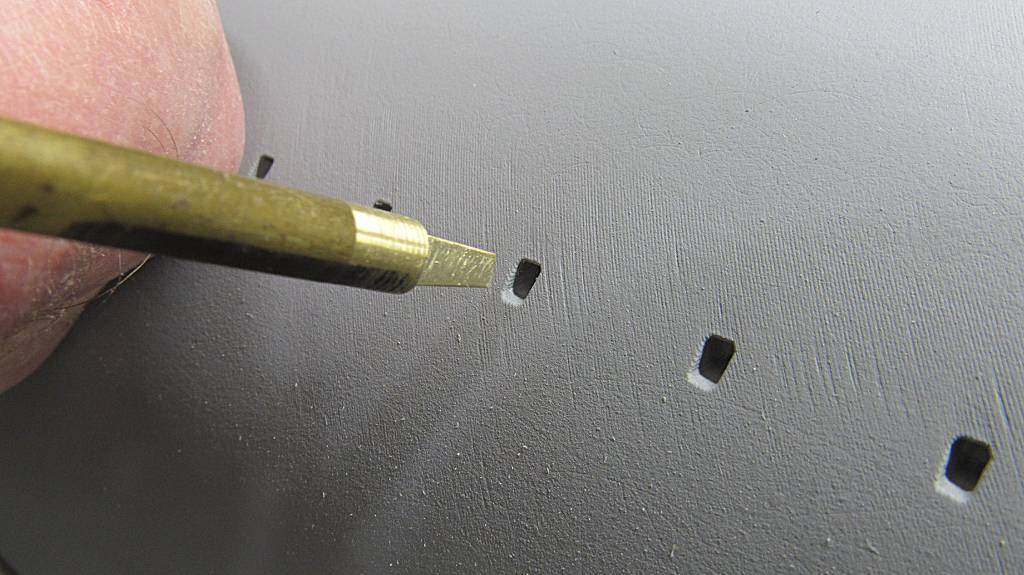
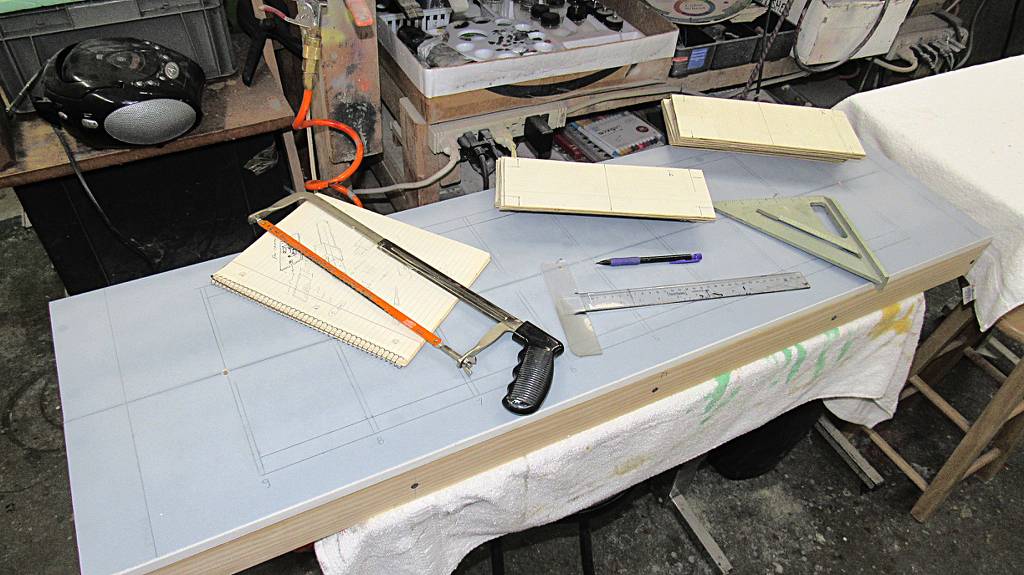
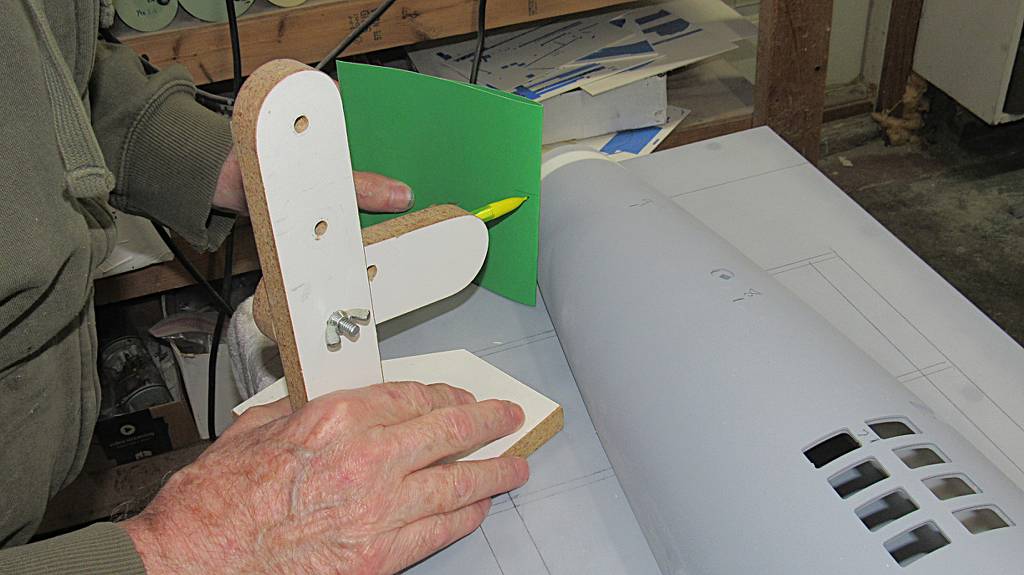
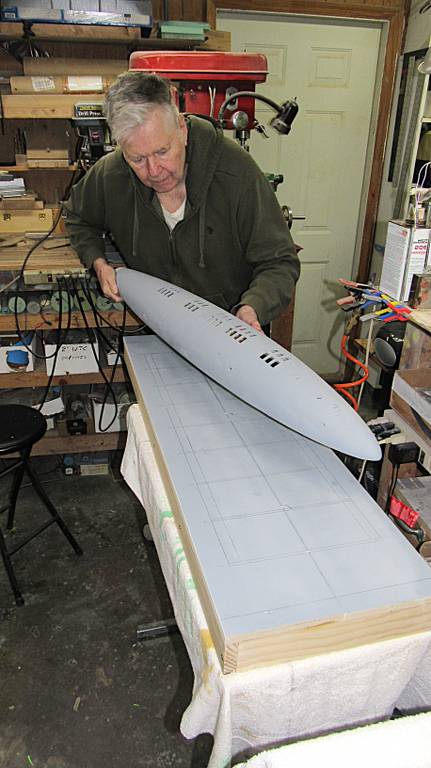
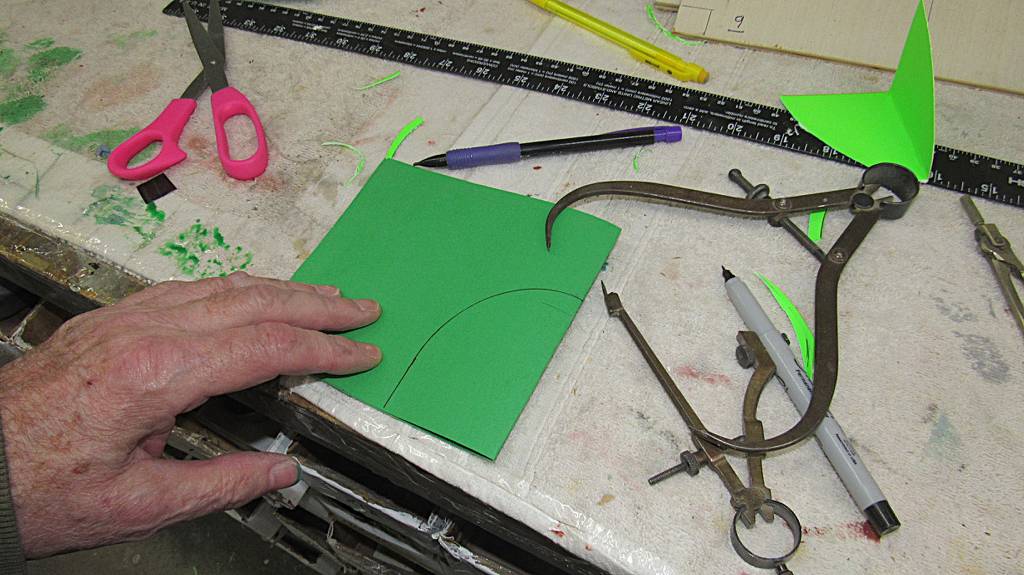
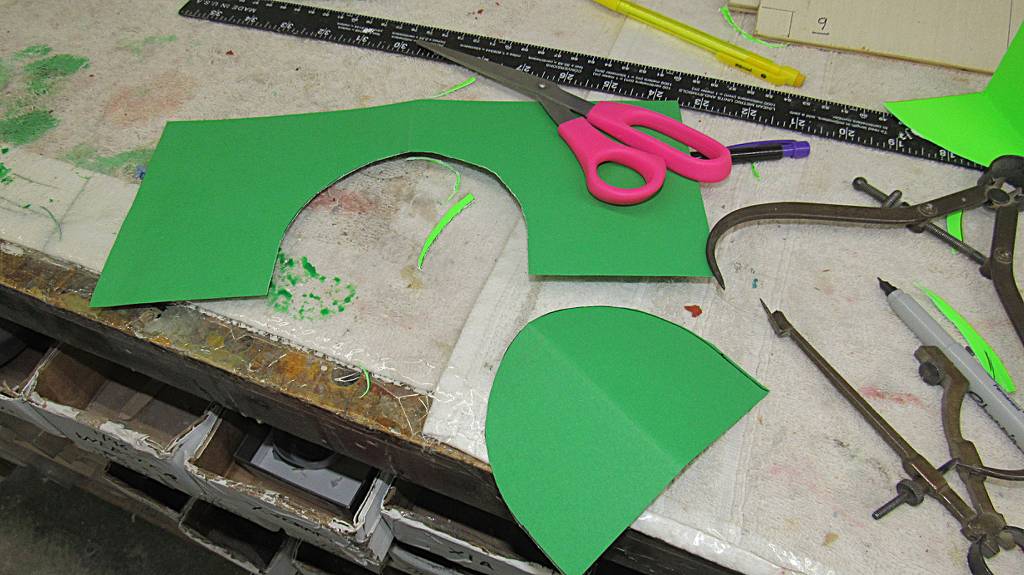
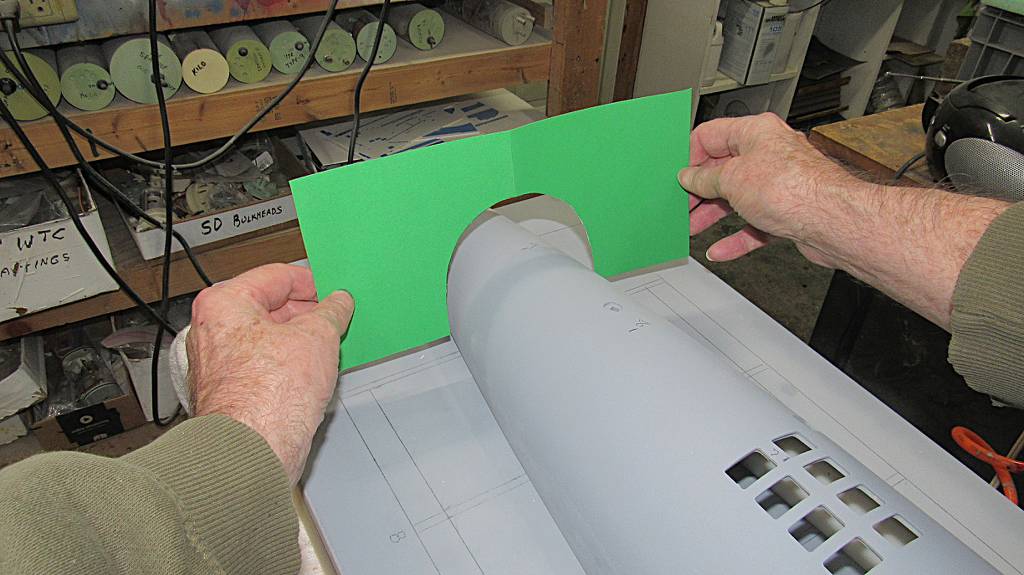
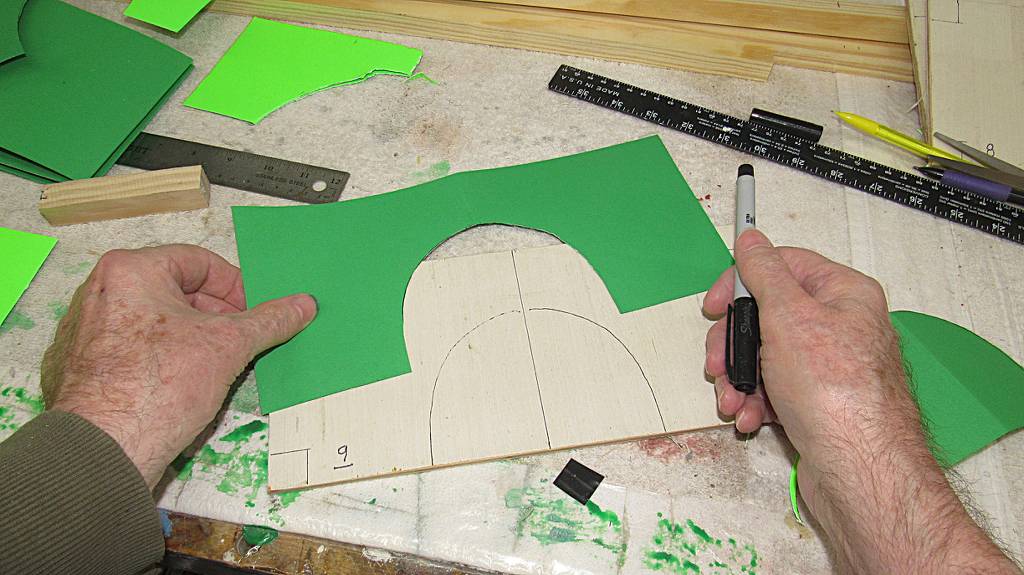
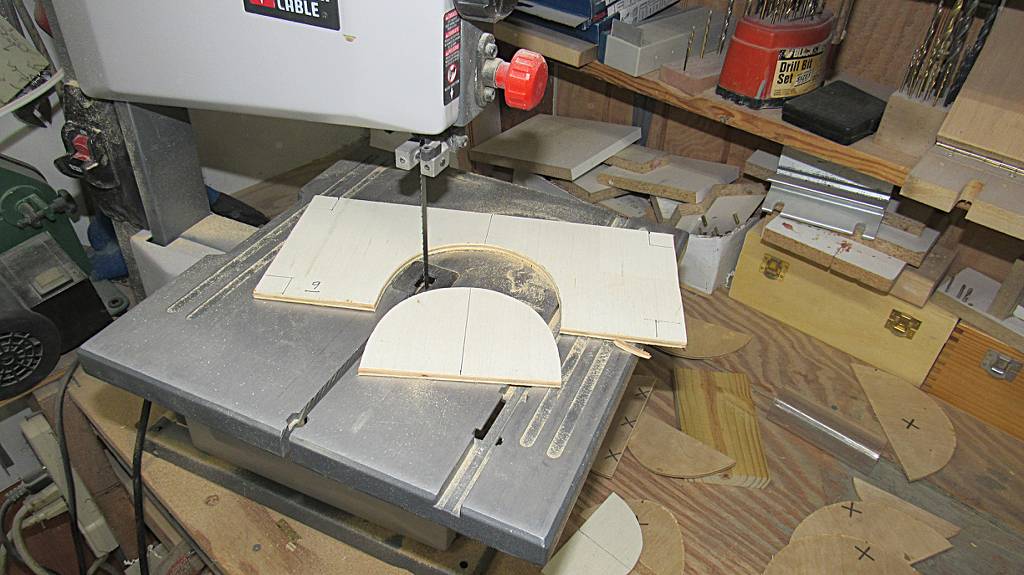
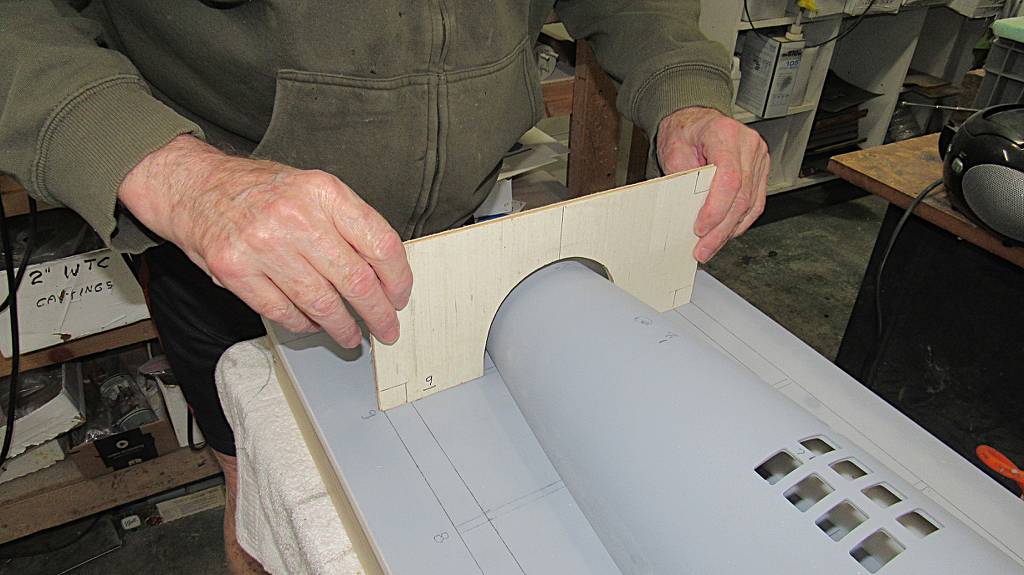
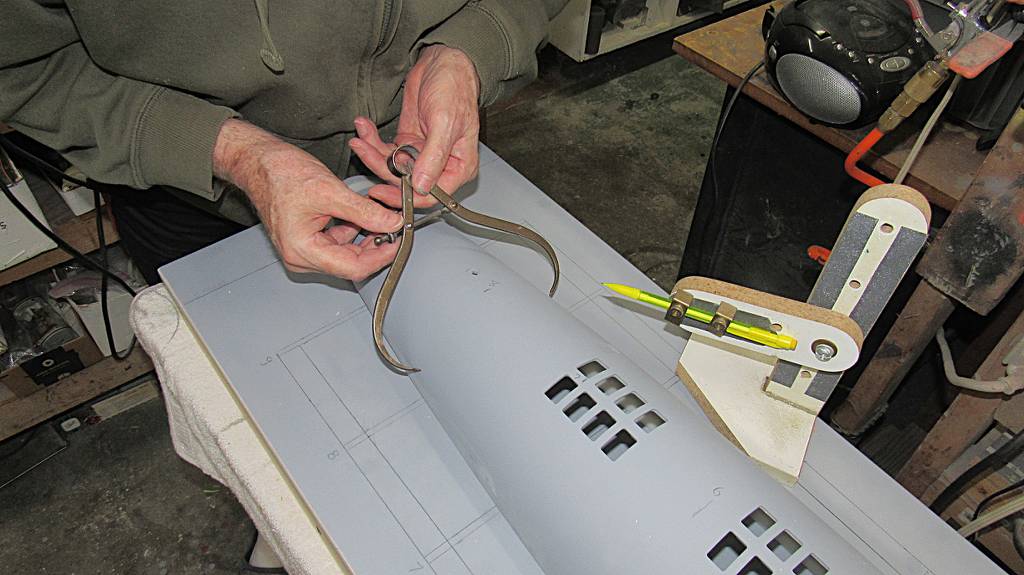
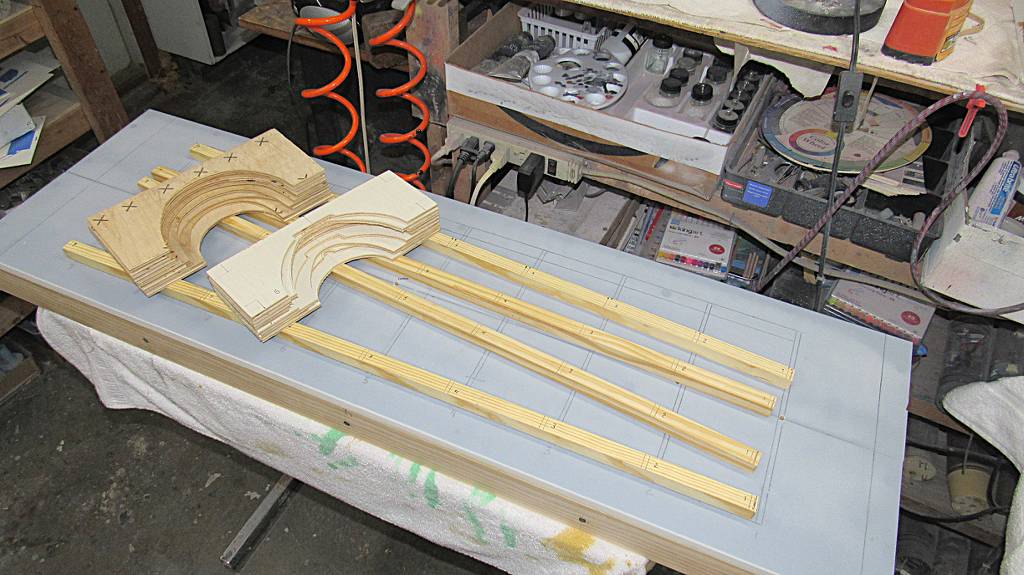
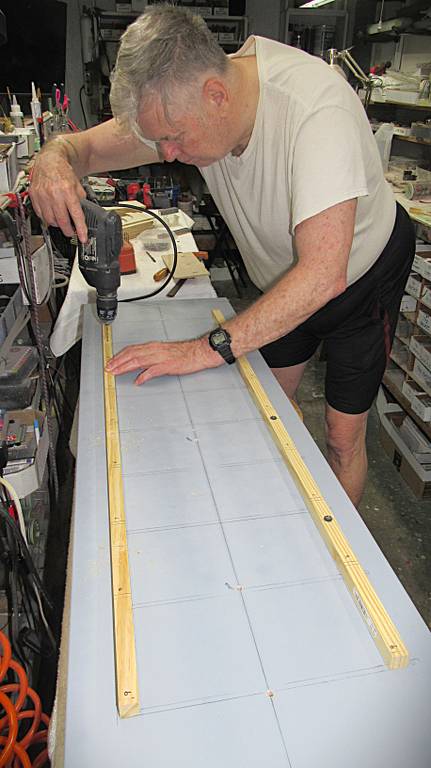
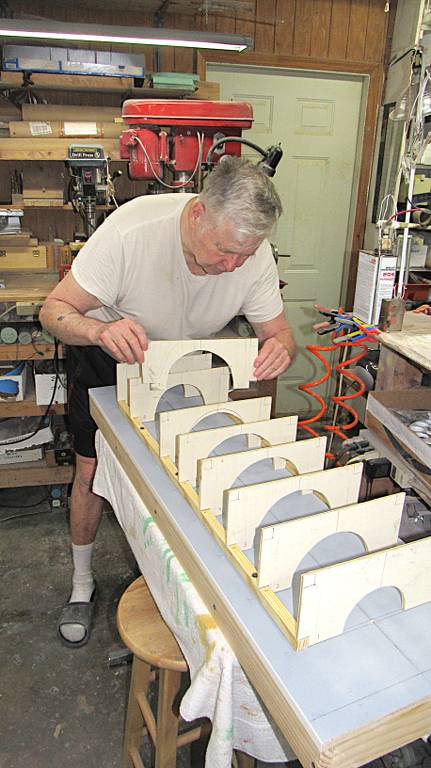
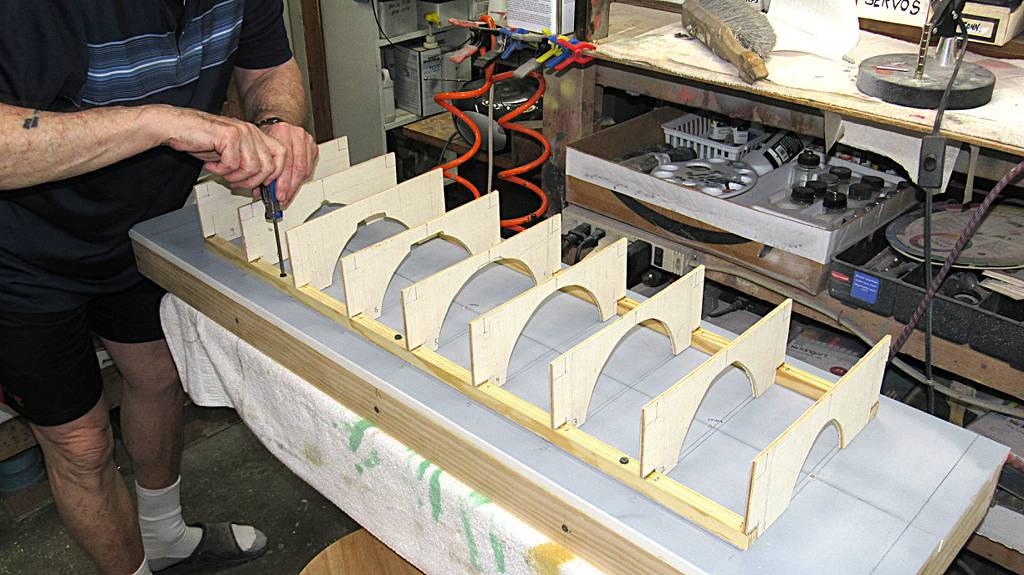
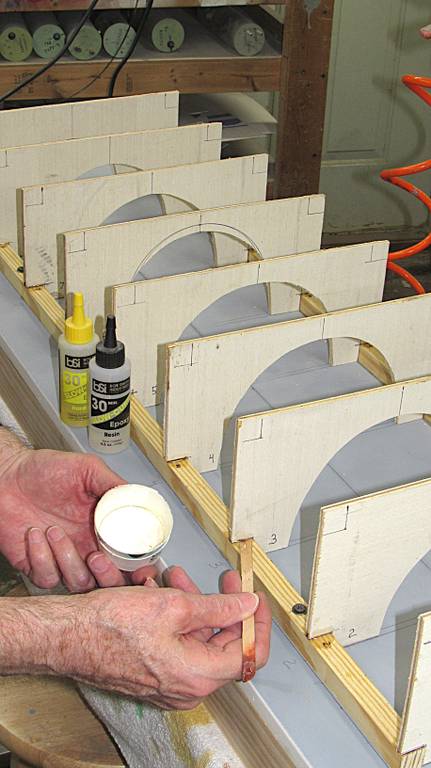
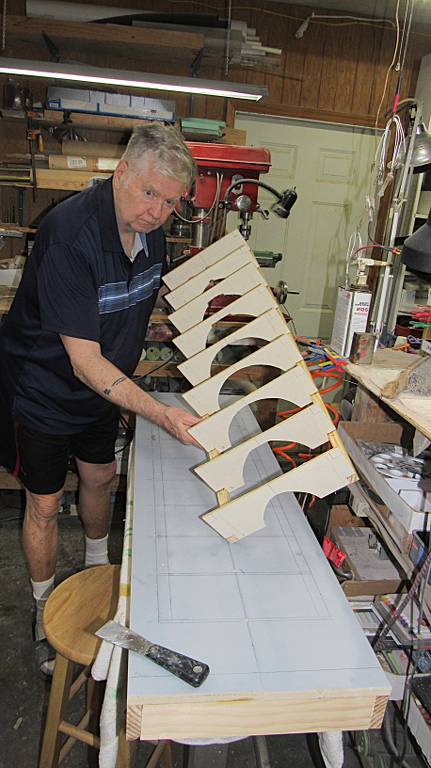
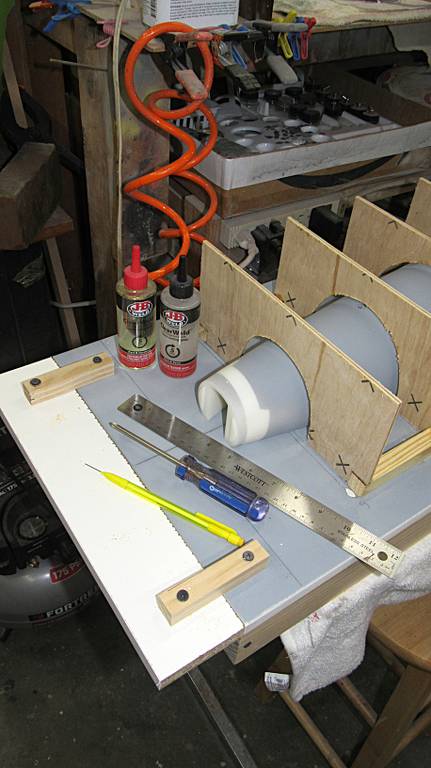
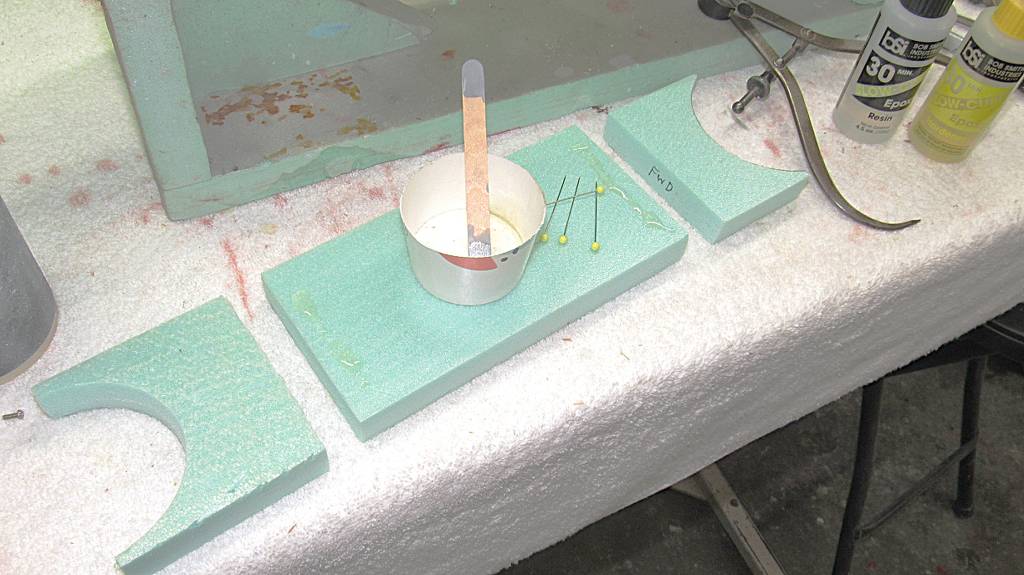
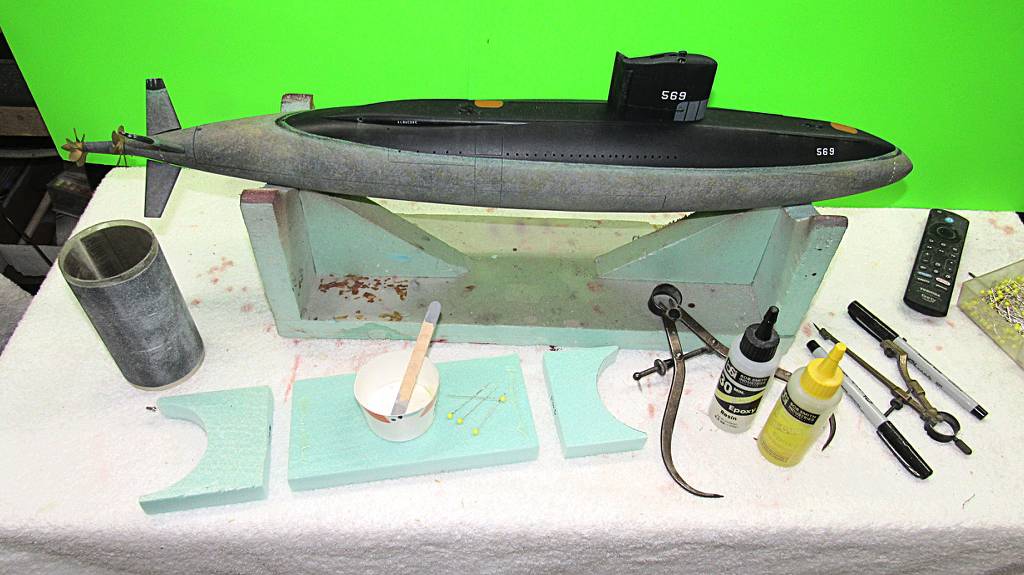
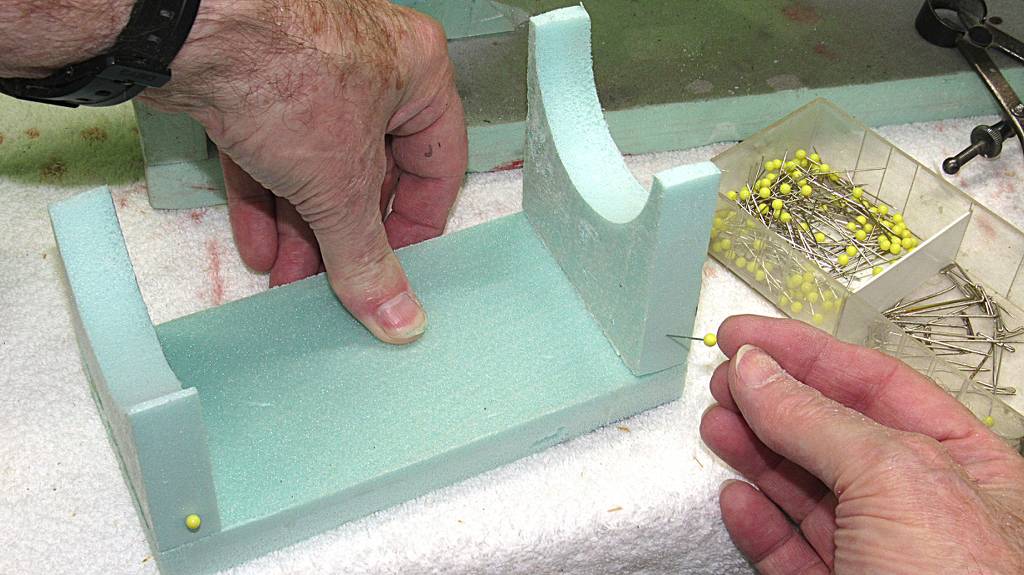
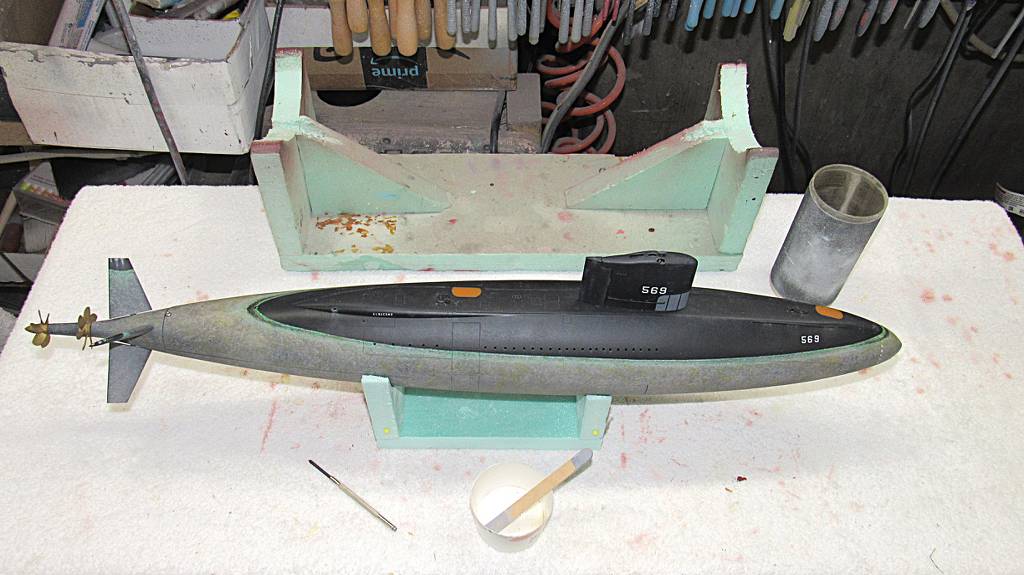
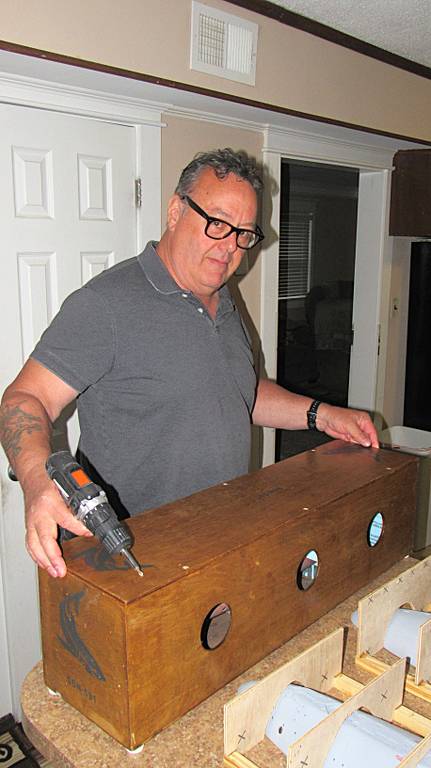
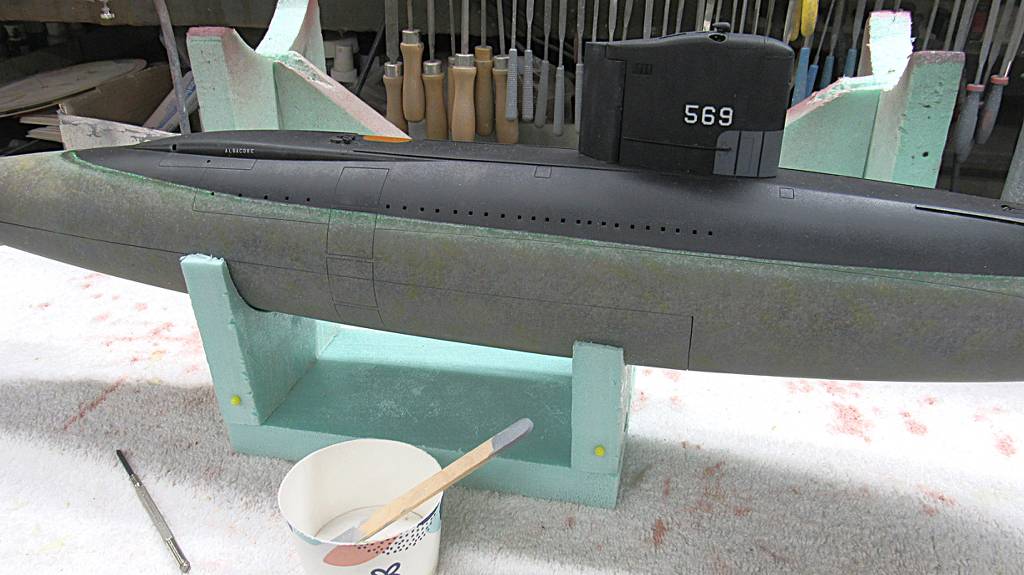
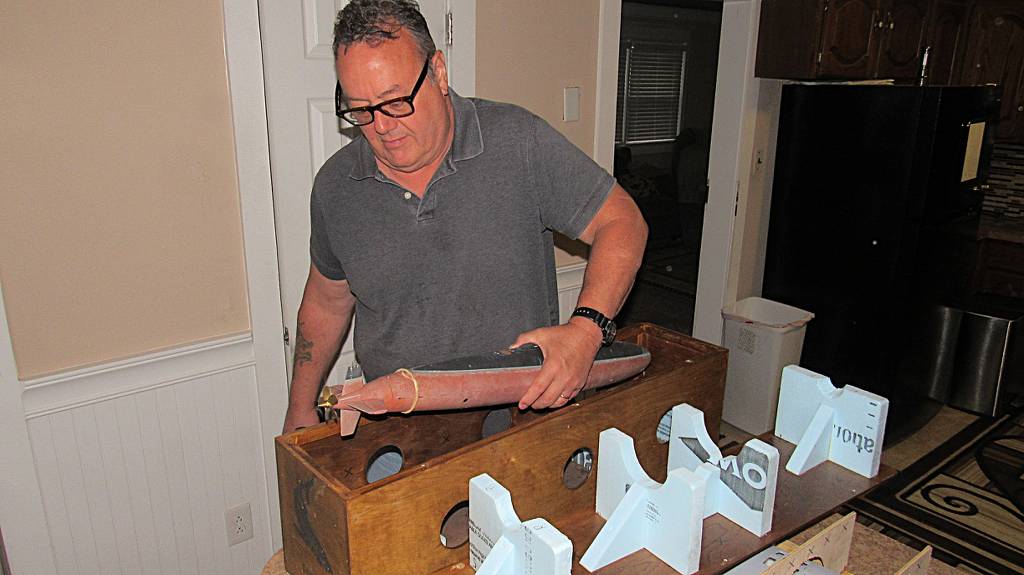
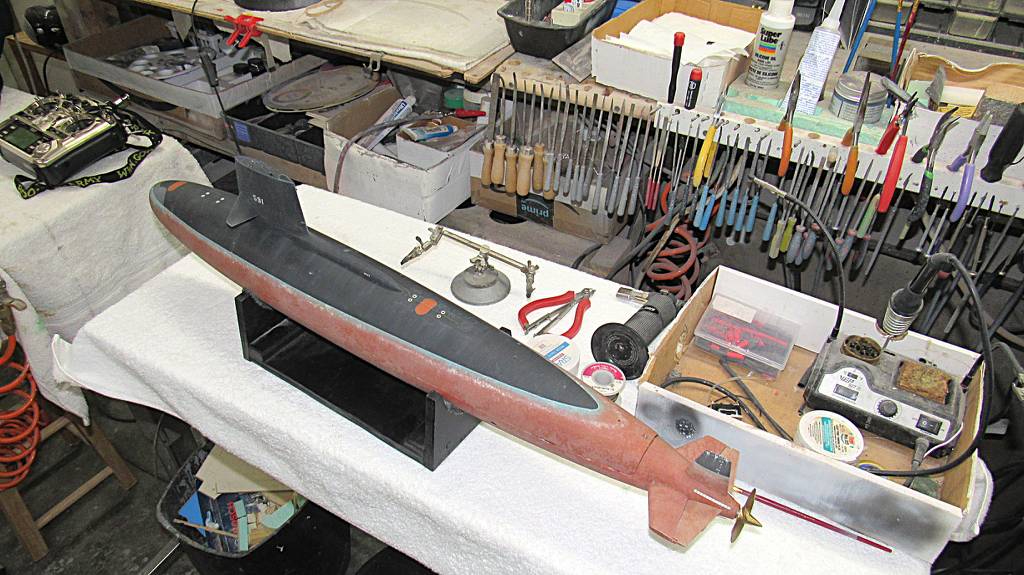
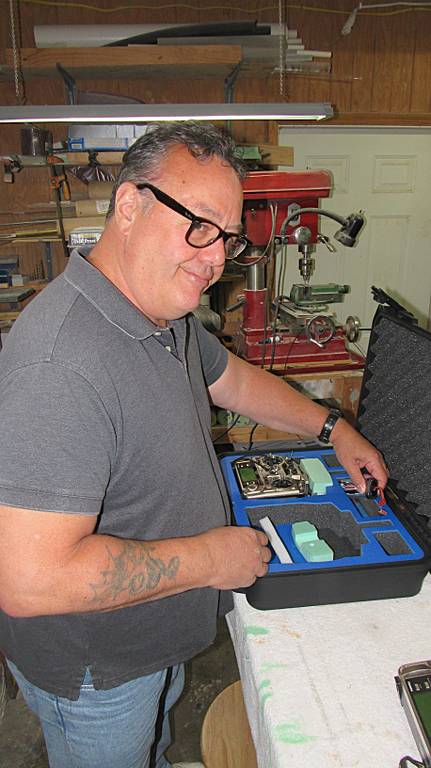
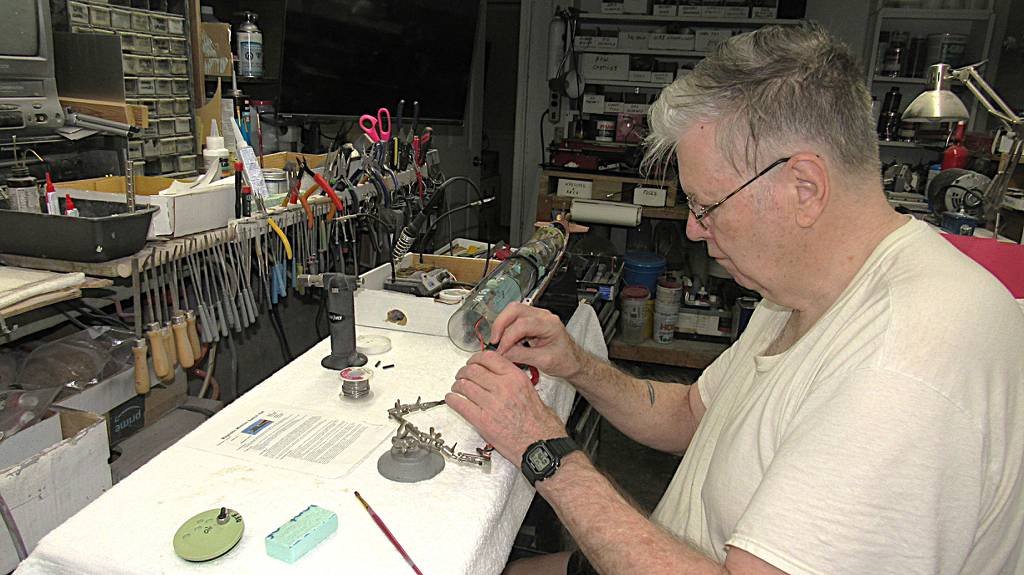
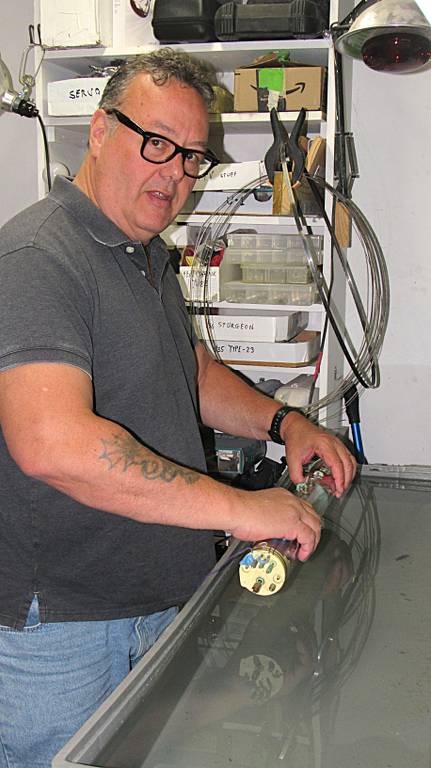
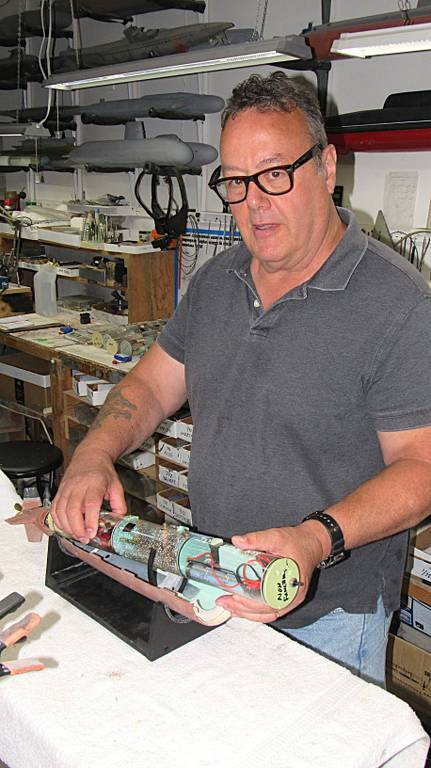
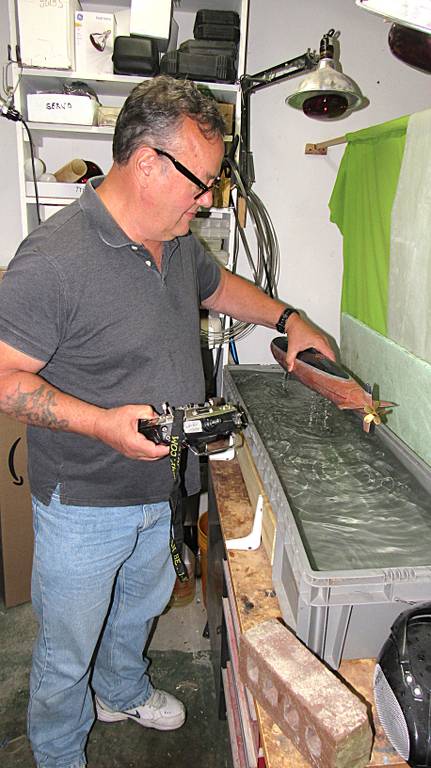
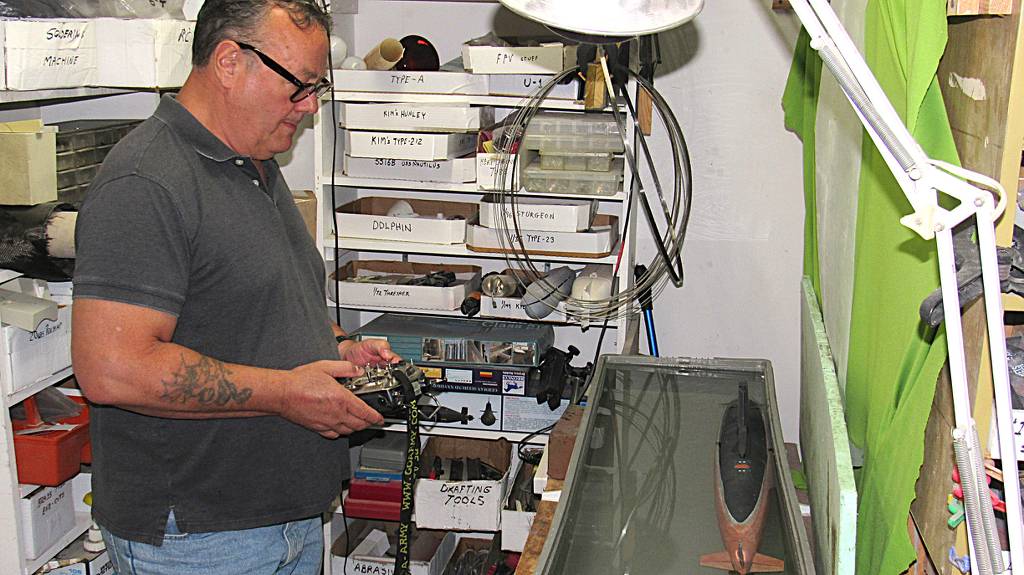
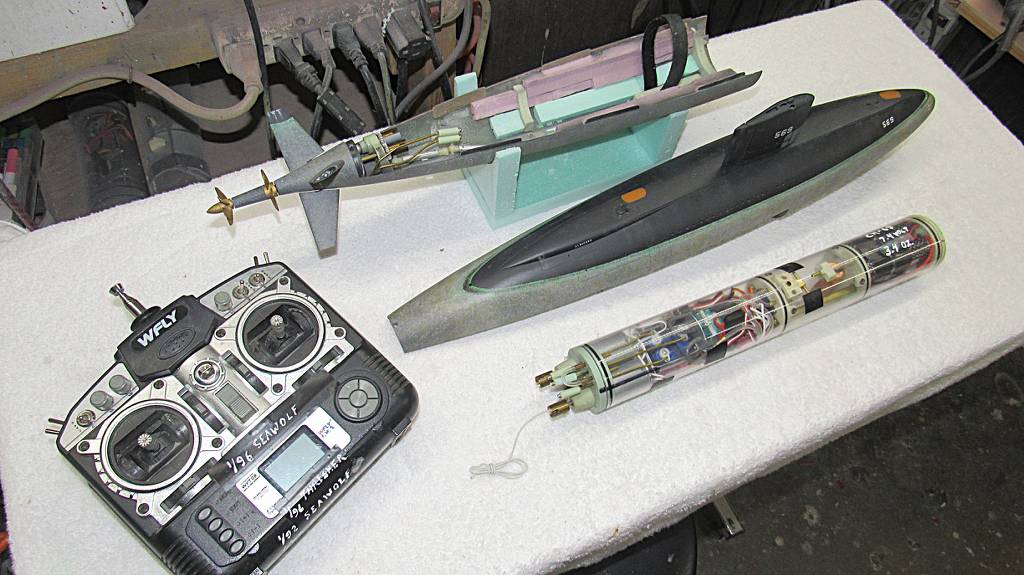
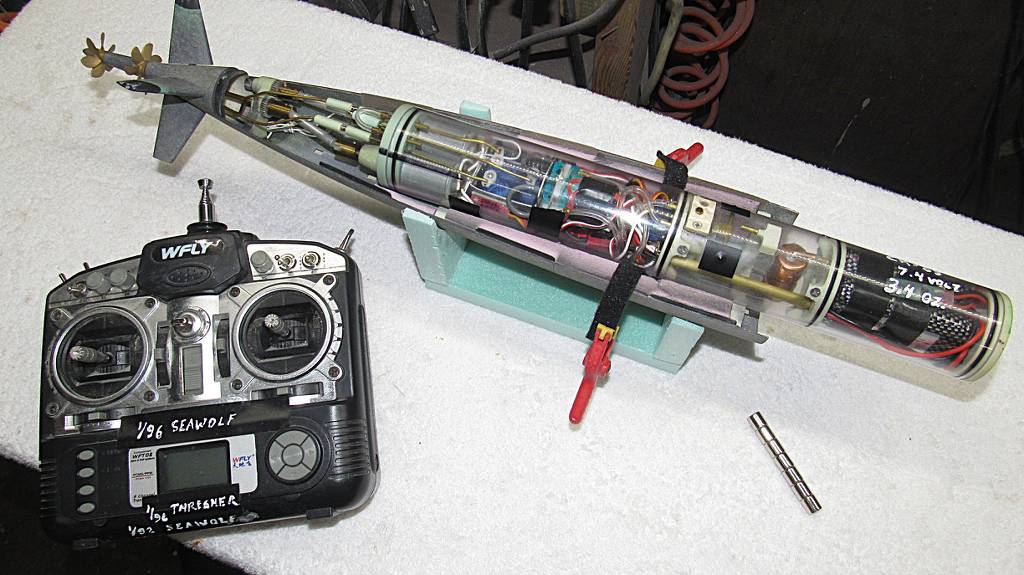
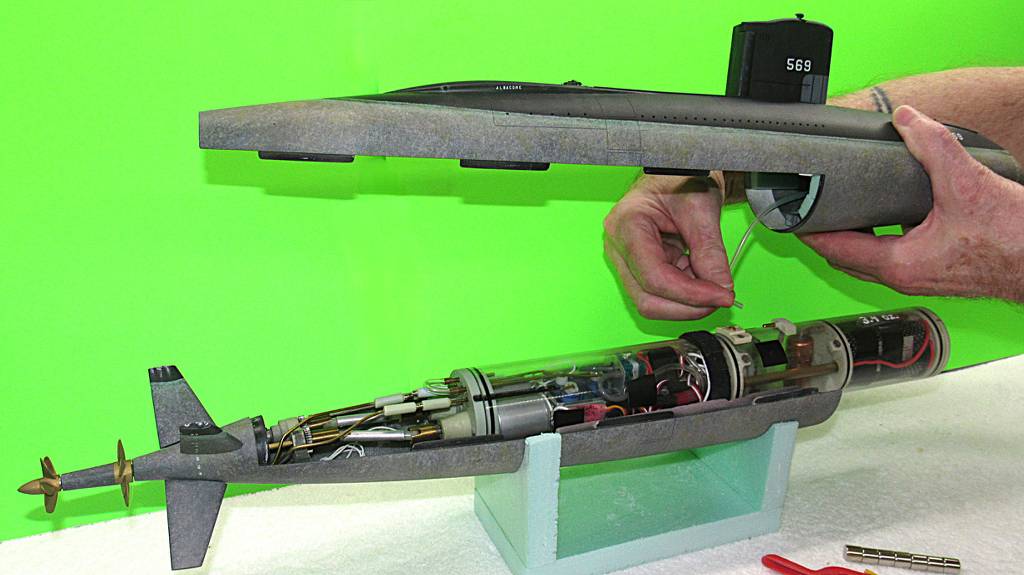
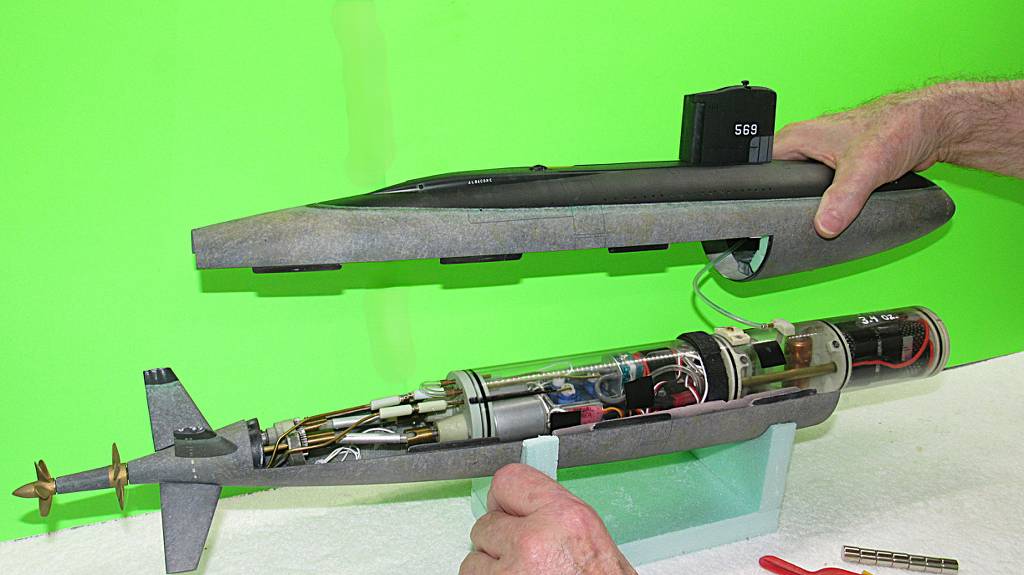
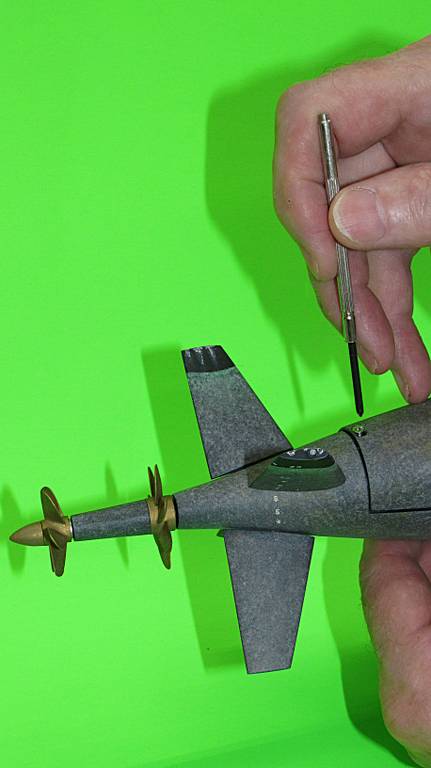
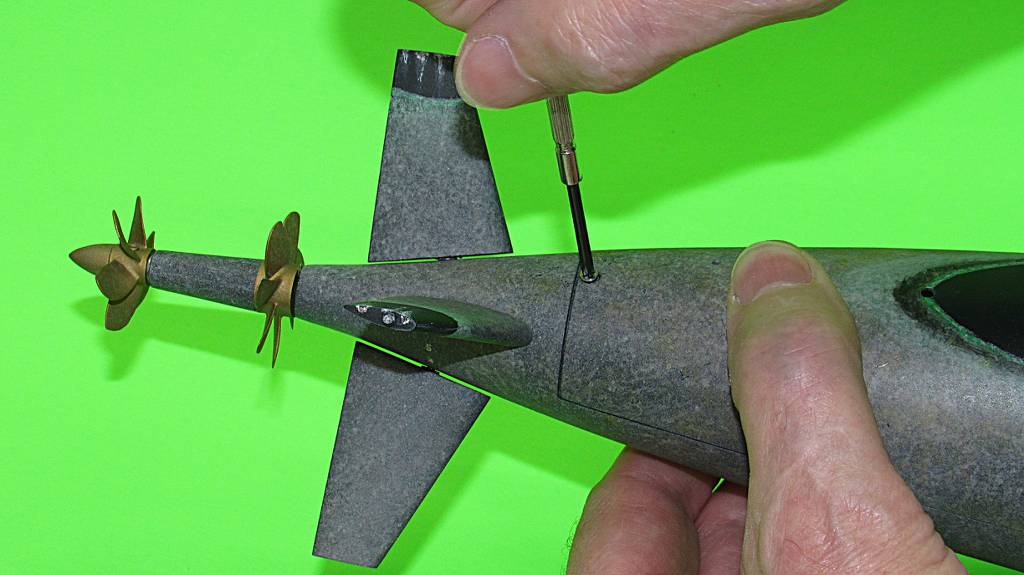
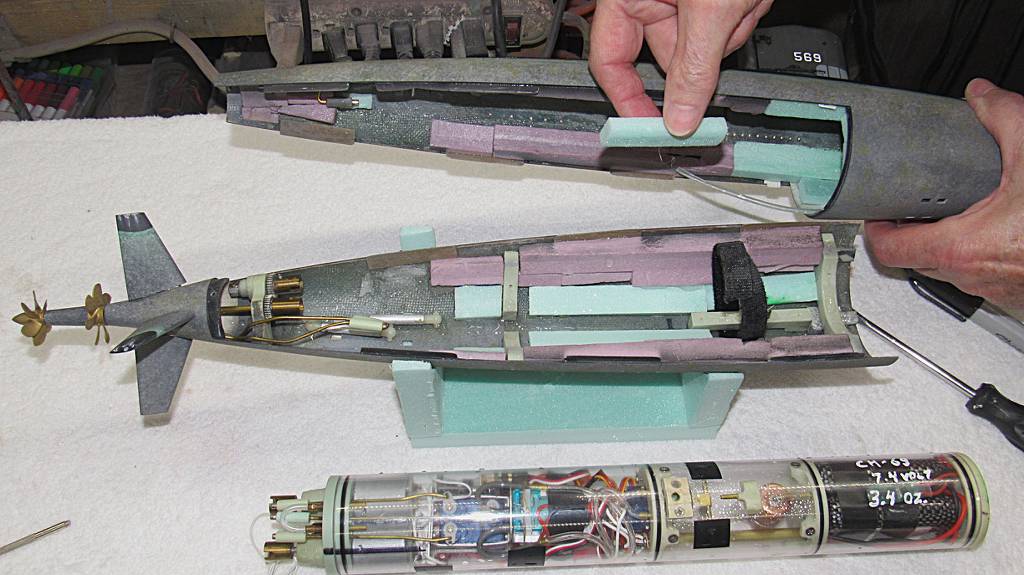
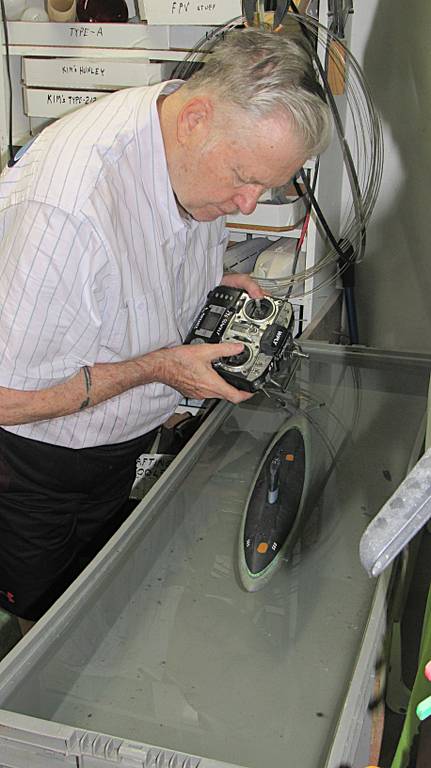
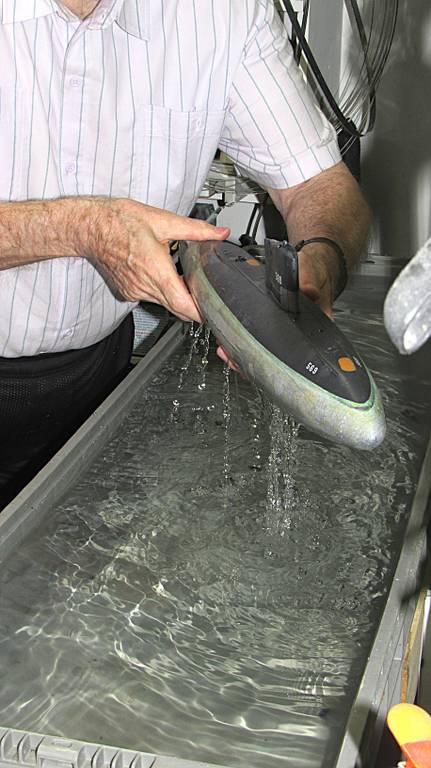
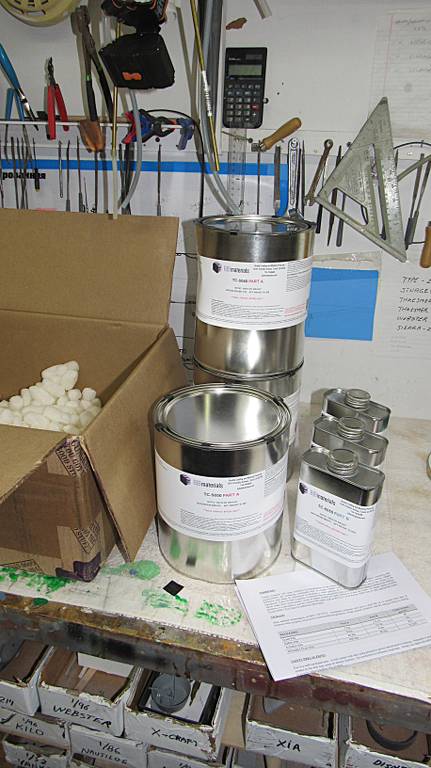
Scott Kenny
ACCESS: USAP
- Joined
- 15 May 2023
- Messages
- 19,644
- Reaction score
- 28,118
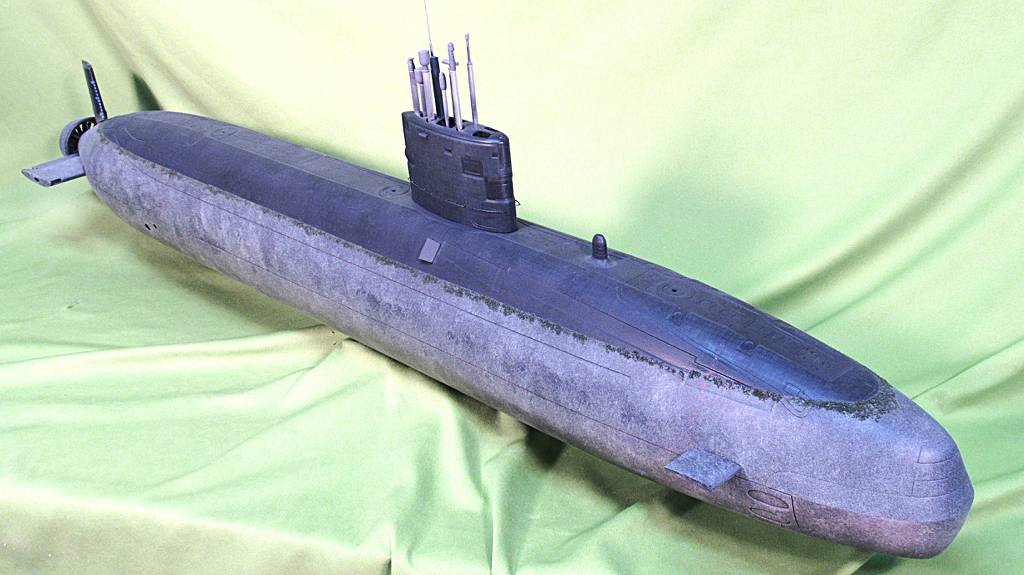
Sheesh, that Albacore needs to go into the drydock for a hull scrub! I can smell it from here!
- Joined
- 18 March 2013
- Messages
- 1,586
- Reaction score
- 5,791
LOL. No greater compliment a paint job has received.Sheesh, that Albacore needs to go into the drydock for a hull scrub! I can smell it from here!
- Joined
- 18 March 2013
- Messages
- 1,586
- Reaction score
- 5,791
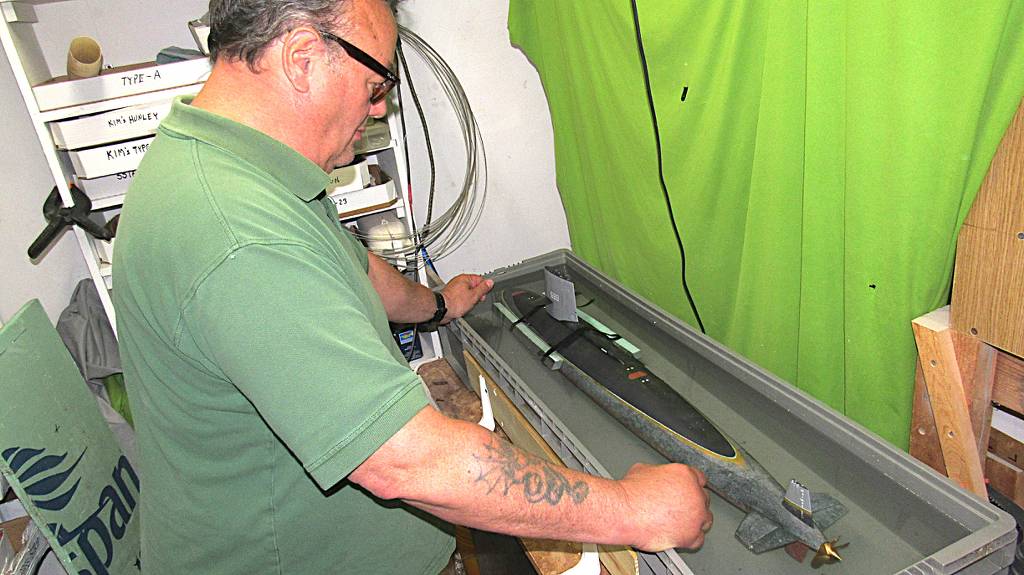
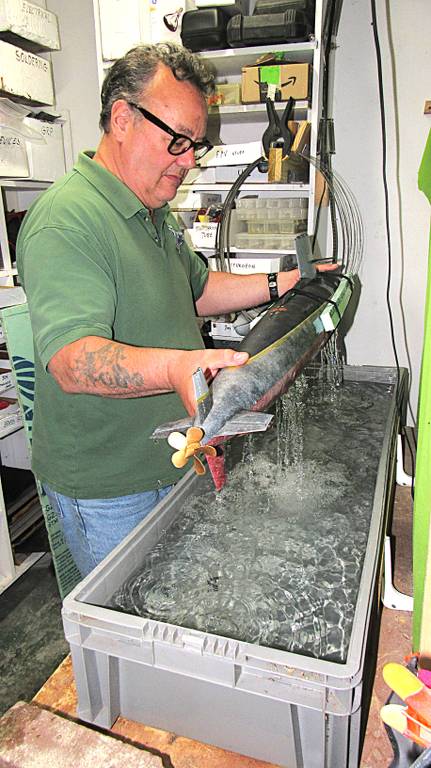
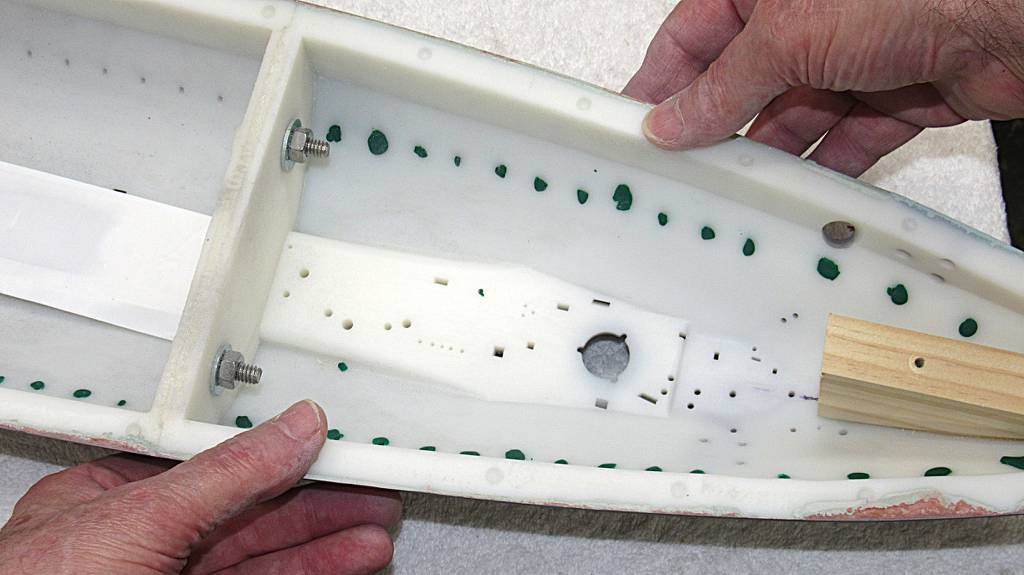
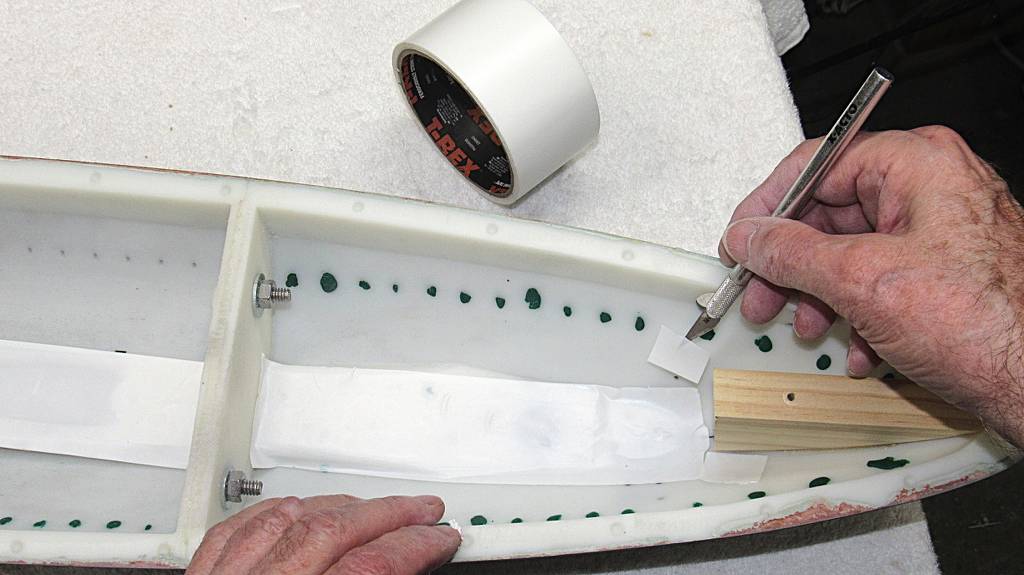
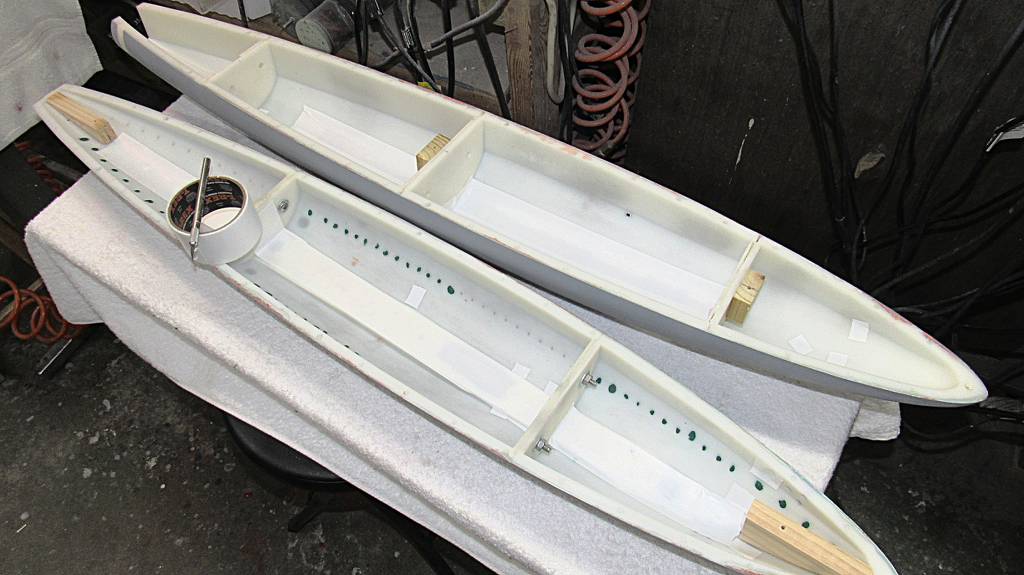
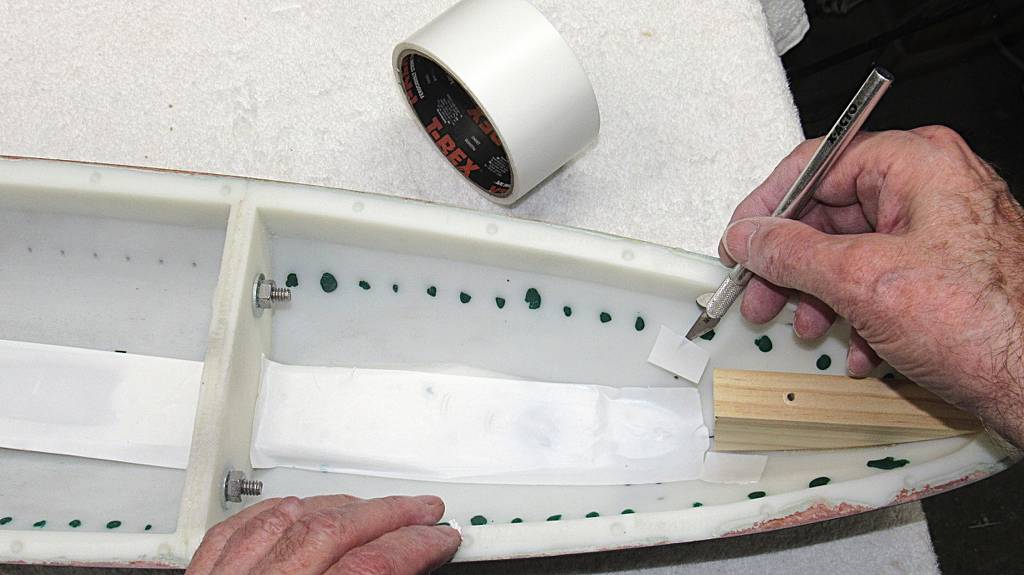
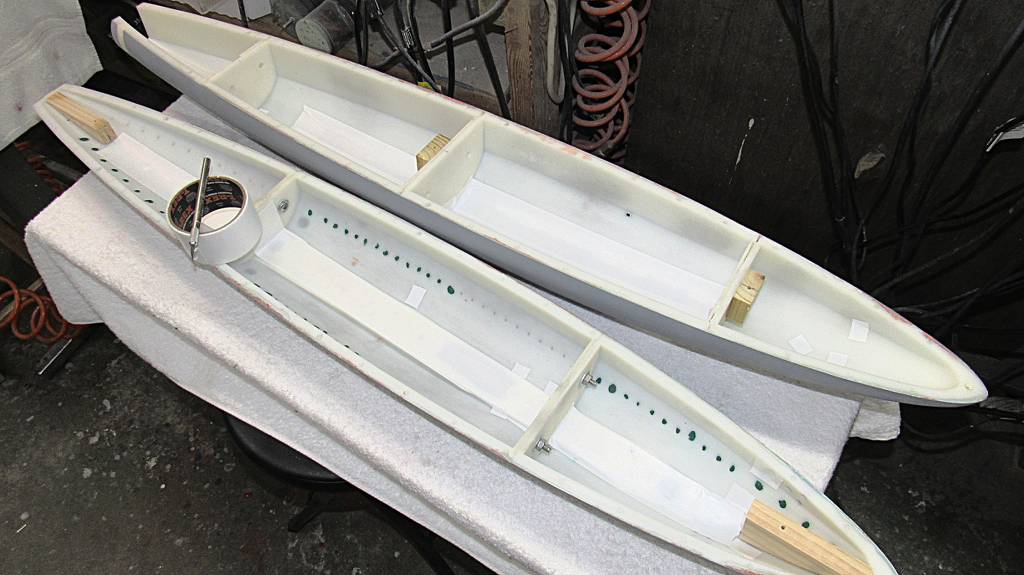
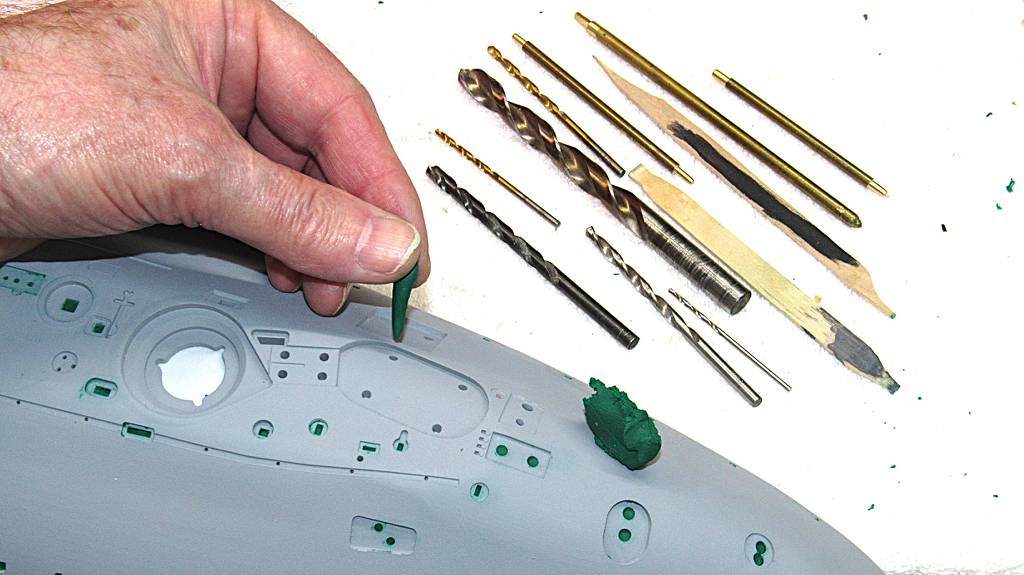
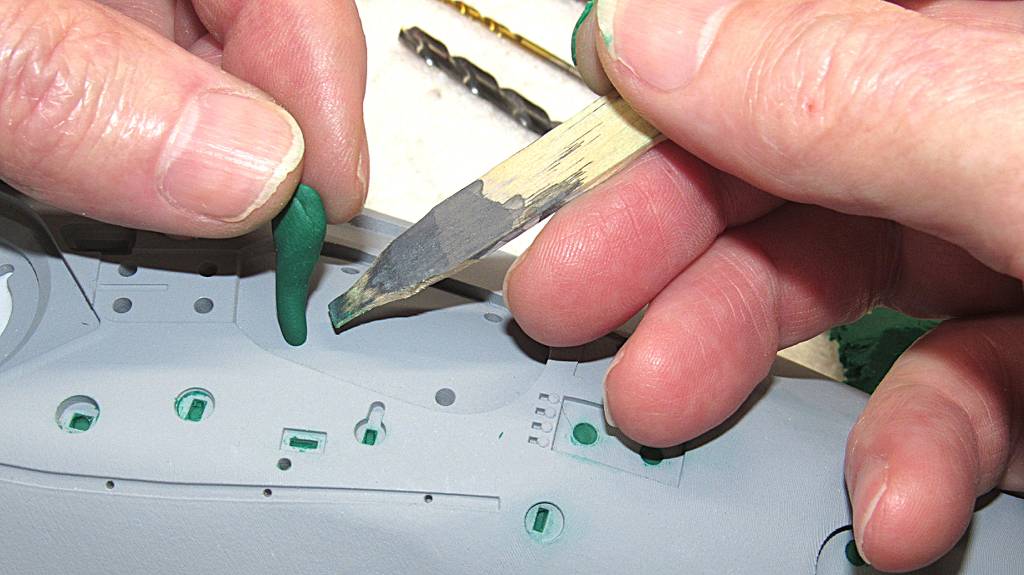
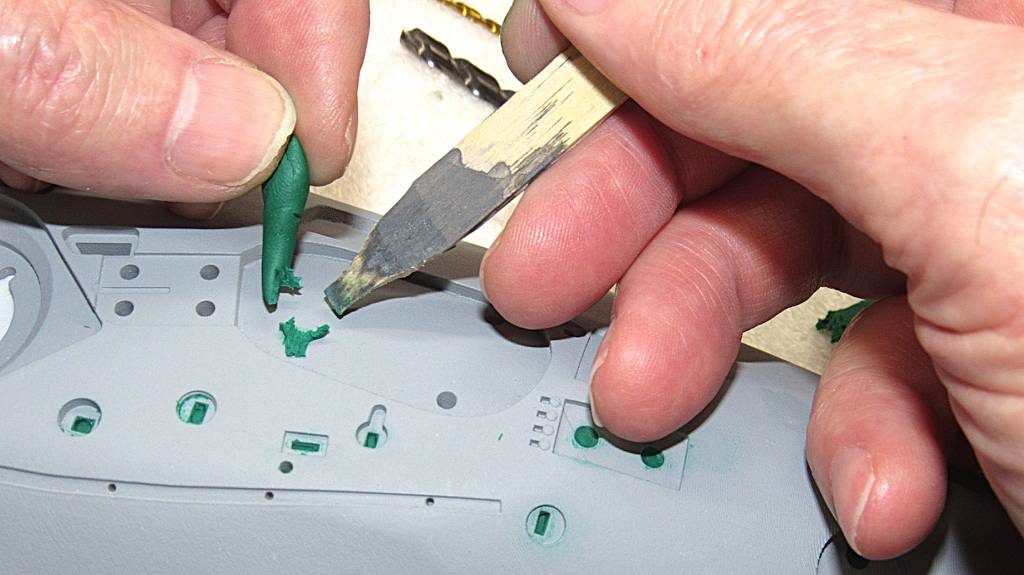
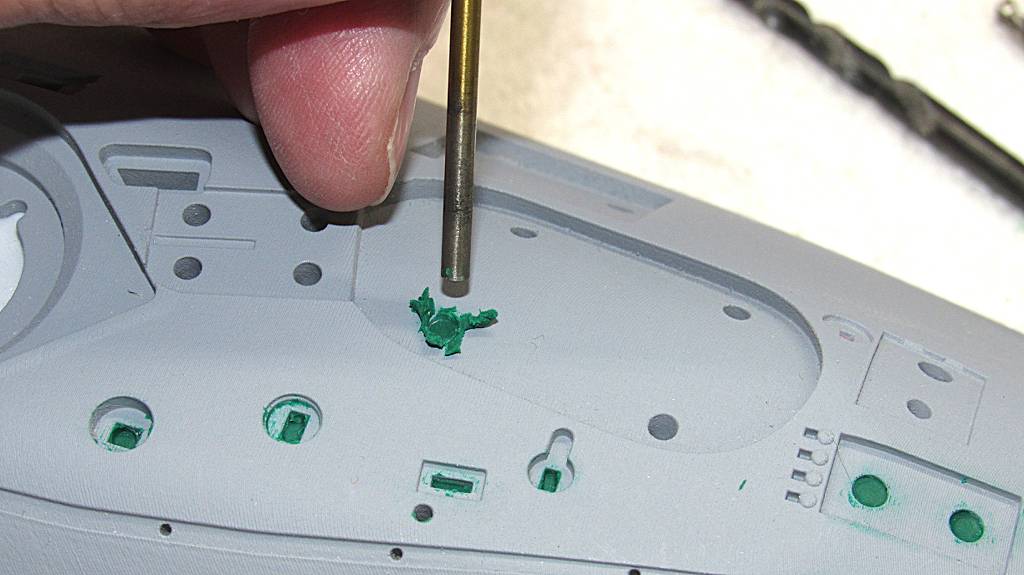
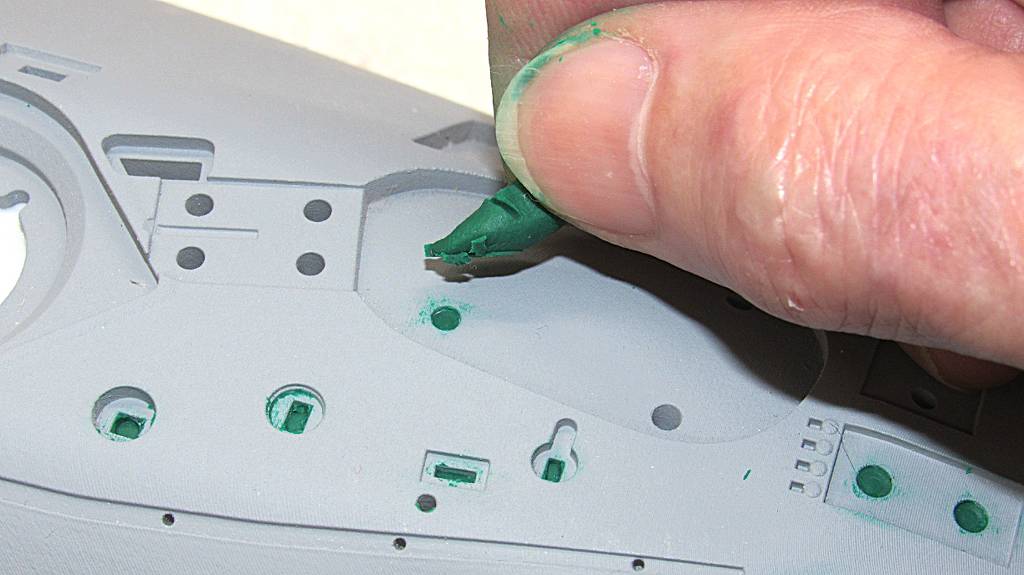
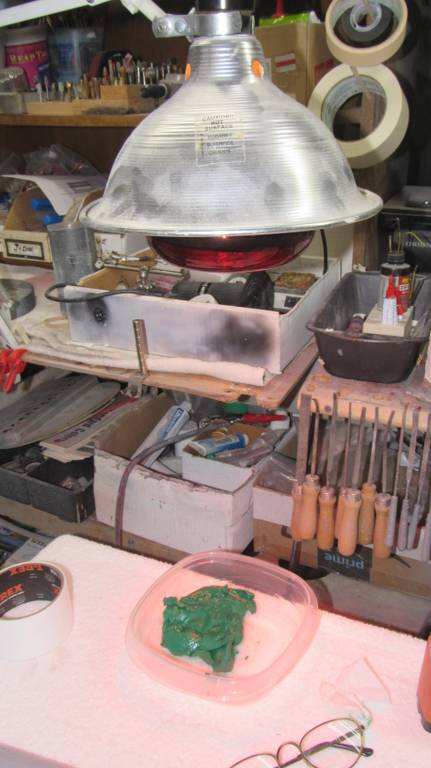
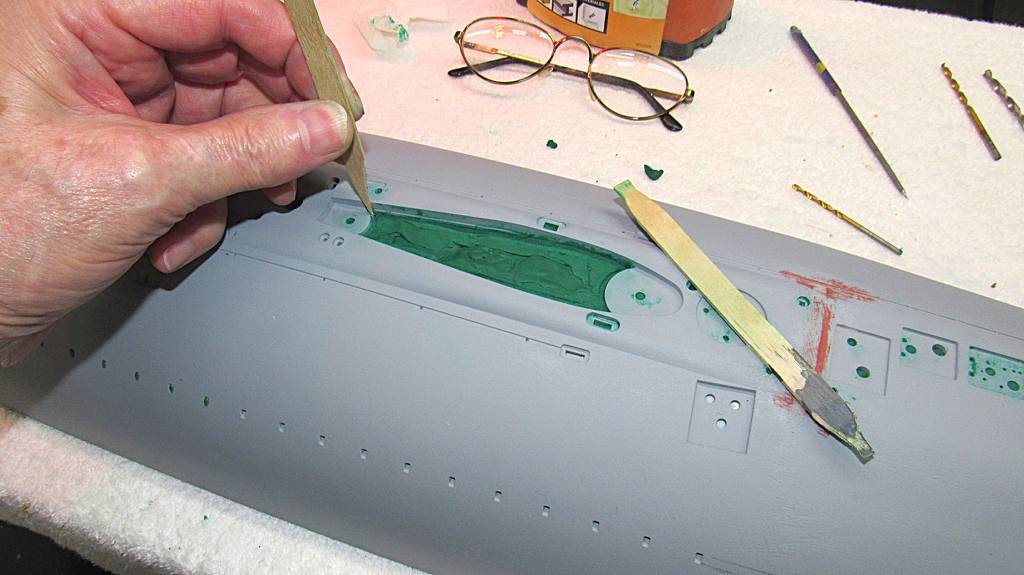
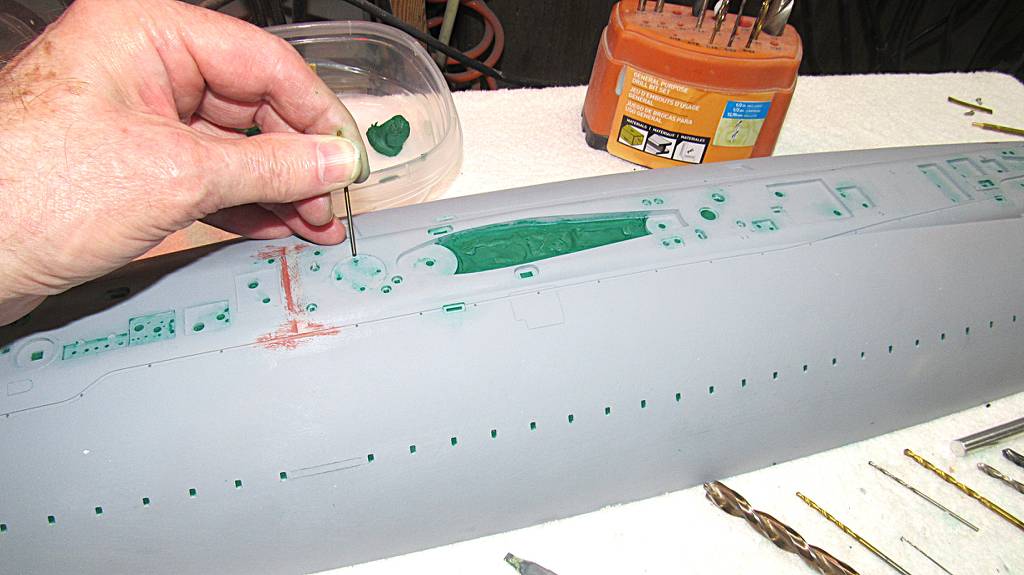
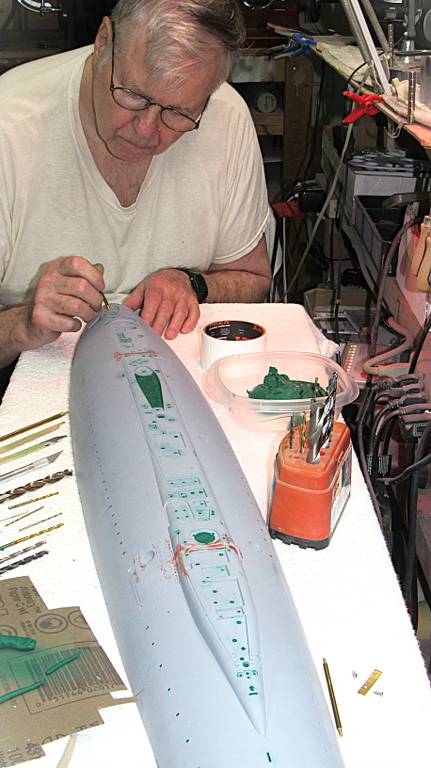
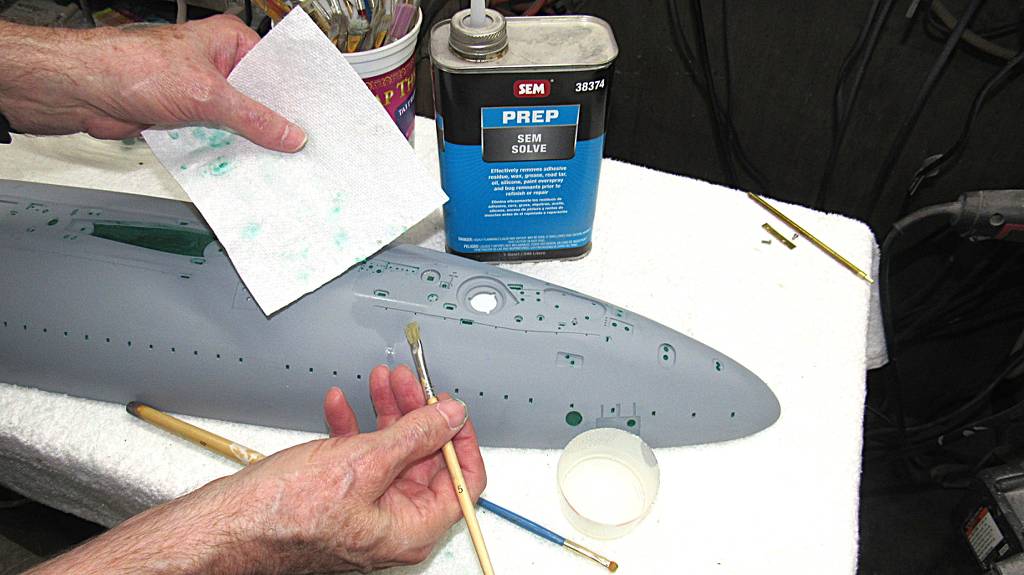
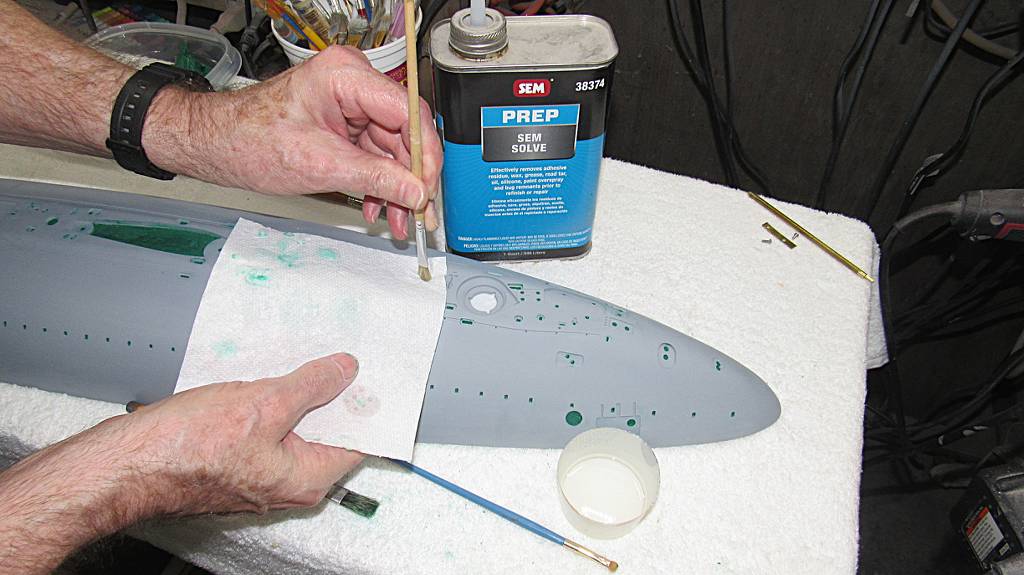
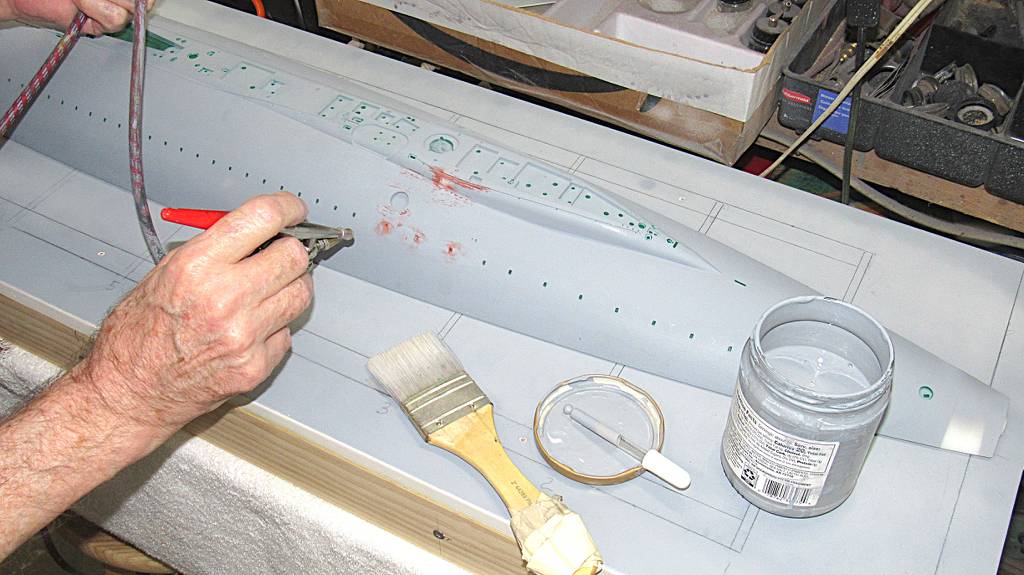
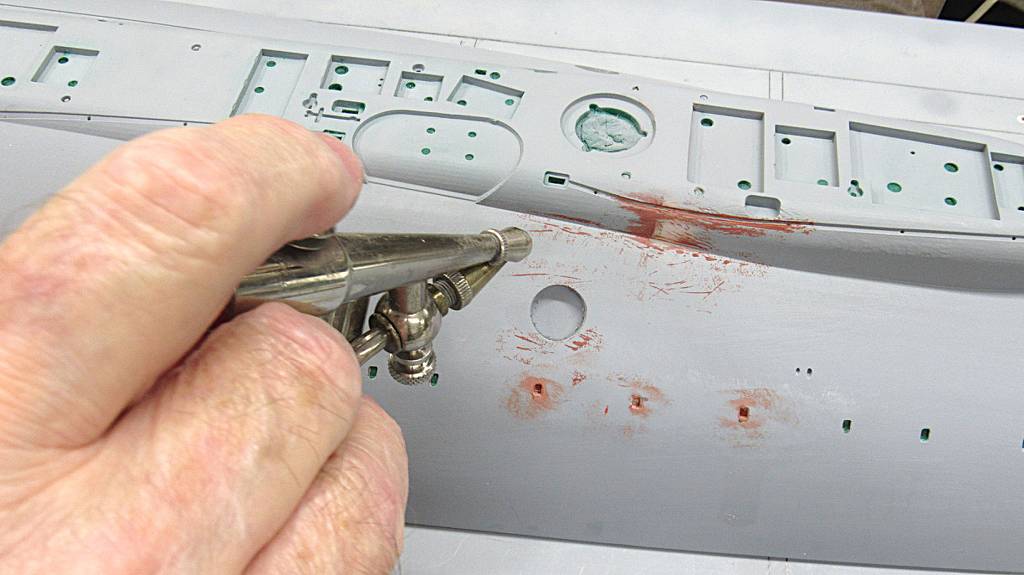
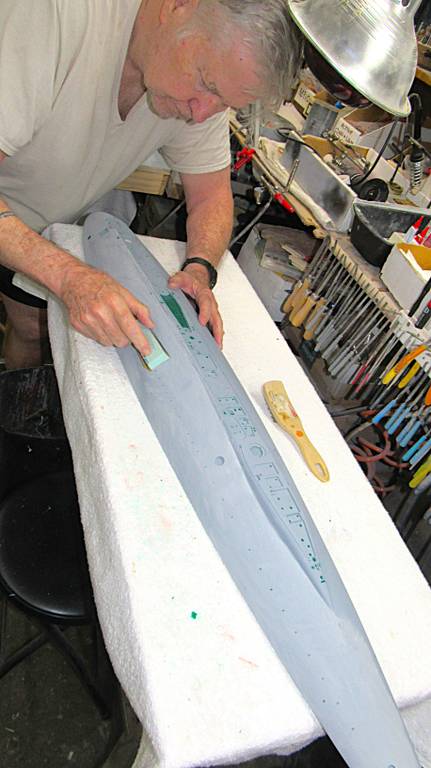
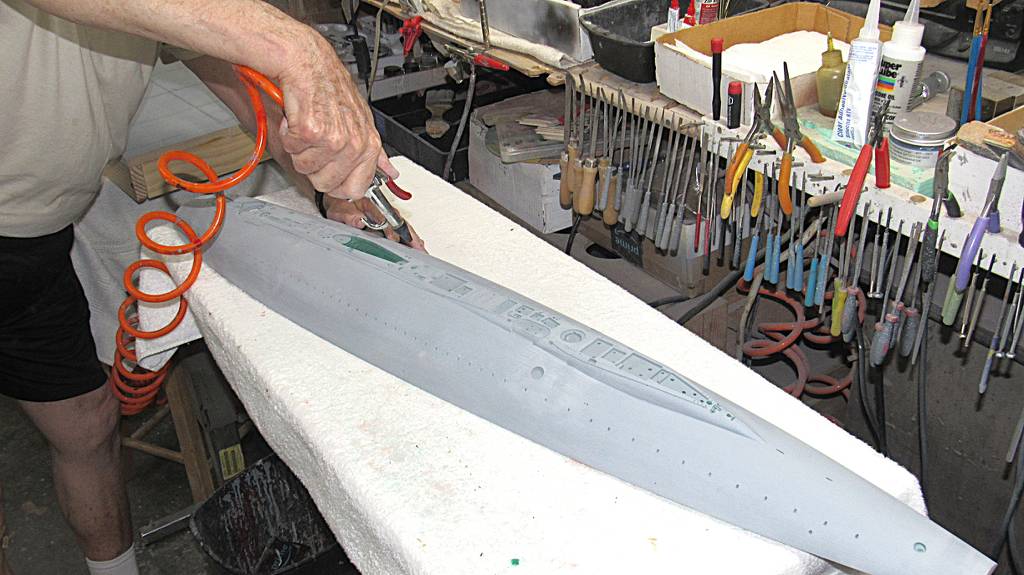
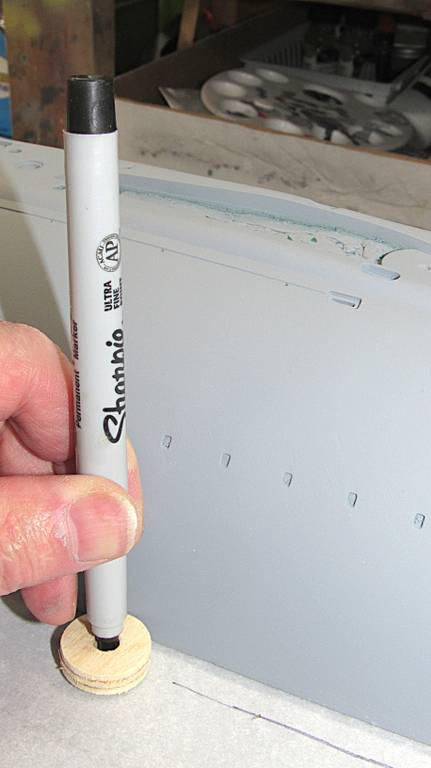
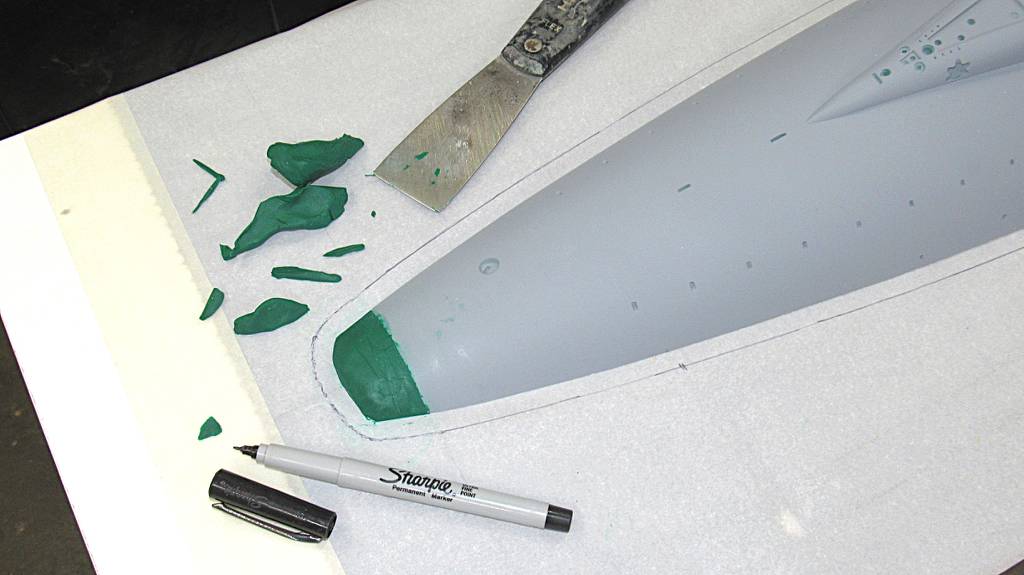
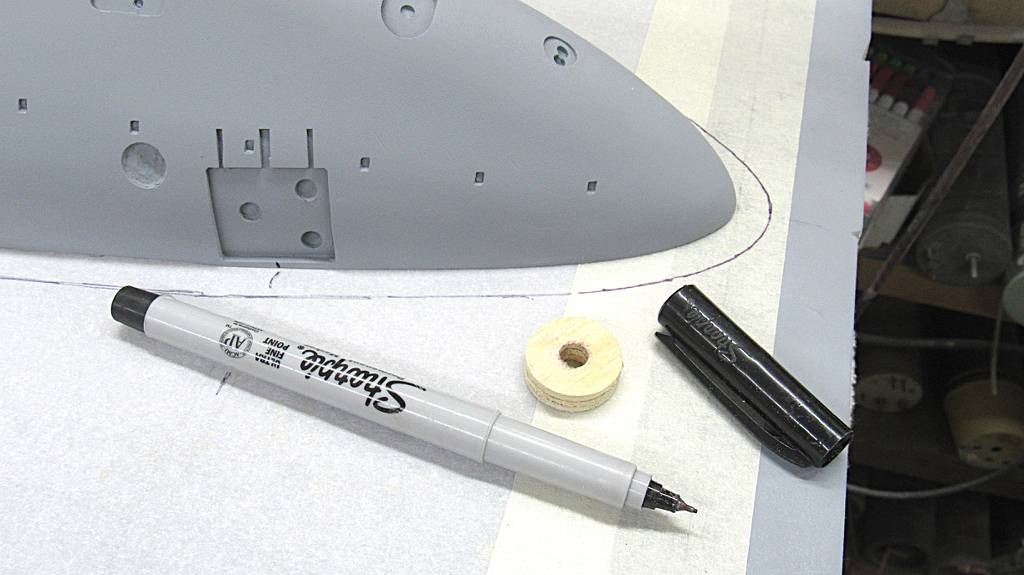
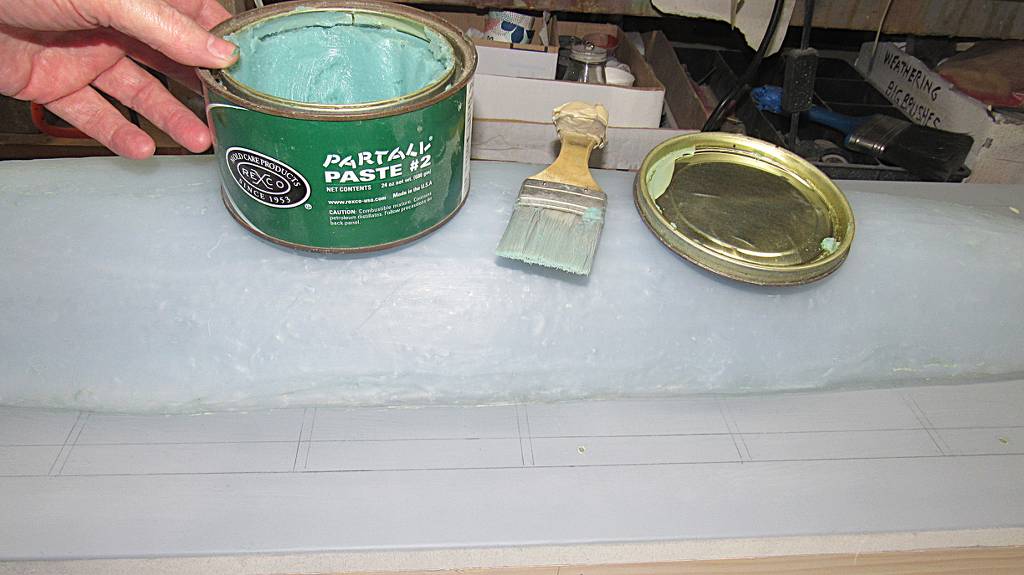
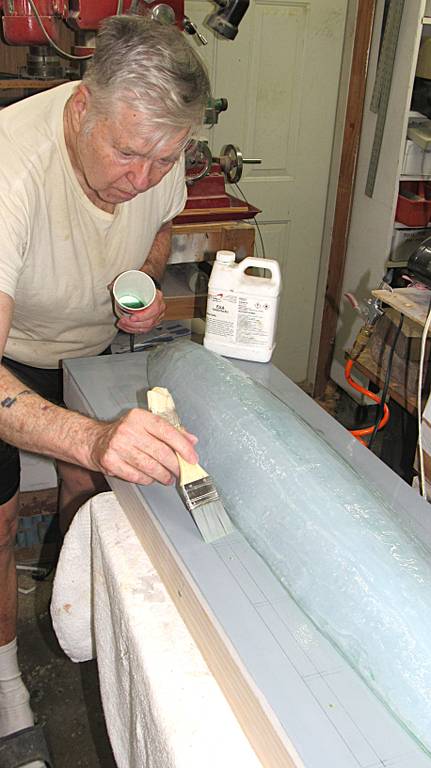
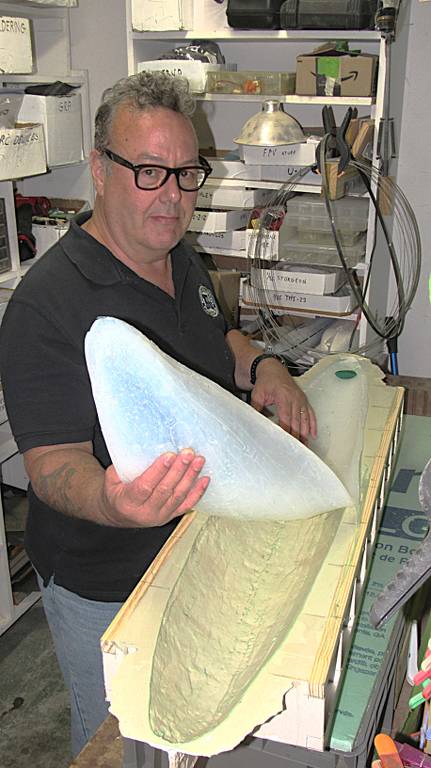
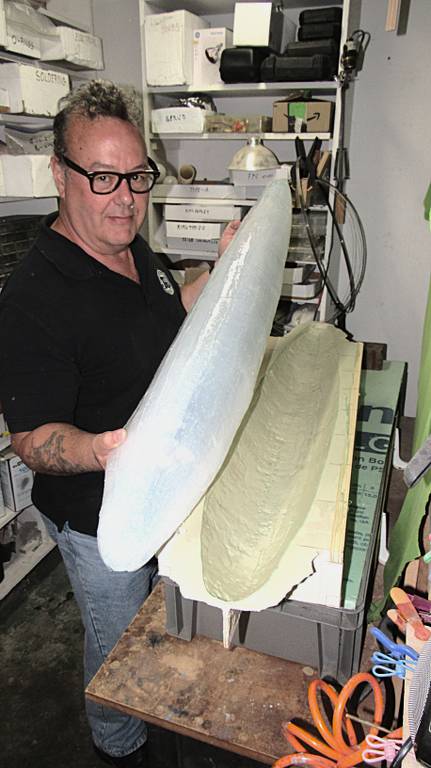
It's ab oil based clay and does not 'dry'. Gooy enough to stay where you put it. Commercially known as, 'plasticene'.Great to see you and Jake! Quick question does the green "putty or clay" harden or is it just temporary.
https://www.amazon.com/Jovi-Plastil...sc=1&msclkid=f1c2c610249614727e00ac0f0e315dcf
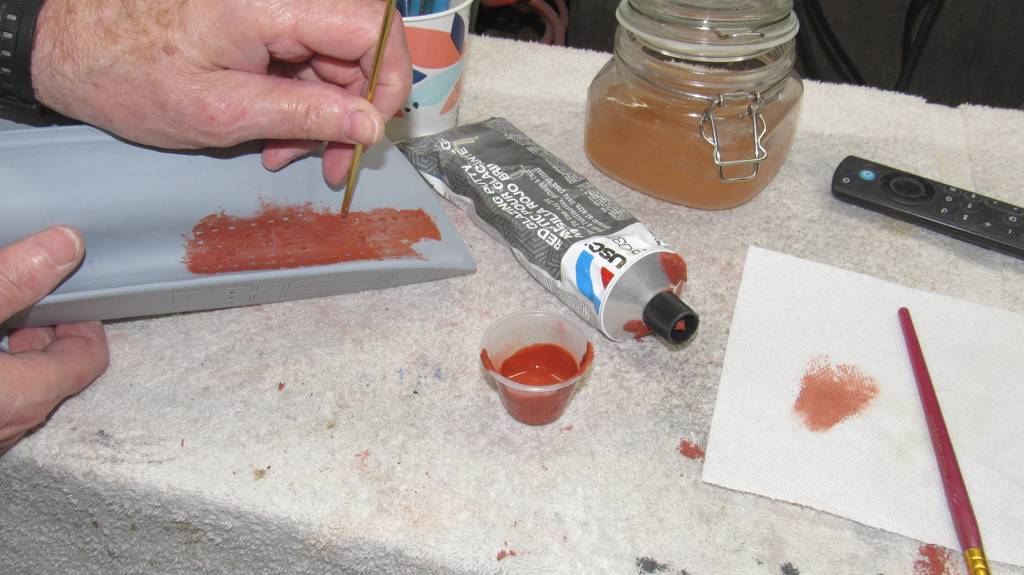
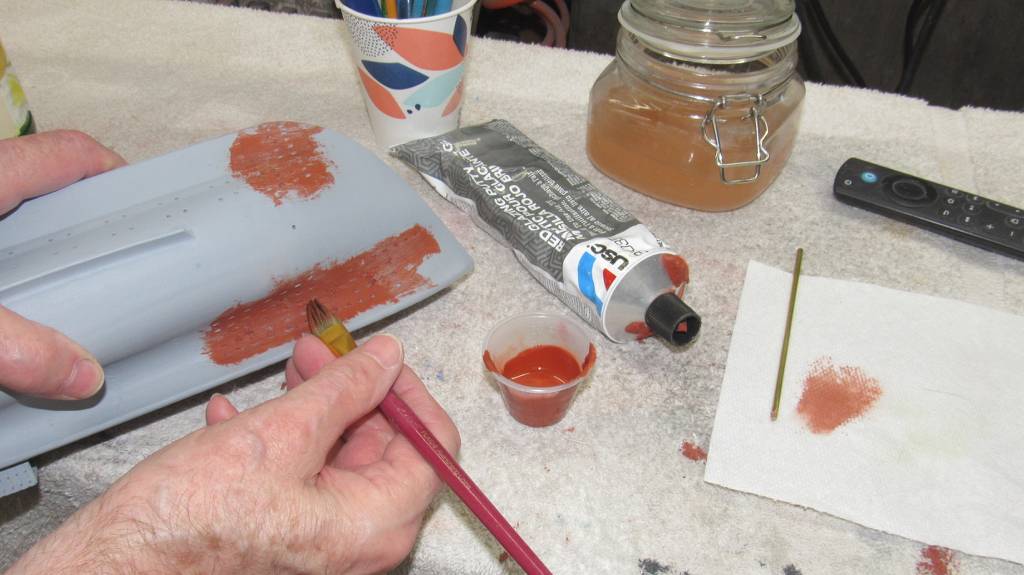
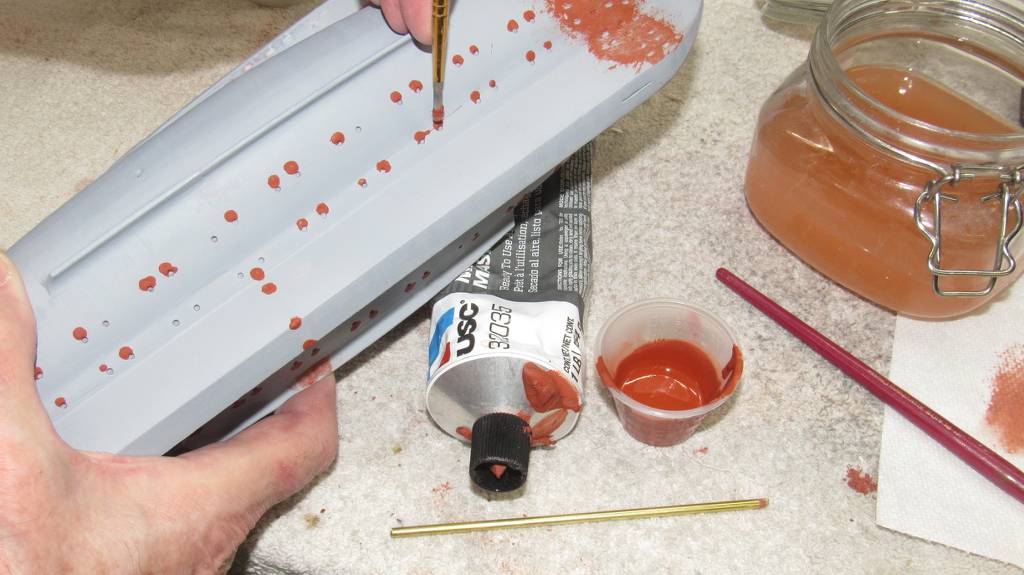
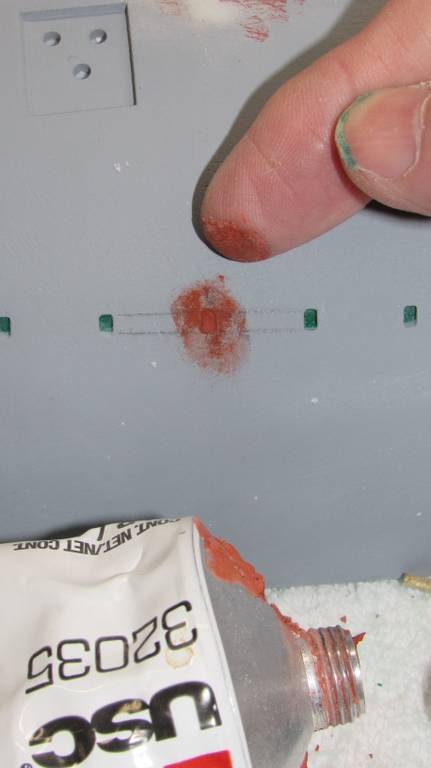
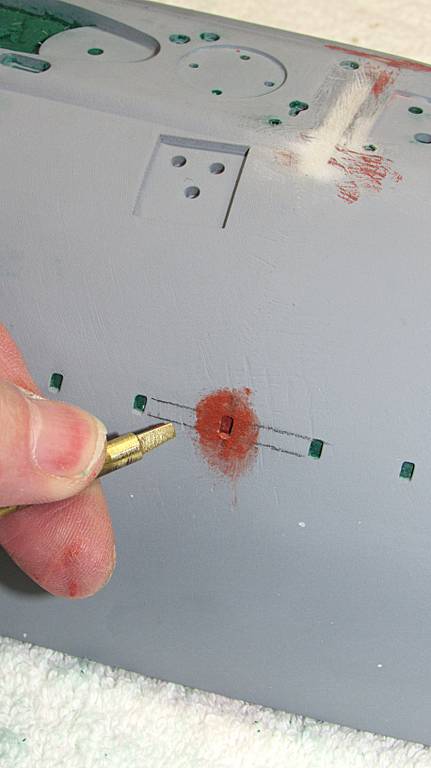
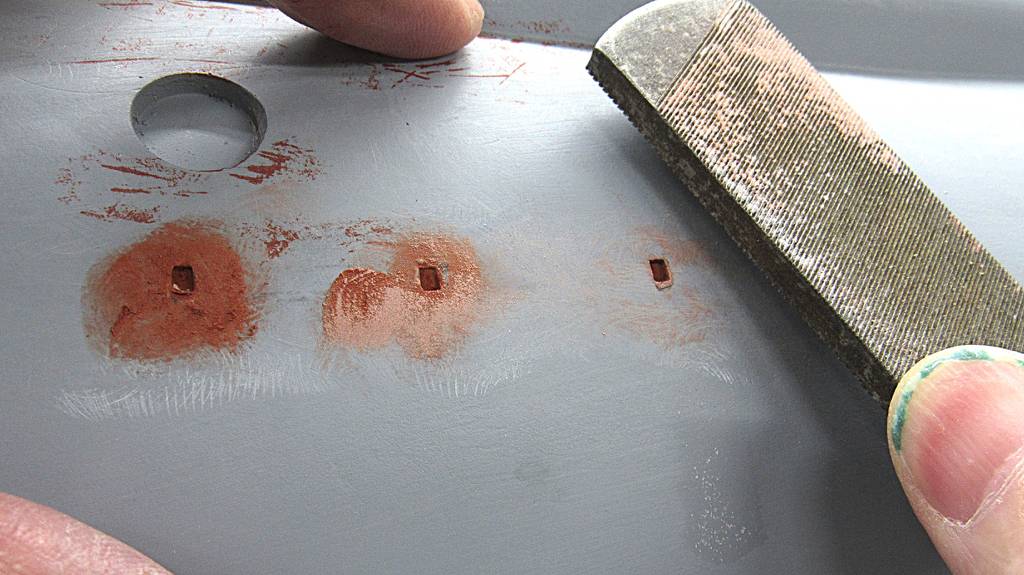
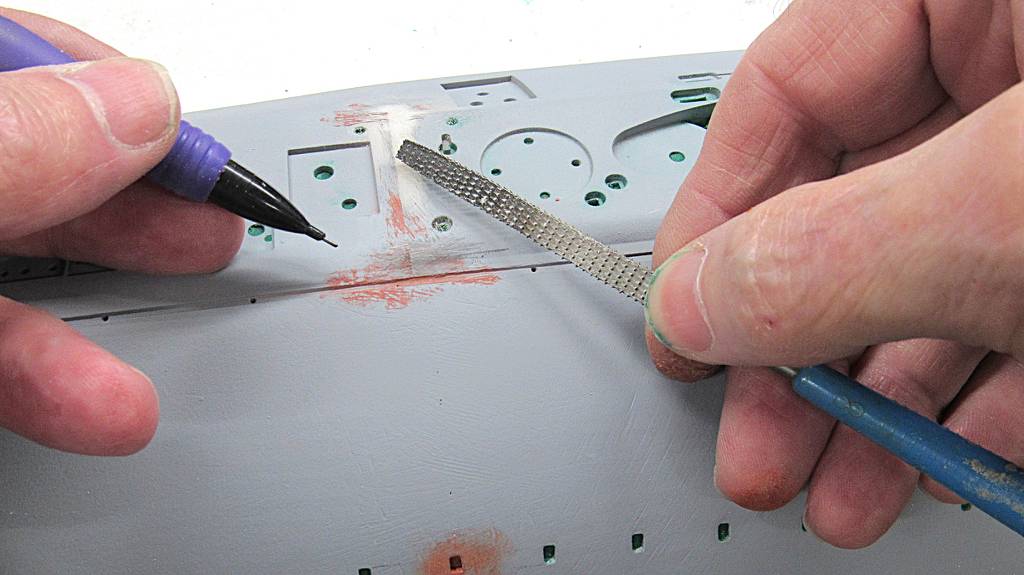
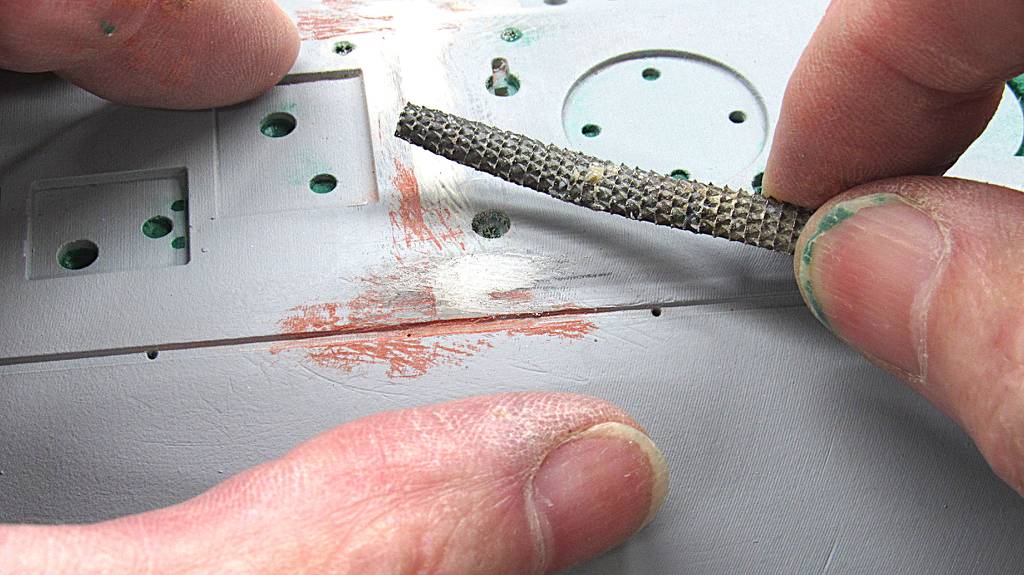
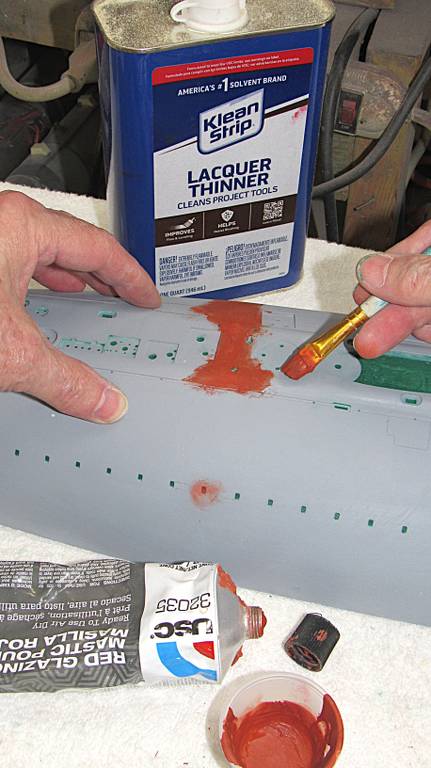
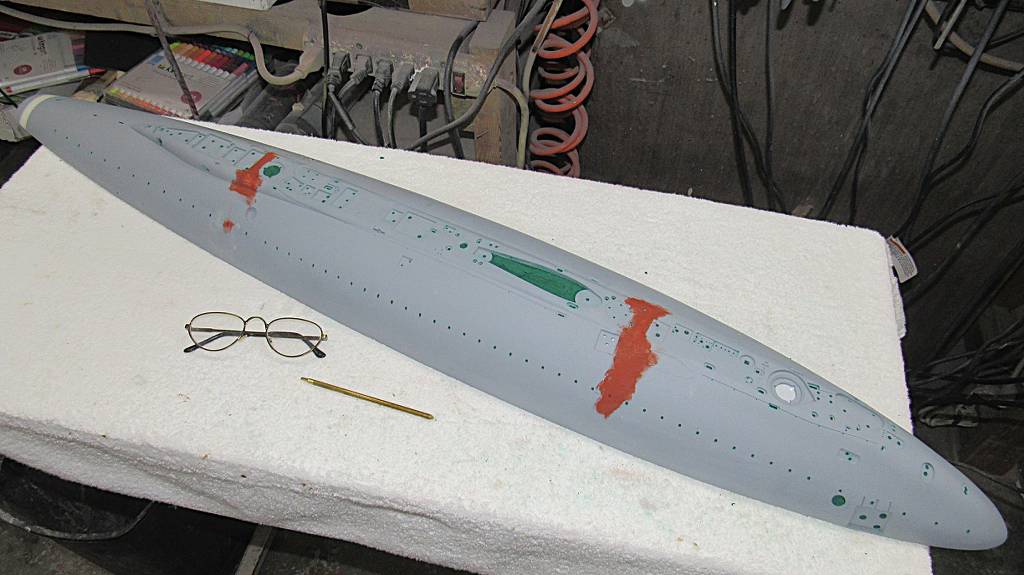
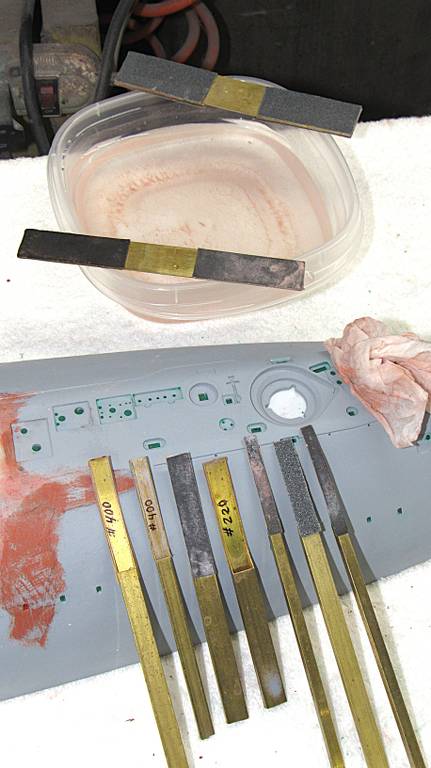
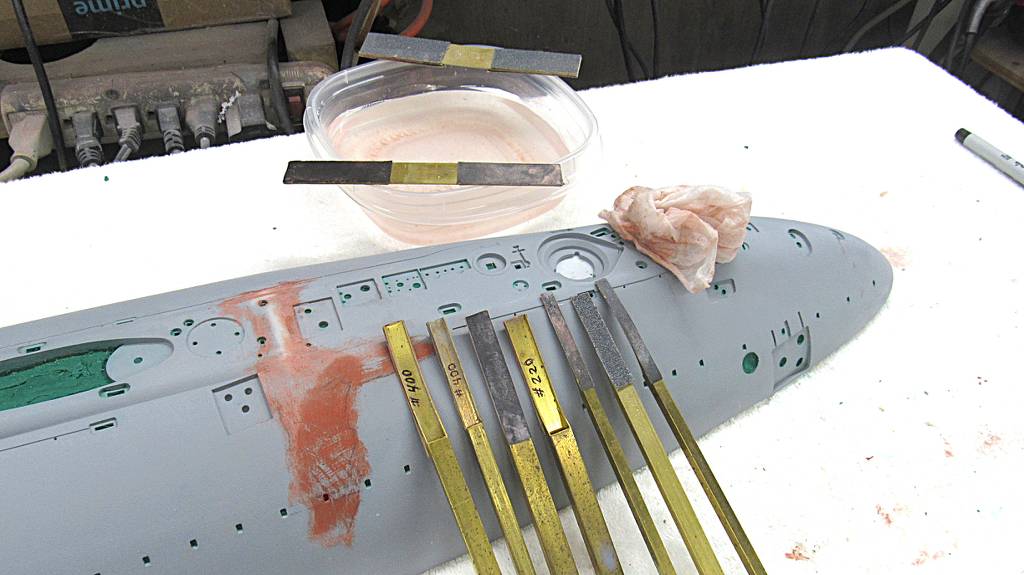
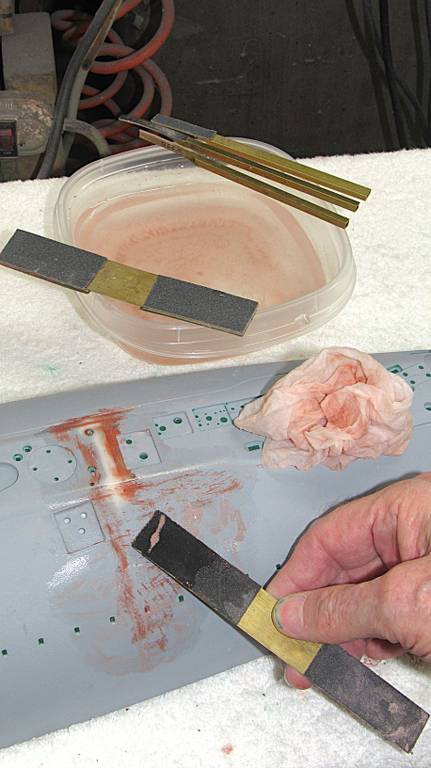
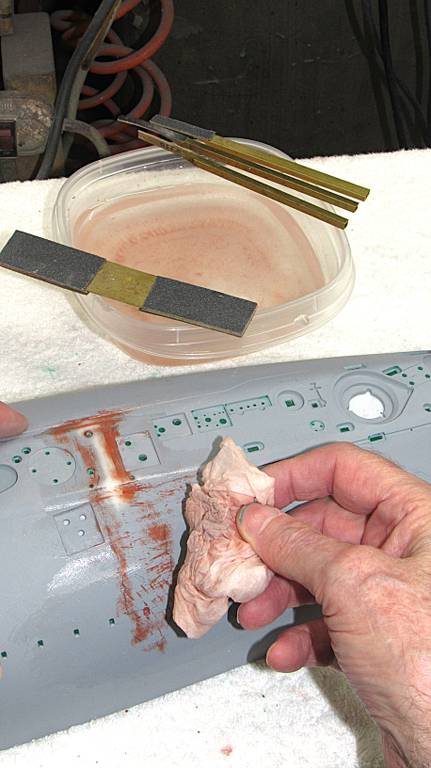
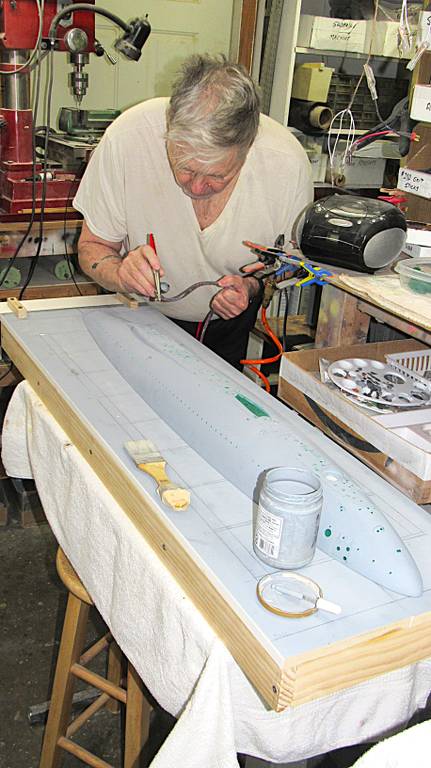
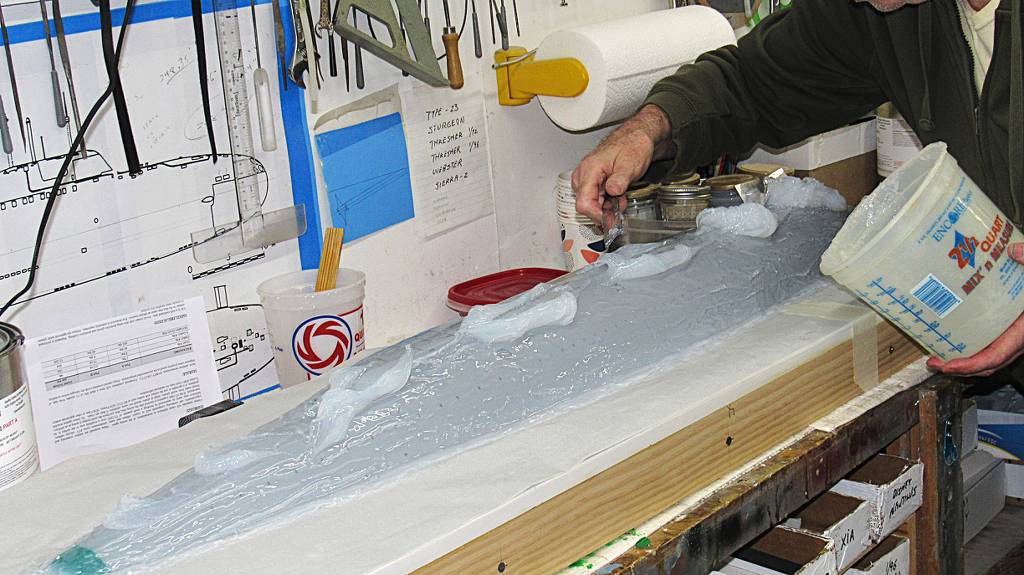
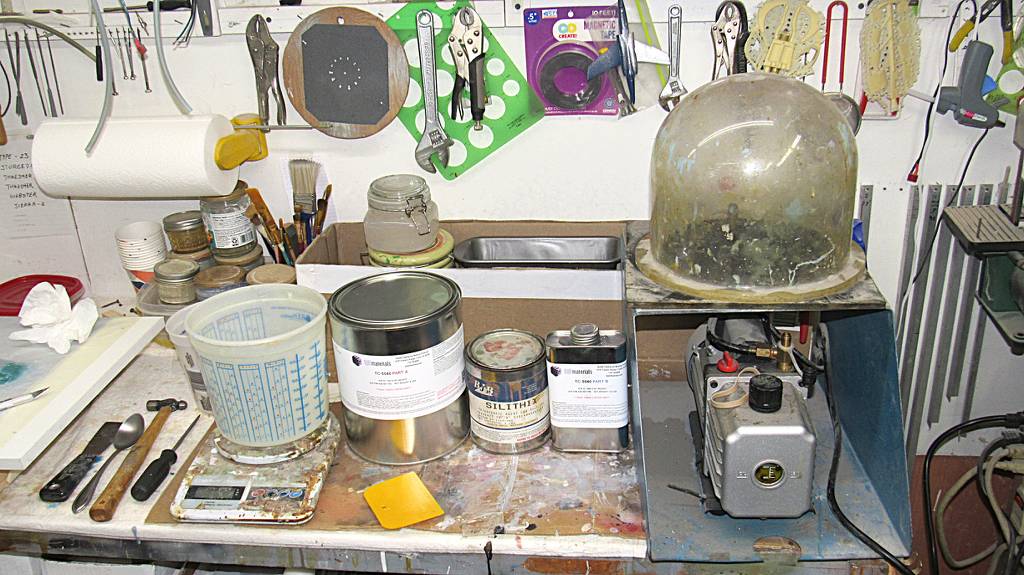
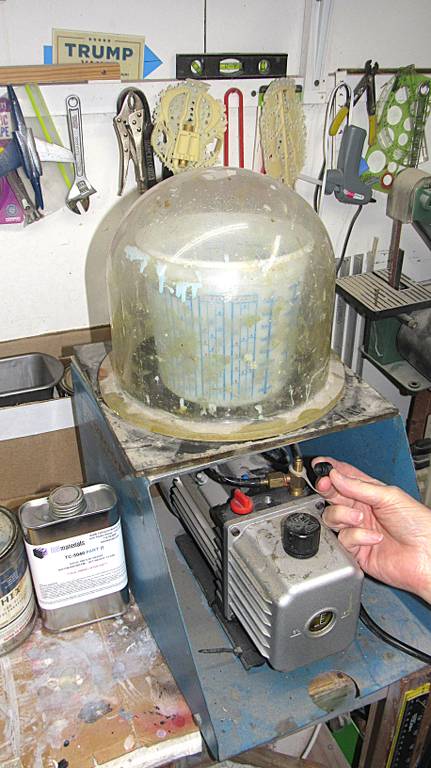
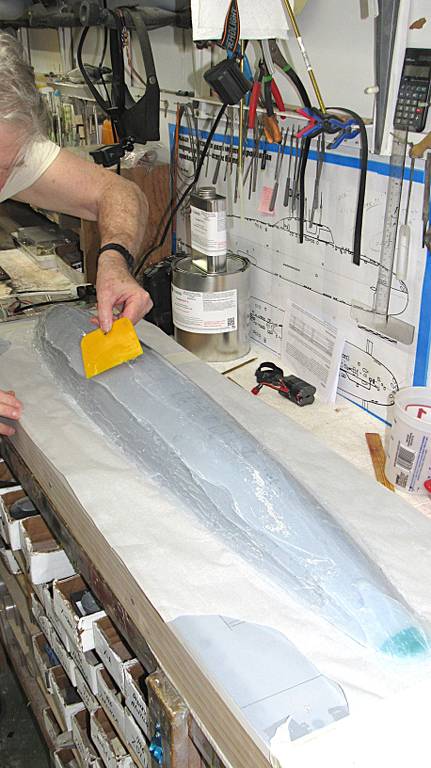
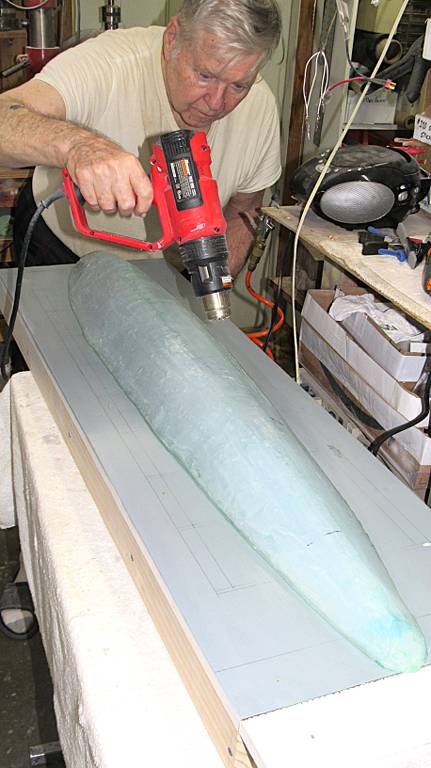
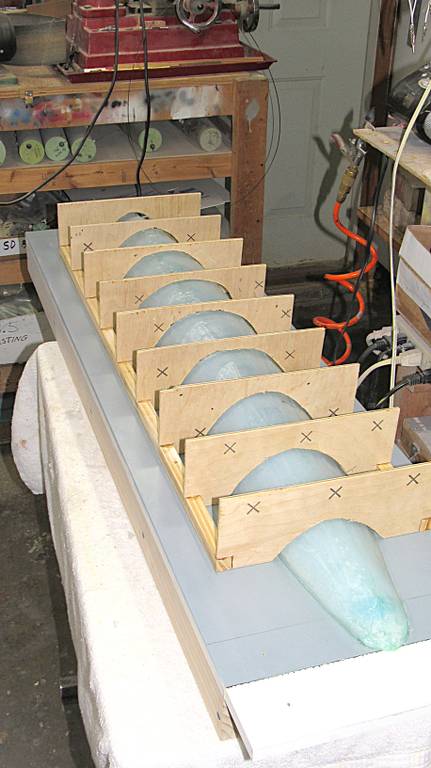
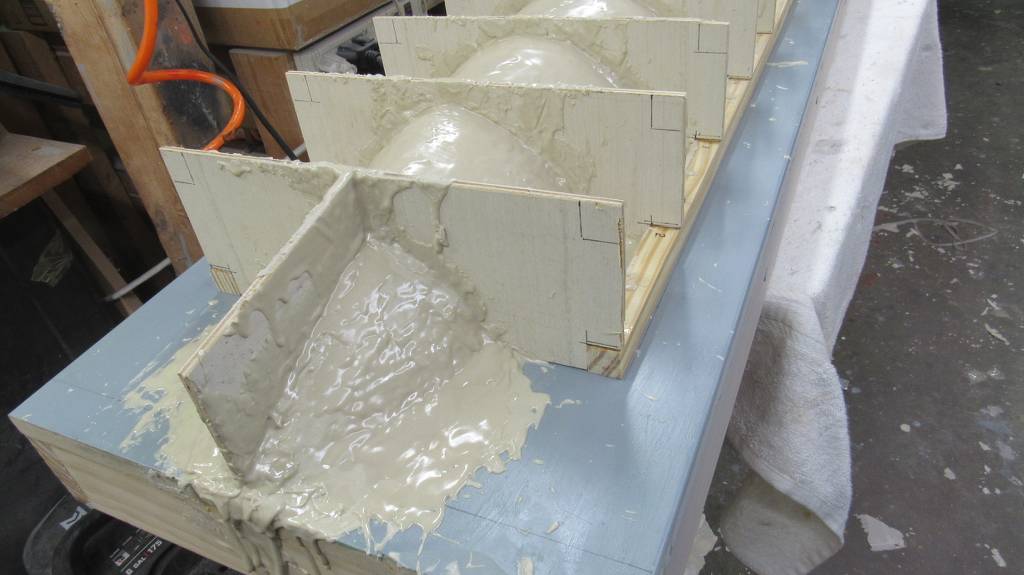
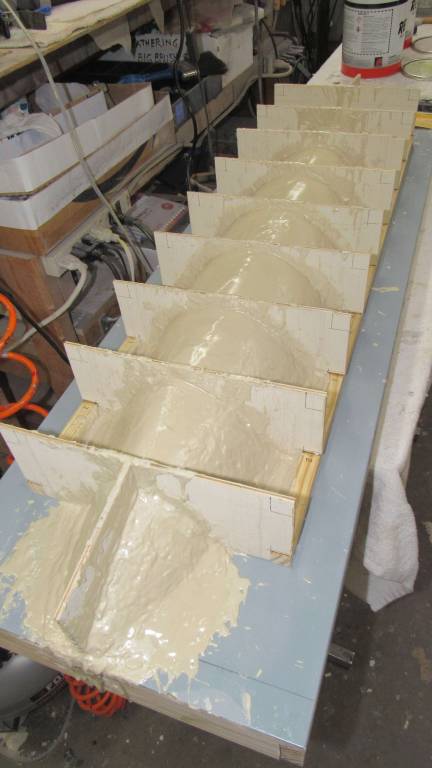
In this application it's used to partially plug holes to prevent the glove mold rubber from running into the hollow hull master.
Scott Kenny
ACCESS: USAP
- Joined
- 15 May 2023
- Messages
- 19,644
- Reaction score
- 28,118
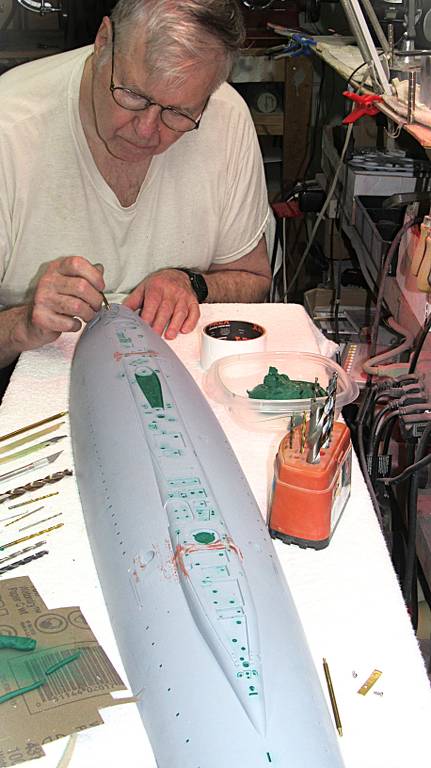
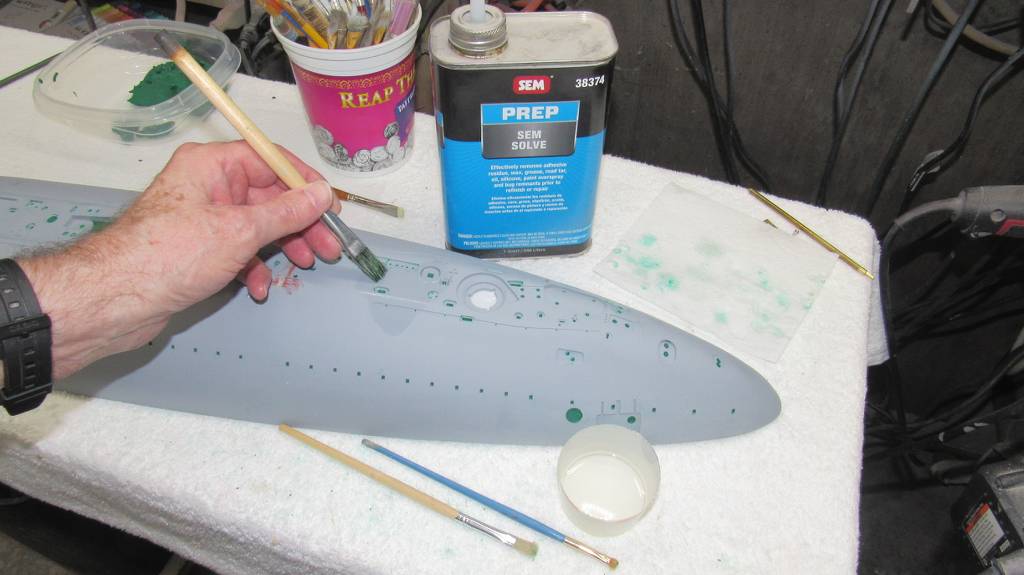
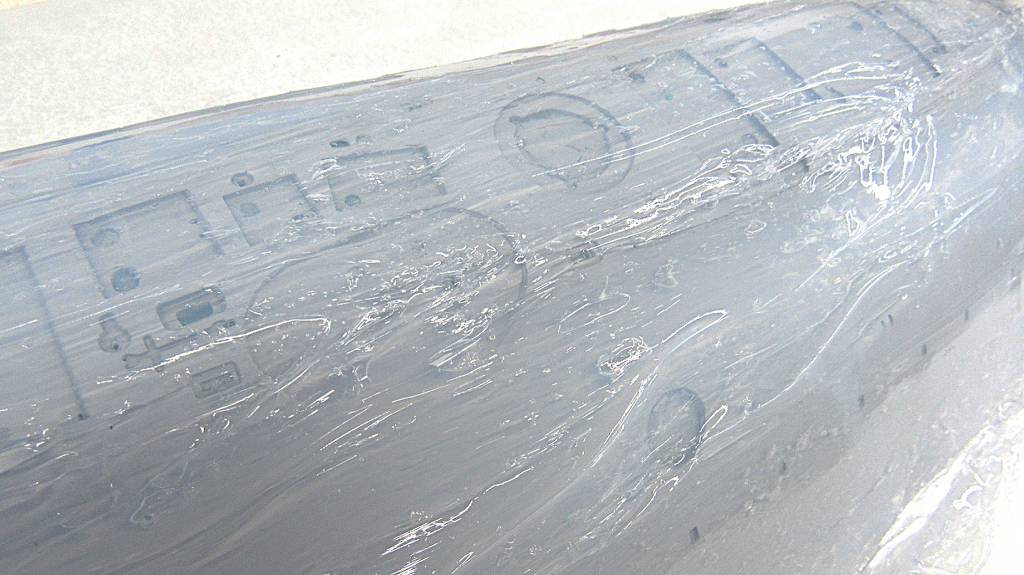
That is an amazingly detailed upper hull and turtledeck!
It looks like it has every single access hole modeled as a separate piece.
It looks like it has every single access hole modeled as a separate piece.
- Joined
- 18 March 2013
- Messages
- 1,586
- Reaction score
- 5,791
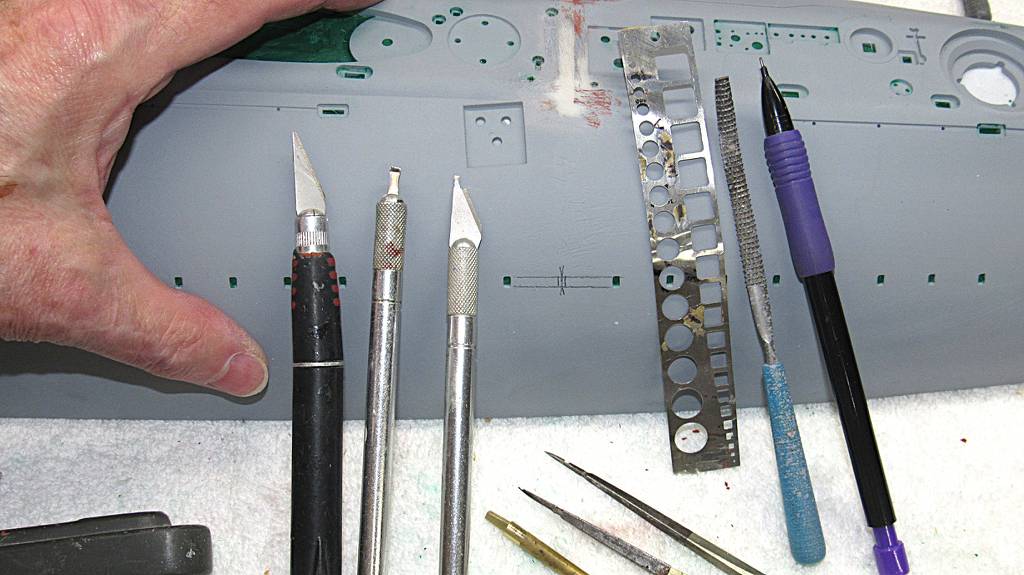
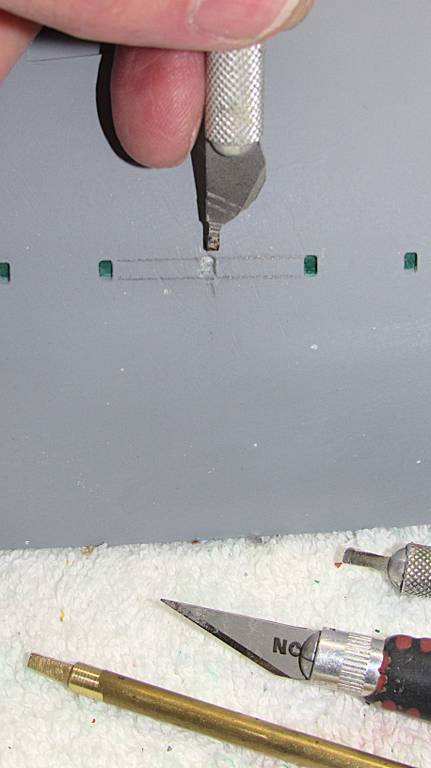
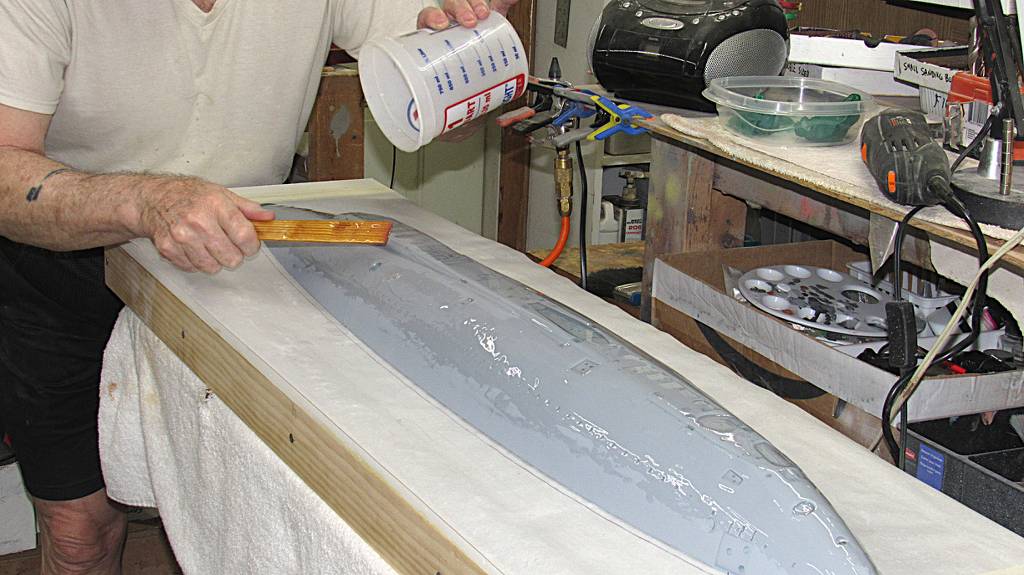
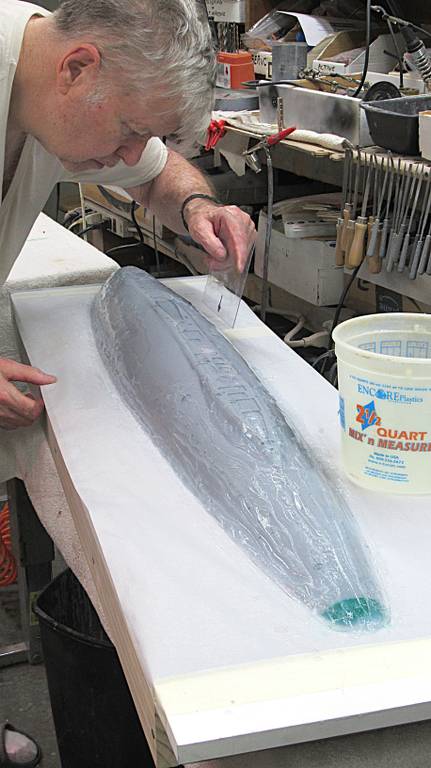
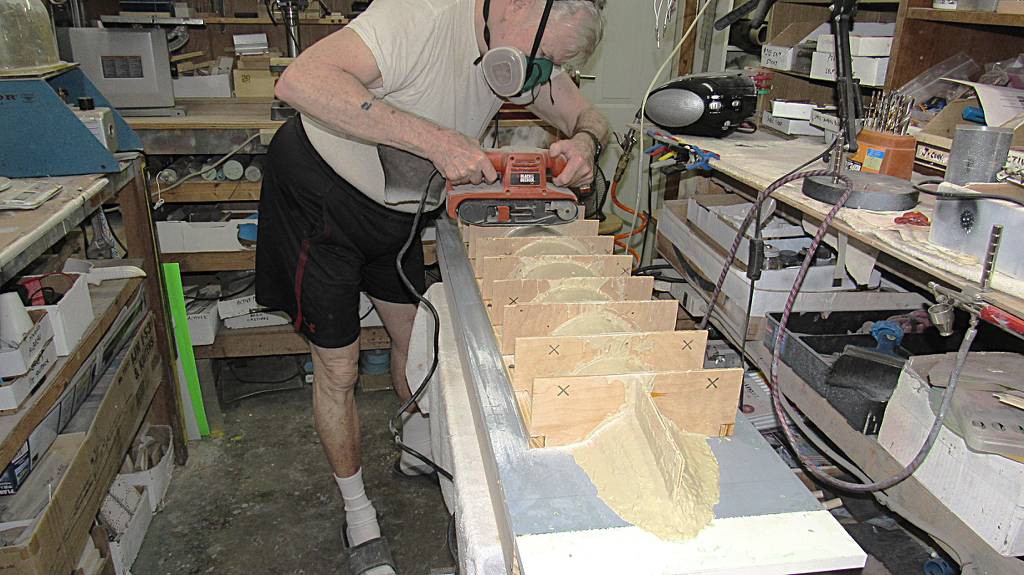
Yeah. Most of the deck has depressions that will -- on the completed model, created in the tools I'm currently working up -- accept acid-etched brass inserts representing the hatches, deck-plates, salvage covers, and other deck fittings. The client provides the hull and appendage masters, I make the tooling to support manufacture of GRP, resin, and metal 'kits'.That is an amazingly detailed upper hull and turtledeck!
It looks like it has every single access hole modeled as a separate piece.
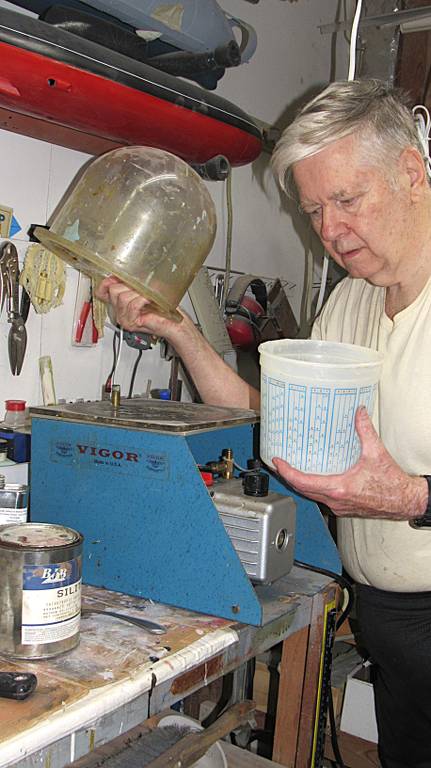
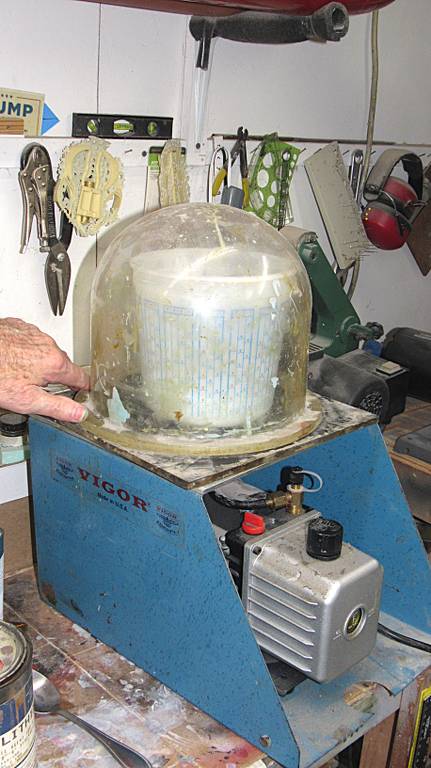
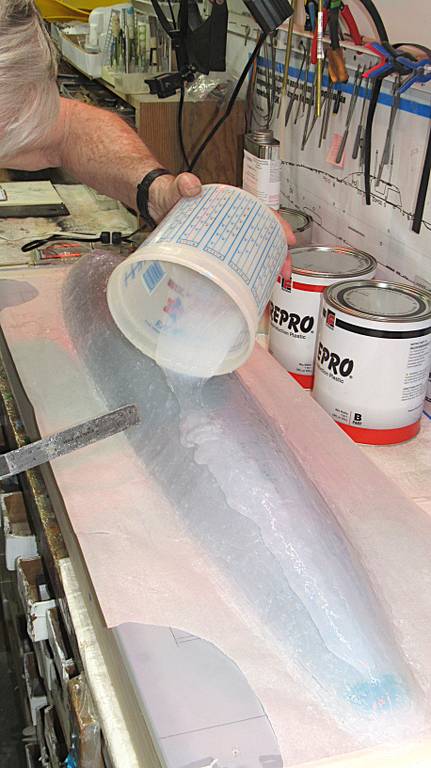
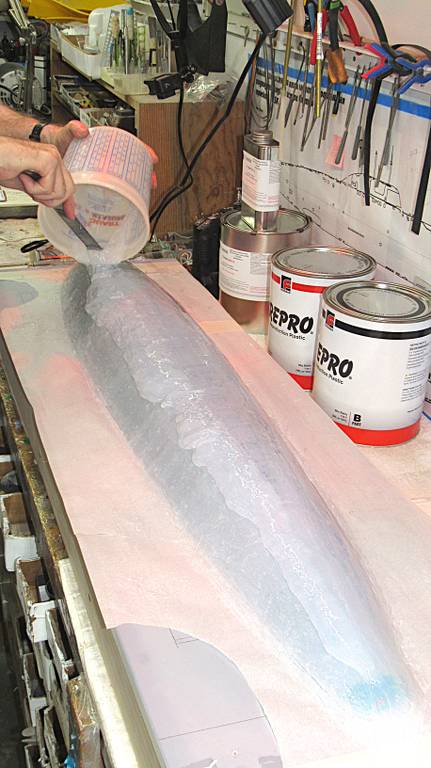
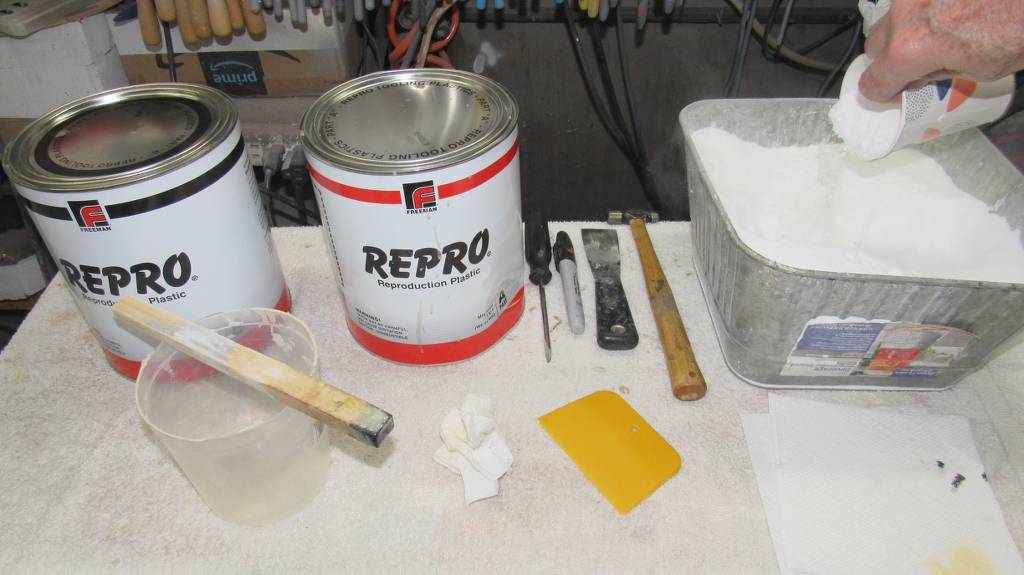
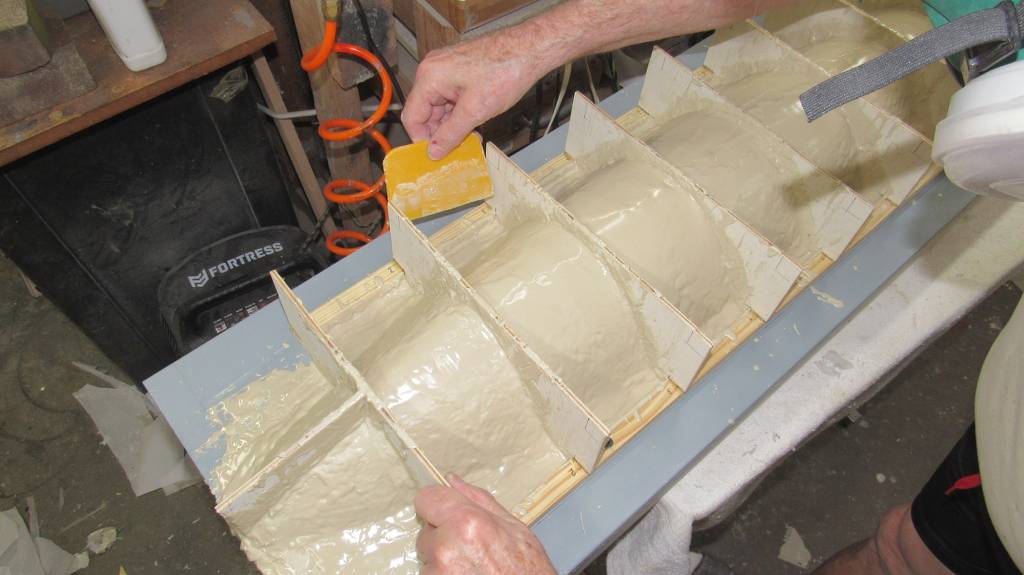
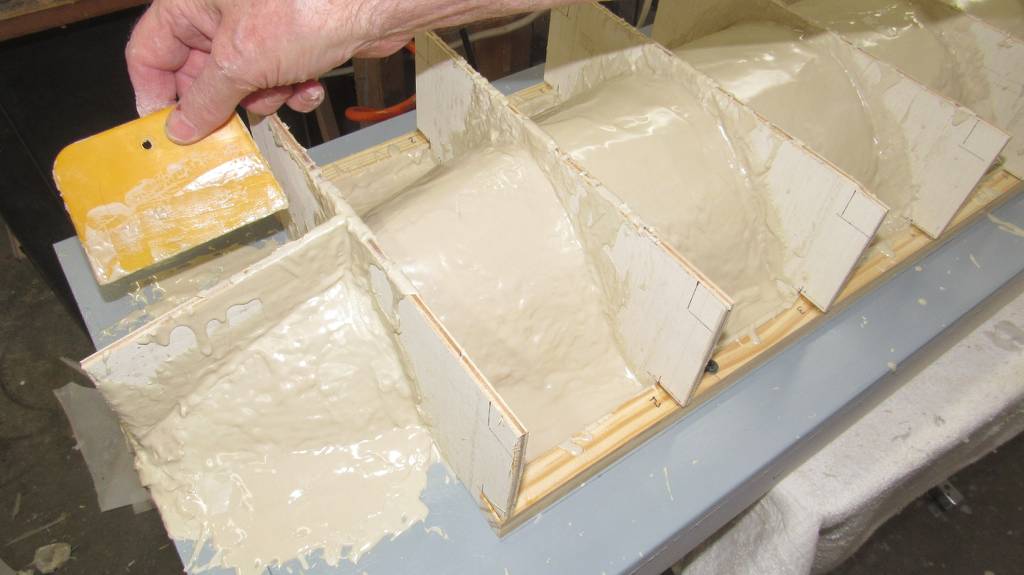
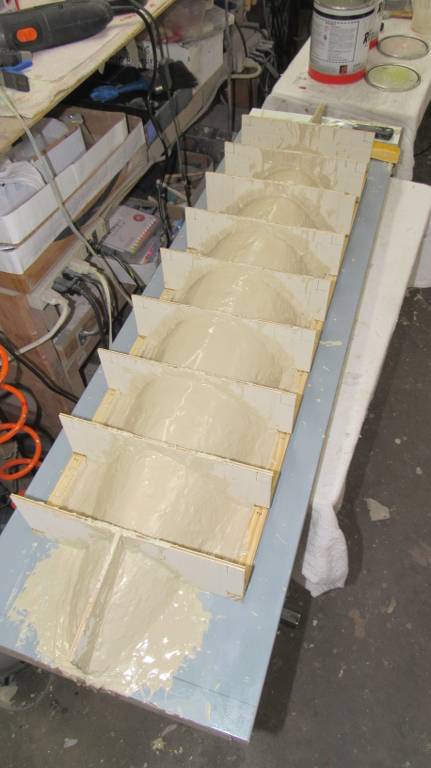
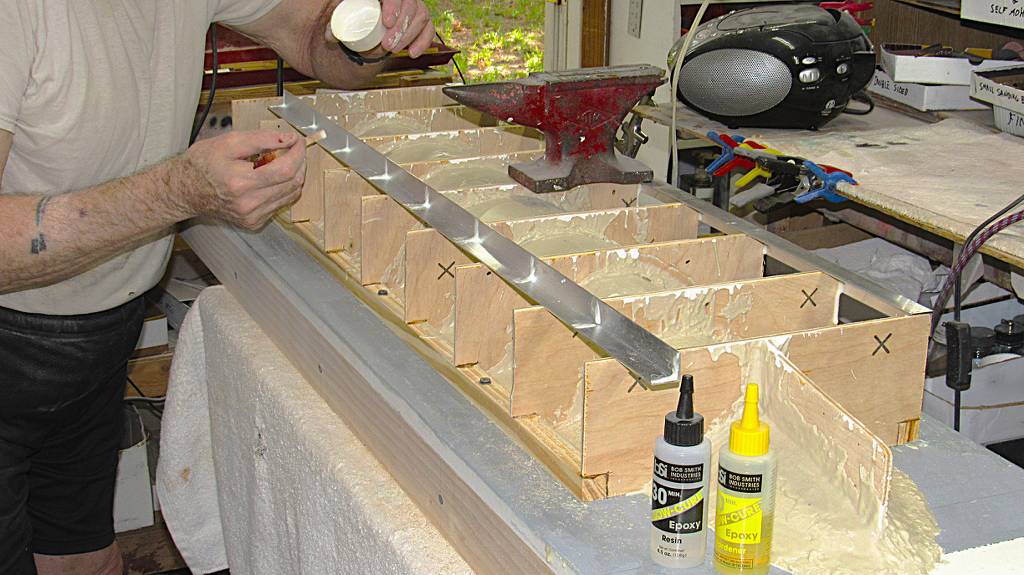
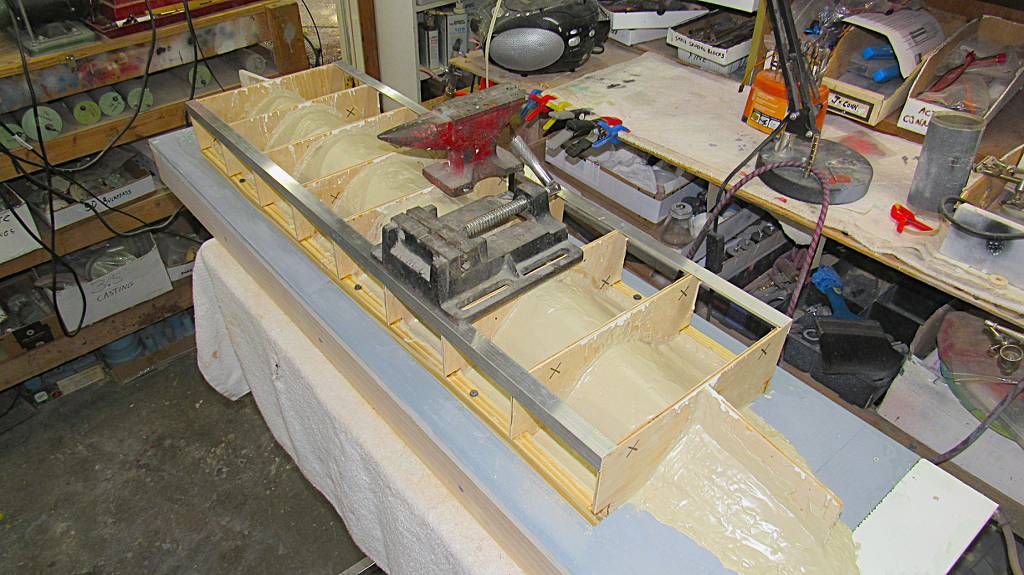
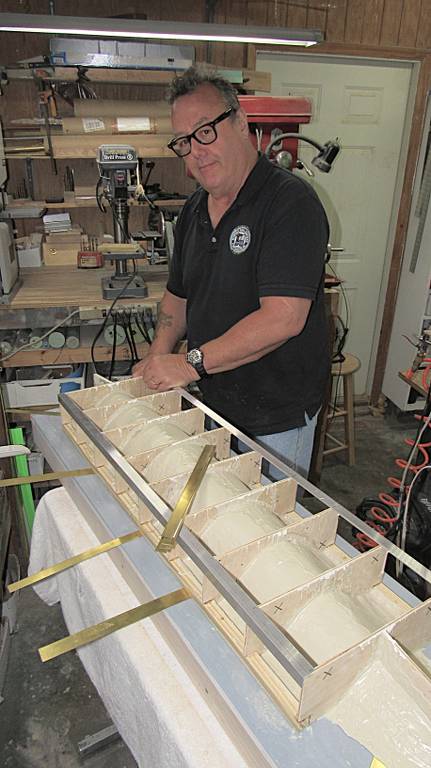
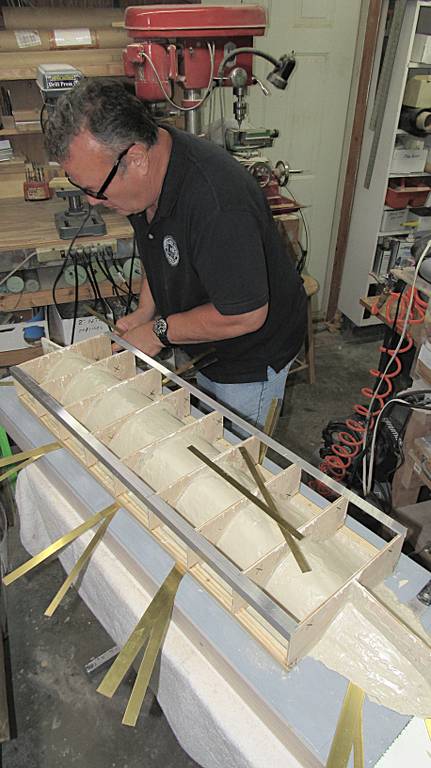
Scott Kenny
ACCESS: USAP
- Joined
- 15 May 2023
- Messages
- 19,644
- Reaction score
- 28,118
"Like a glove!" [/Jim Carrey voice]
- Joined
- 18 March 2013
- Messages
- 1,586
- Reaction score
- 5,791
Scott Kenny
ACCESS: USAP
- Joined
- 15 May 2023
- Messages
- 19,644
- Reaction score
- 28,118
Definitely two old bubbleheads talking a lot of shit to each other.
Similar threads
-
-
Merriman's Modelling Tips: Stretching Sprue/Runner
- Started by merriman
- Replies: 2
-

-
-
