- Joined
- 18 March 2013
- Messages
- 1,502
- Reaction score
- 5,383
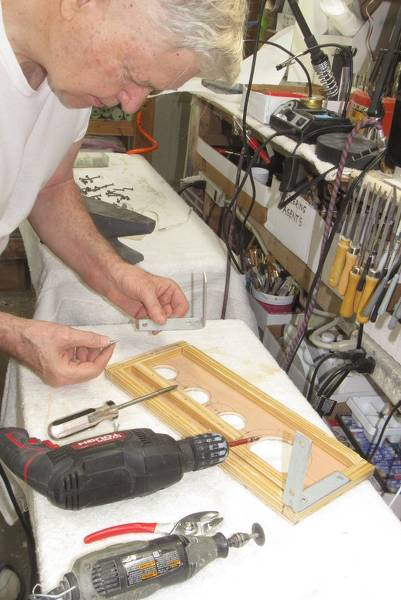
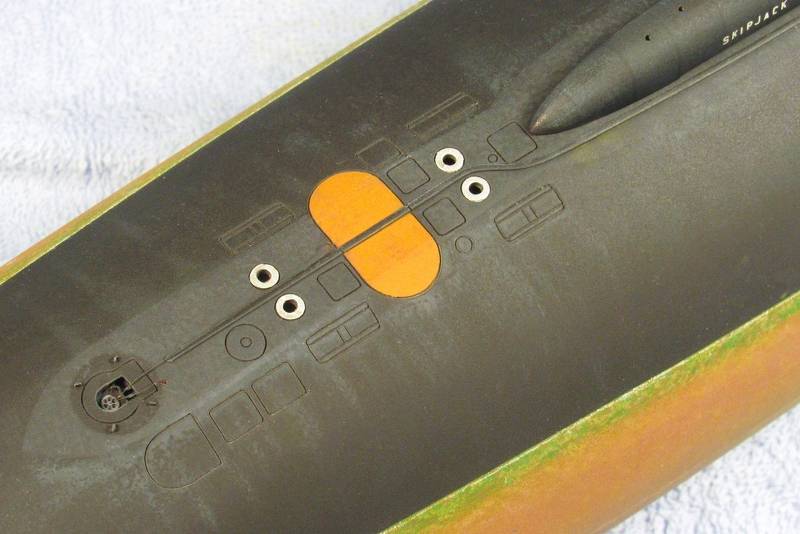
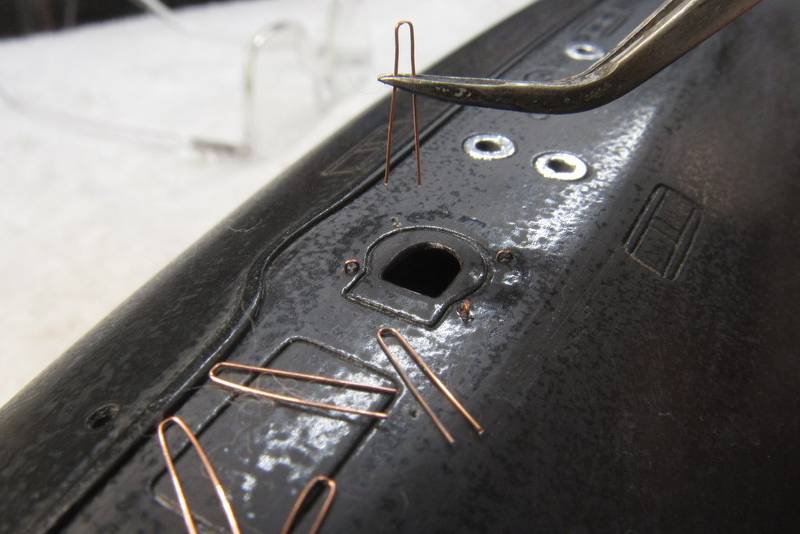
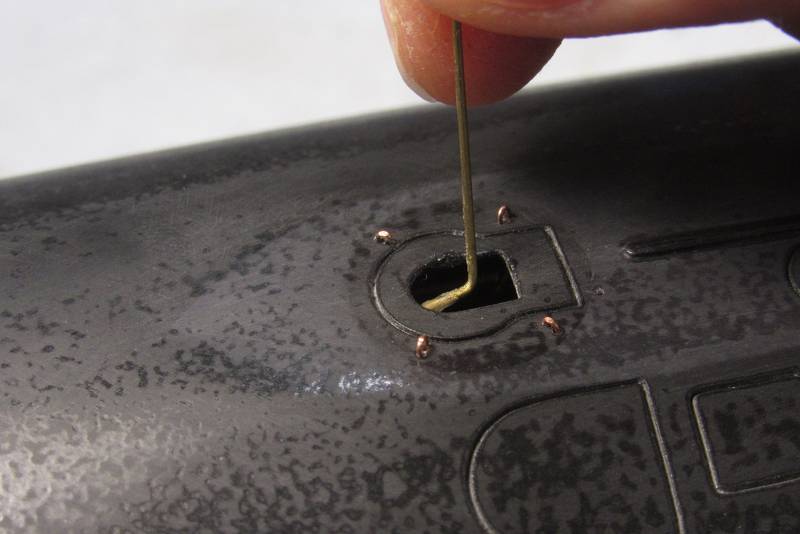
Each pad-eye was tweezered into place, running each down into the little holes previously drilled about the circular escape trunk McCann rescue chamber seating surface. To insure that all pad-eyes sat the same height I placed one leg of an unused pad-eye blank into the space between the two legs of an inserted pad-eye and pressed it down till it sat atop the temporary length of .013” wire.

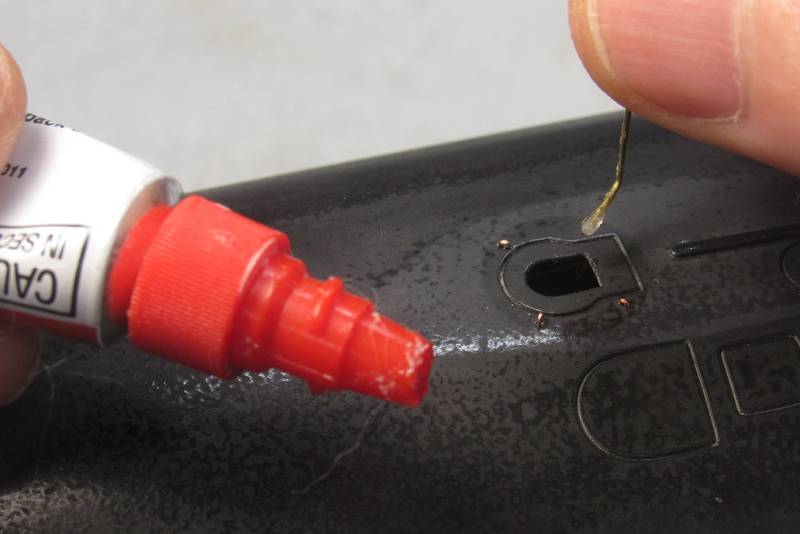
A dab of thick formula CA adhesive was applied within the hull to glue each pad-eye permanently in place. This 'L' bent length of wire served as the ideal application tool. Gluing the pad-eyes from within the upper hull negated any possibility of glue smears spoiling the finish atop the models surface.
Once the glue had set hard I reaching into the upper hull and snipped off the excess lengths of pad-eye wire with wire-cutters.
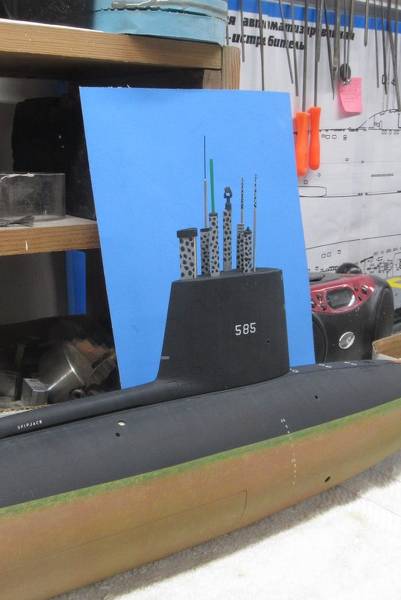
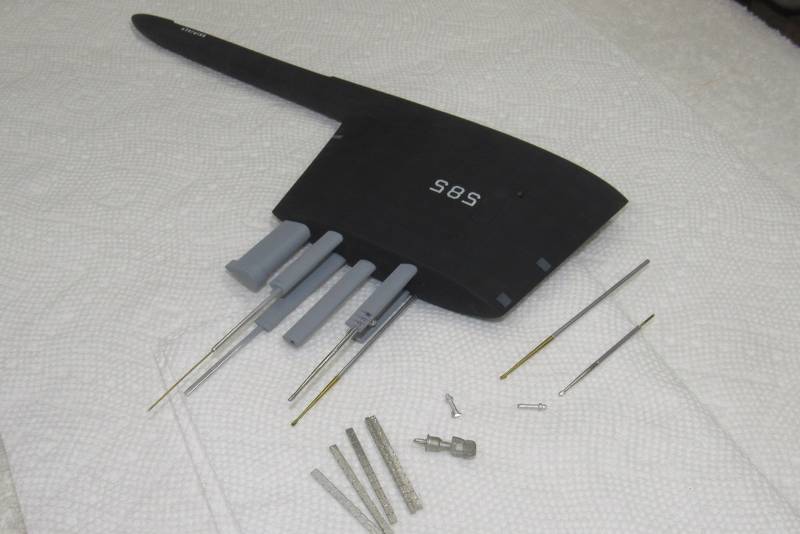
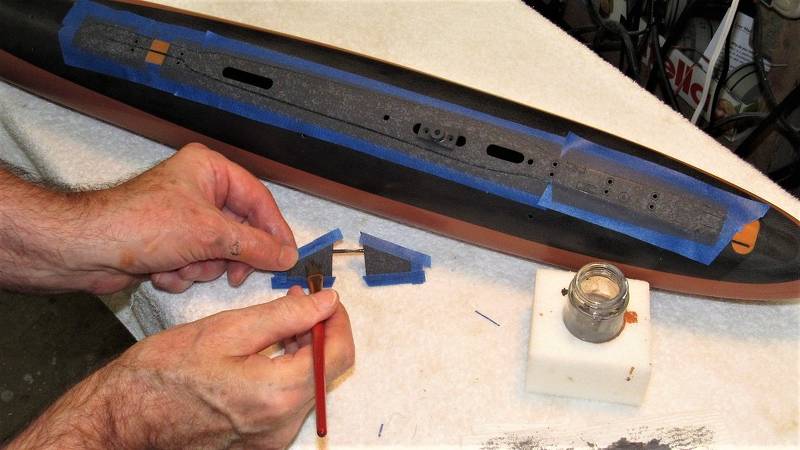
Now came time to install the two escape trunk deck hatches. As these sat a bit below deck level within wells under the hatch fairings, each hatch piece was glued to a cast resin foundations. The foundation itself would be glued within the upper hull at the forward and after raised flange portions of each foundation.
To make these white-metal parts receptive to paint I pickled each with Ferric Chloride acid quickly followed by a fresh-water scrub and rinse.
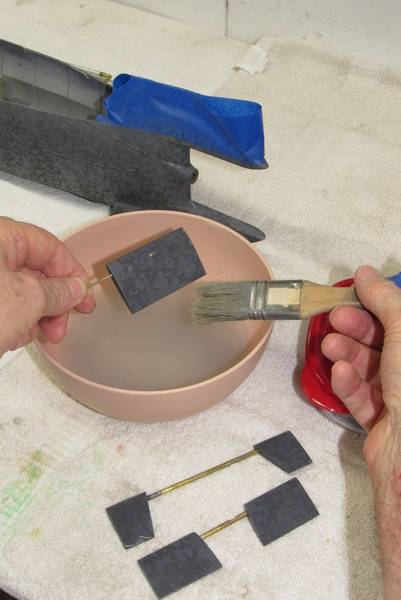
Though the pickling oxidized the surface of the metal to a very dark gray already I wanted both the metal hatch and resin foundation to be a total black. So, after pickling the two hatch assemblies were were spray painted black with water-soluble acrylic paint.
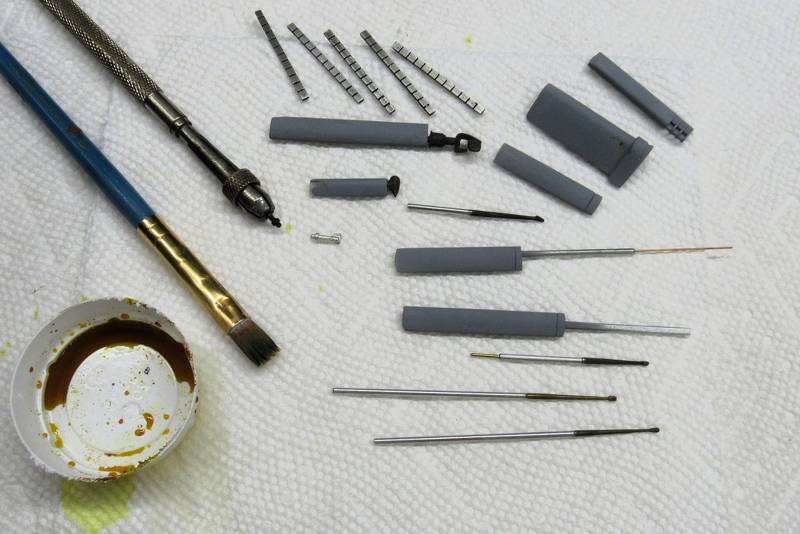
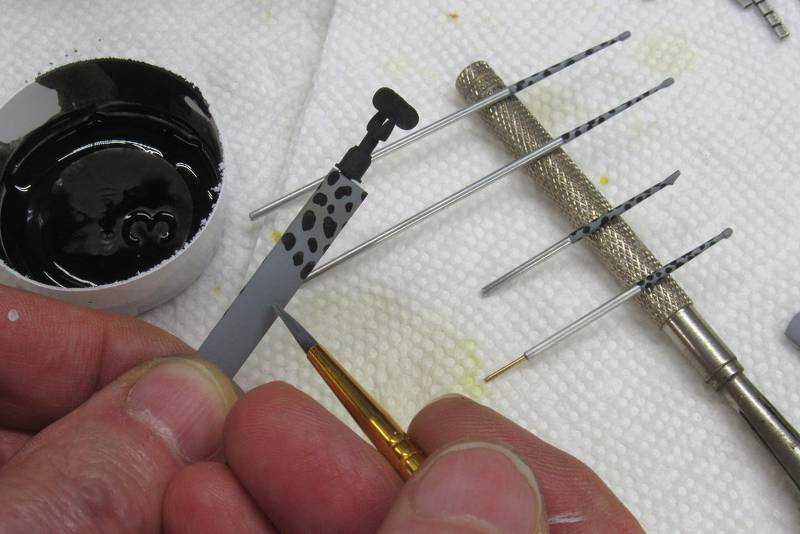
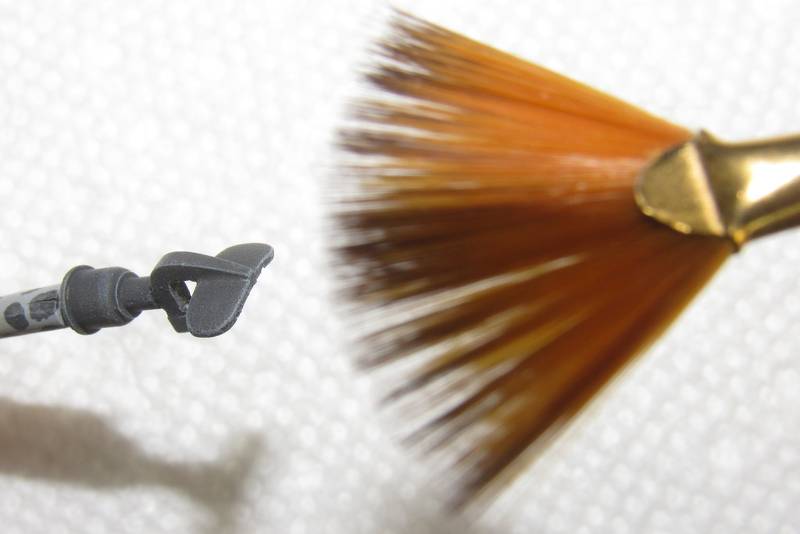
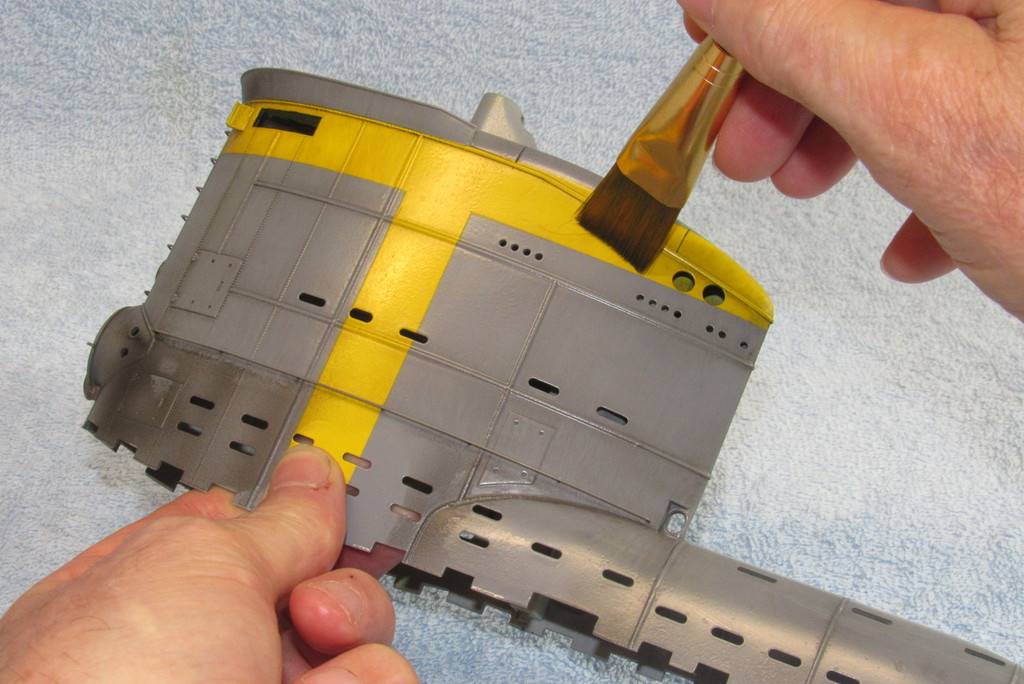
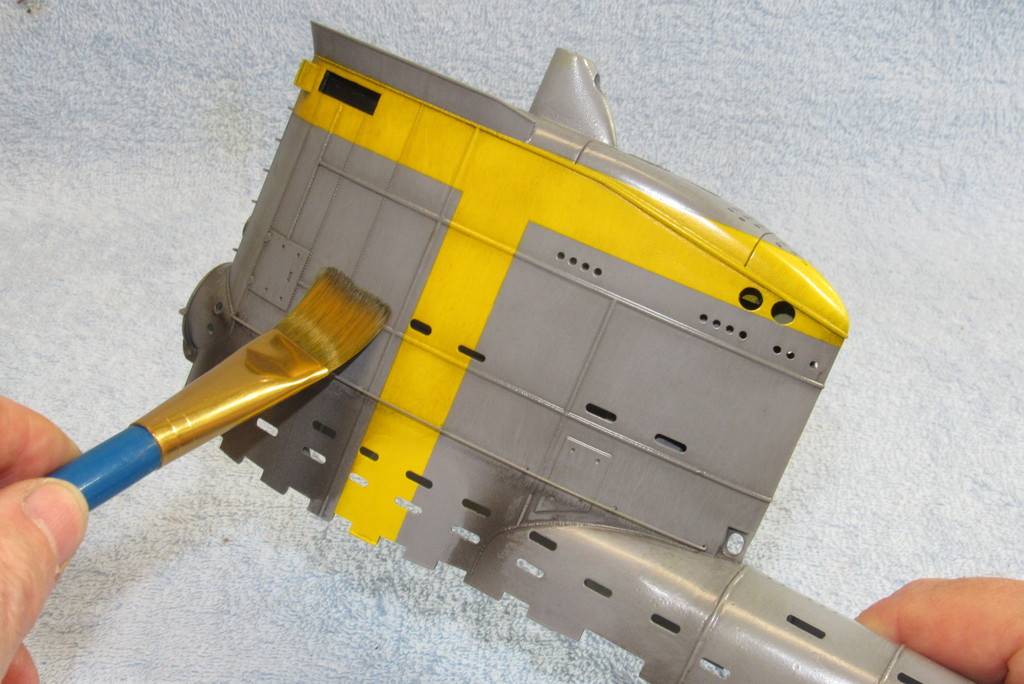
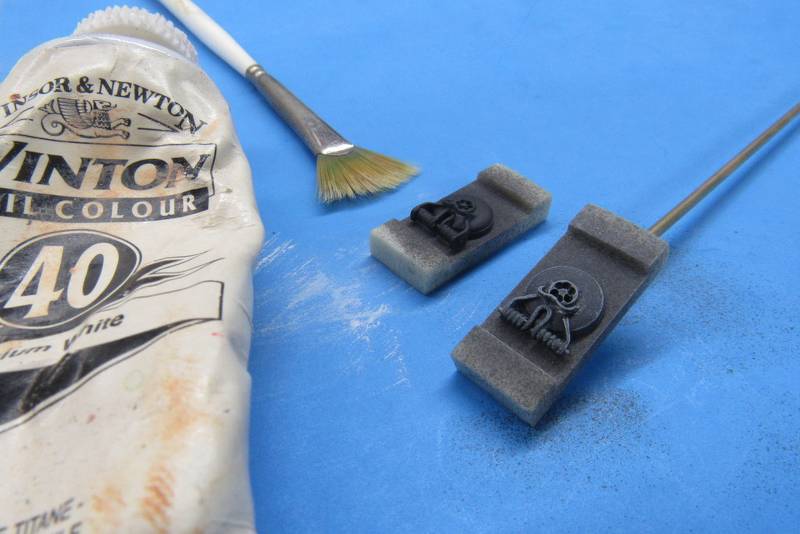
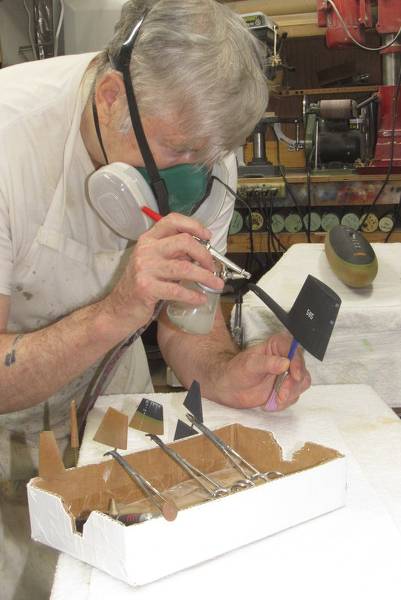
To give some 'life' to each hatch I dry-brushed all raised portions with white oil-based 'artist' paint. This gunk takes ages to dry so is the perfect medium for dry-brushing, streaking, and blending tasks. A soft 'fan' brush is the best tool for dry-brushing. The trick is to wipe most of the paint from the brush after loading it and to make multiple passes over the subjects with quick, light passes till just a small amount of the paint sticks to only the raised portions of the subject. What was once a black-hole then becomes a complicated structure of sharp contrasts – pleasing to the eye.
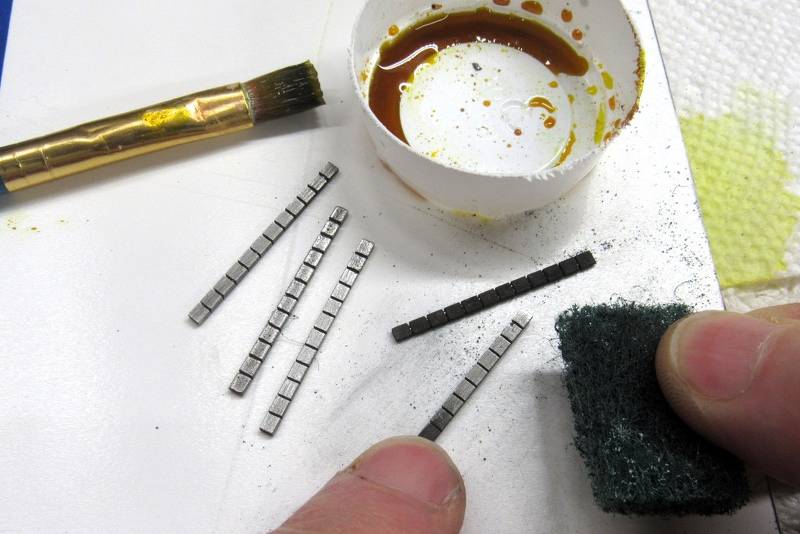
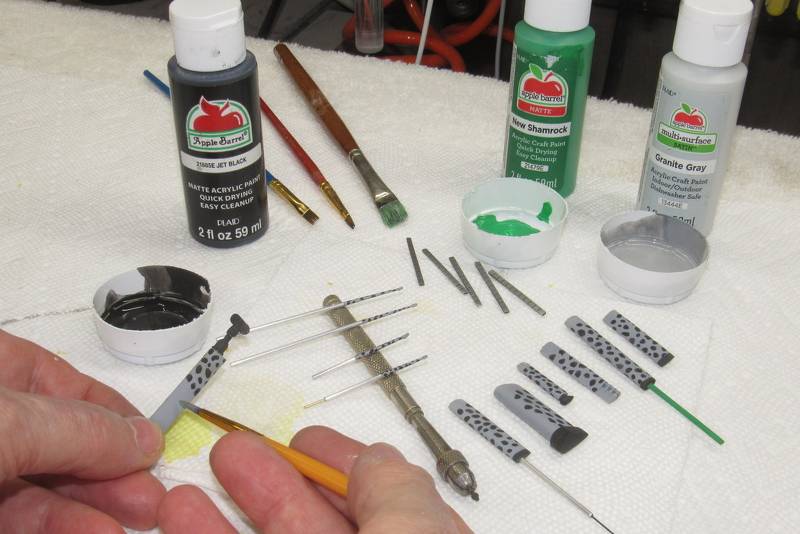
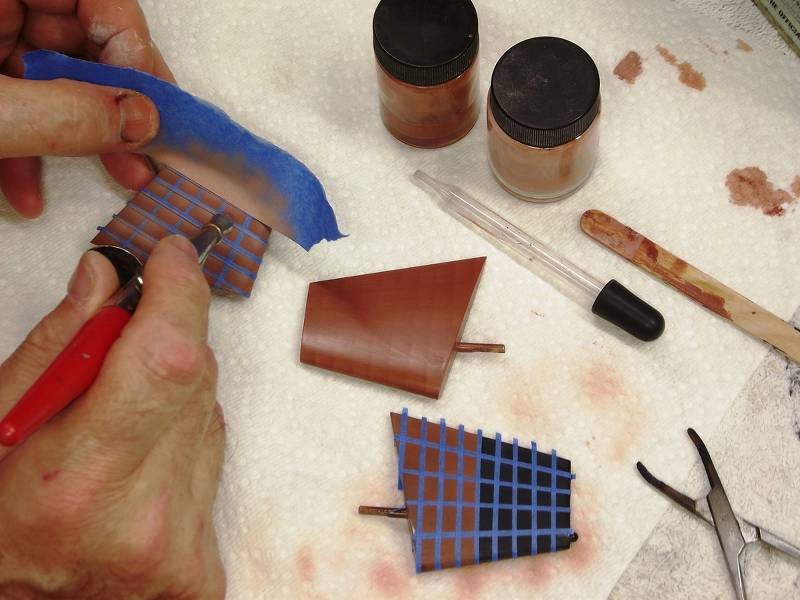
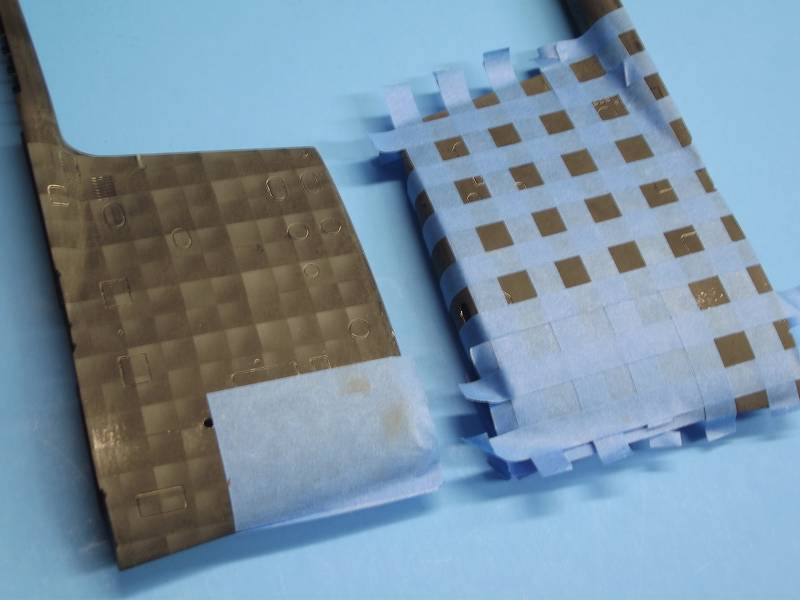
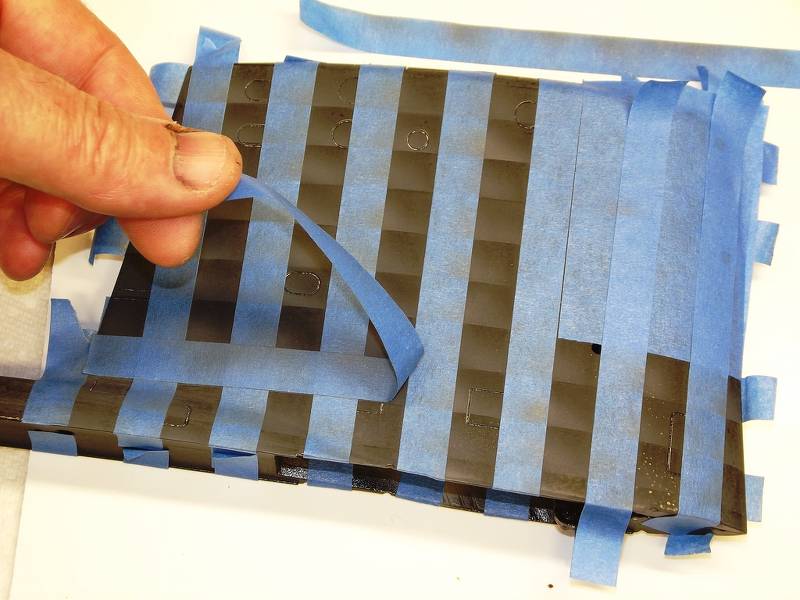
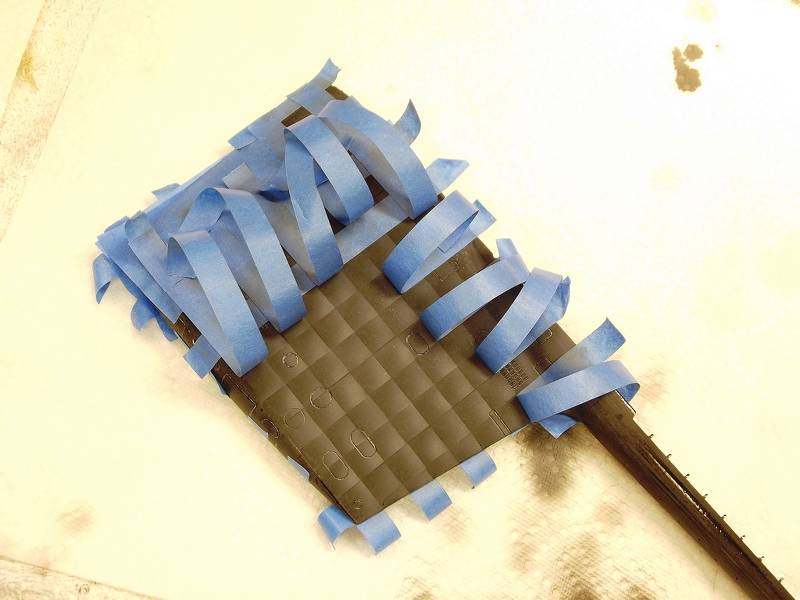
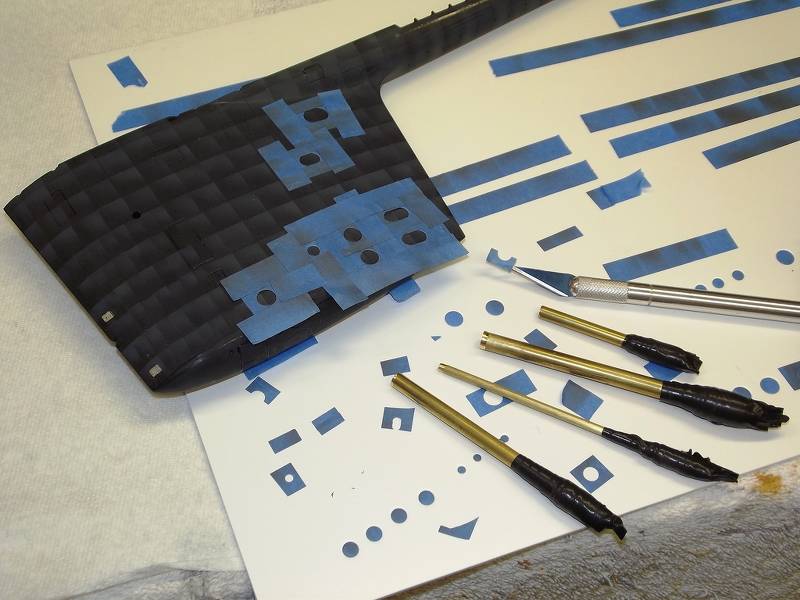
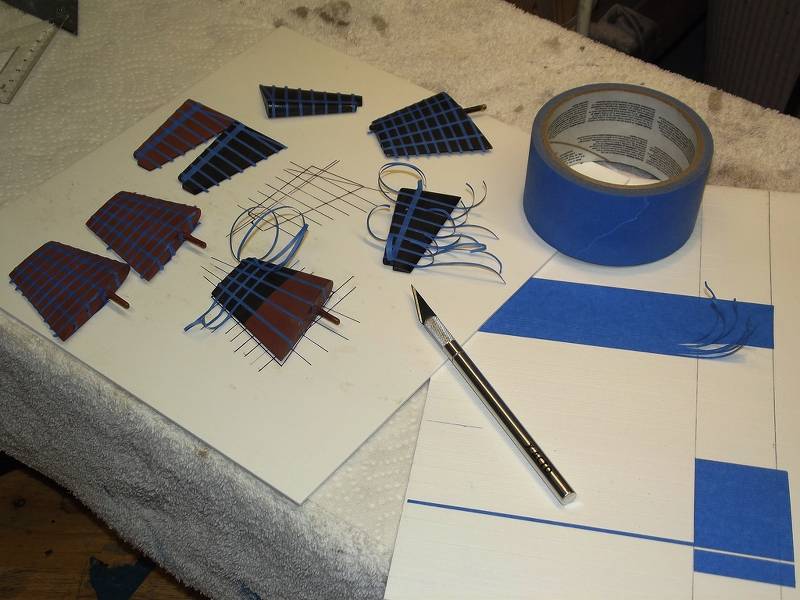
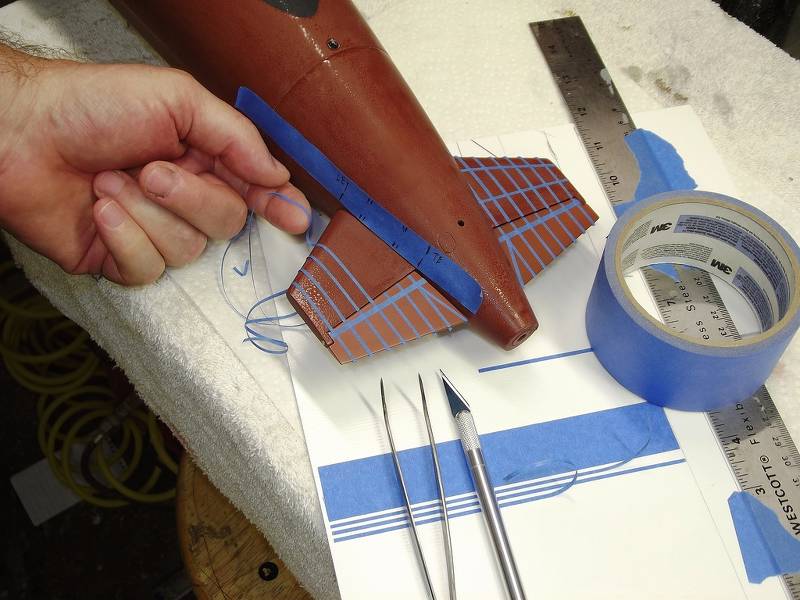
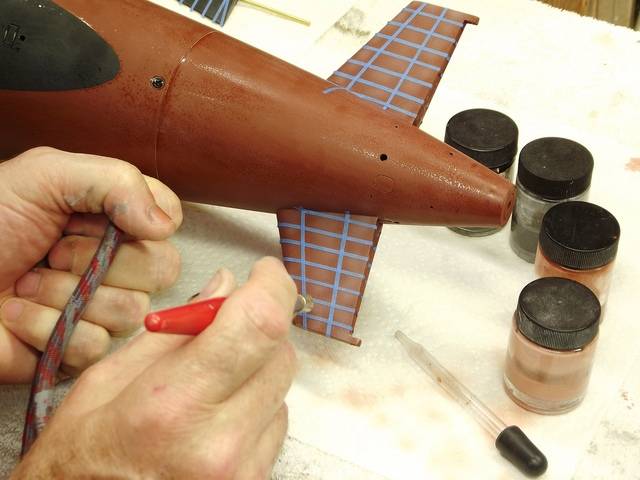
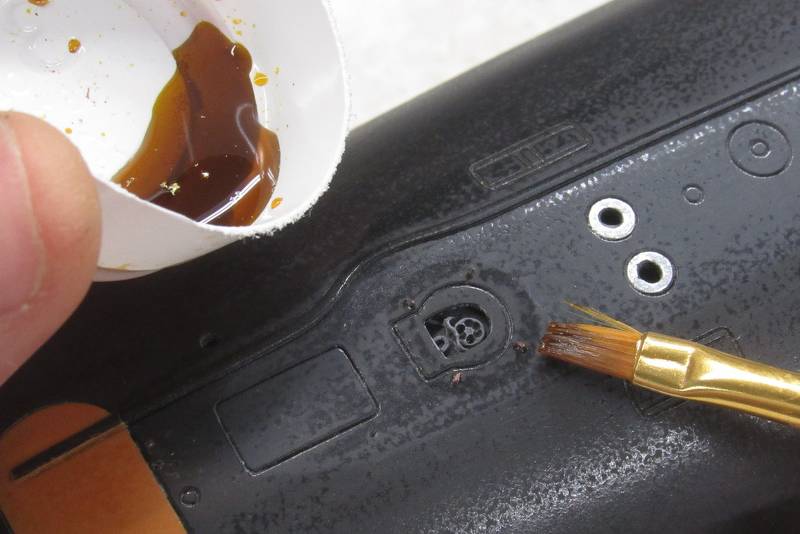
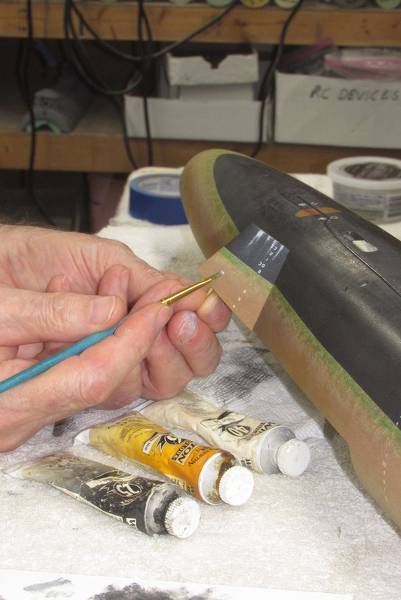
The eight hold-down pad-eyes needed to be painted. But, before that they had to be pickled like the hatch pieces. First task was to remove all contaminates from the little brass wire surfaces. This was done by scrubbing each projecting pad-eye with a fiberglass abrasive brush – this brought each to a state of shiny cleanliness. I took care to mask the surface of the hull as I did not want to damage the paint work under each pad-eye.
Each hatch assembly received a big gob of CA at its raised flanges, then I carefully positioned each under an open hatch fairing opening and pressed the assembly onto the hulls inner surface till the glue took hold.
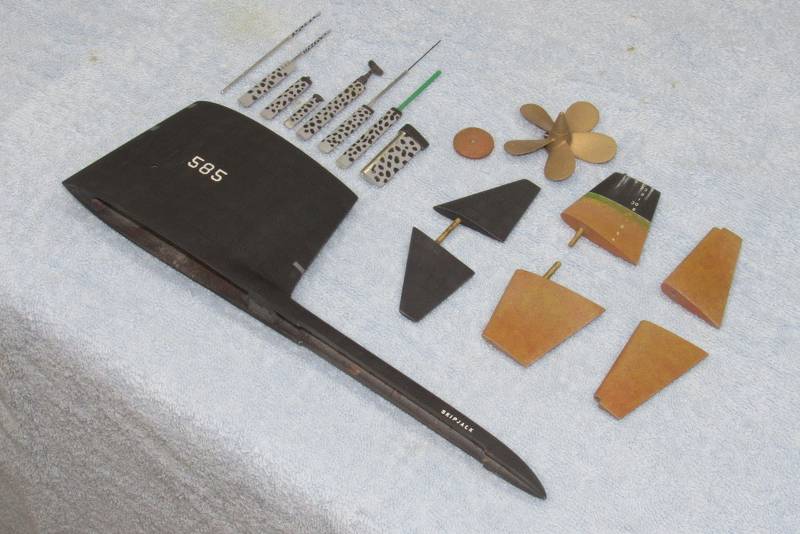
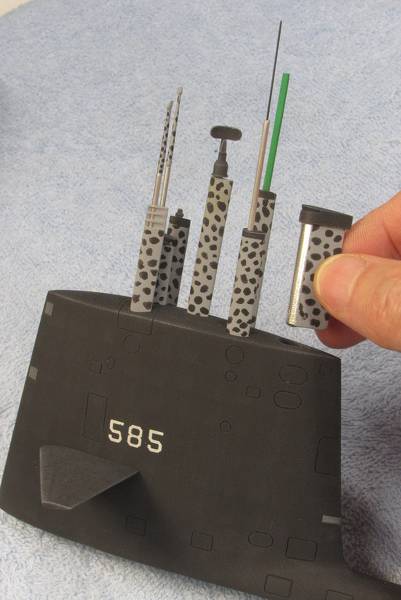
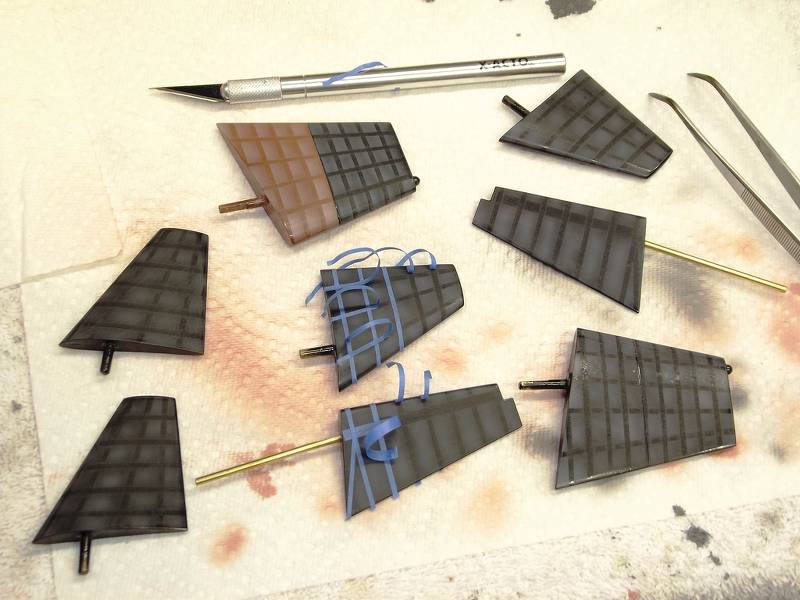
Pickling the pad-eyes. Note how dark the upper pickled pad-eyes are to the lower ones which have yet to be scrubbed with acid.
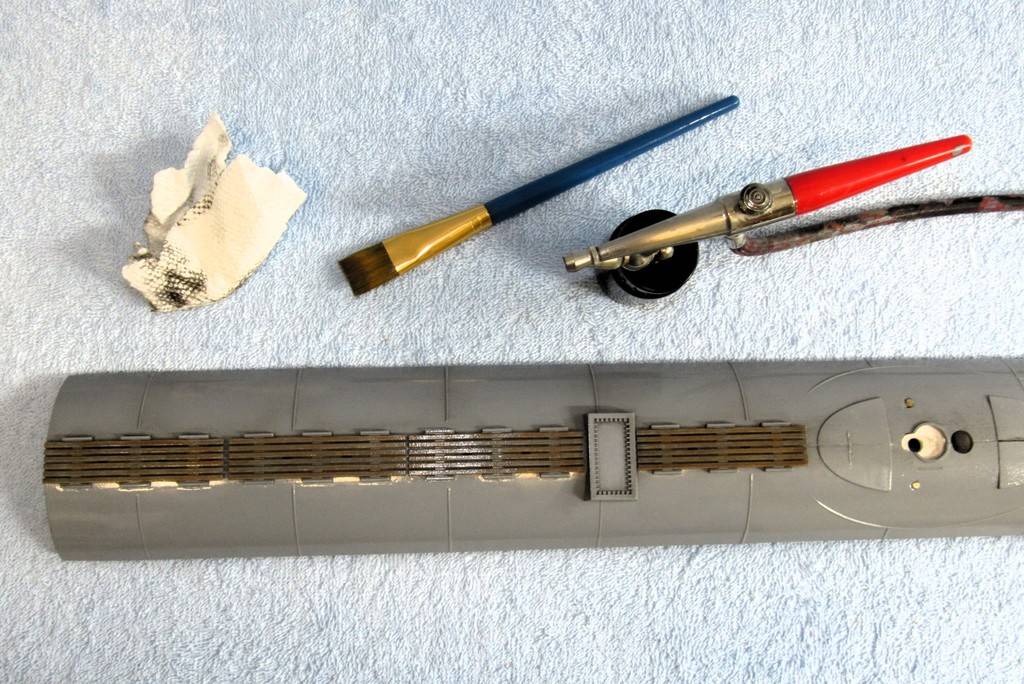
Here you can see how the white dry-brushing of the hatch brings out its details – details that would otherwise be lost within the dark confines of the hatch well.
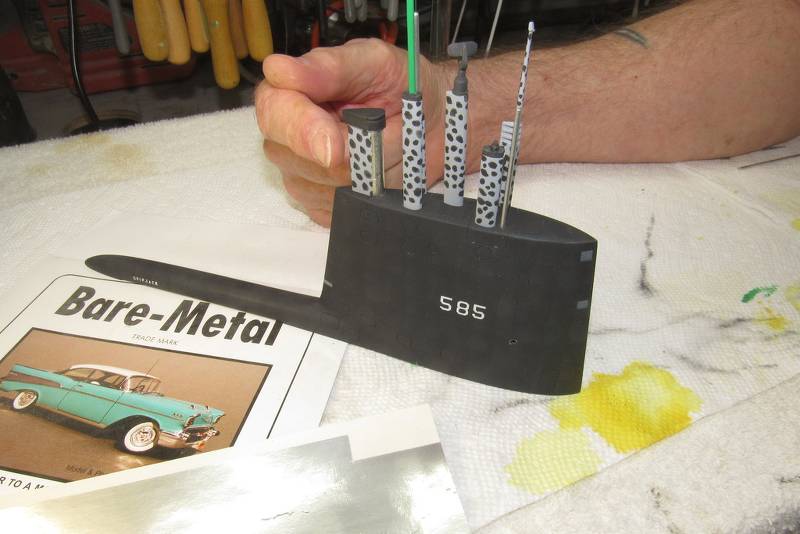
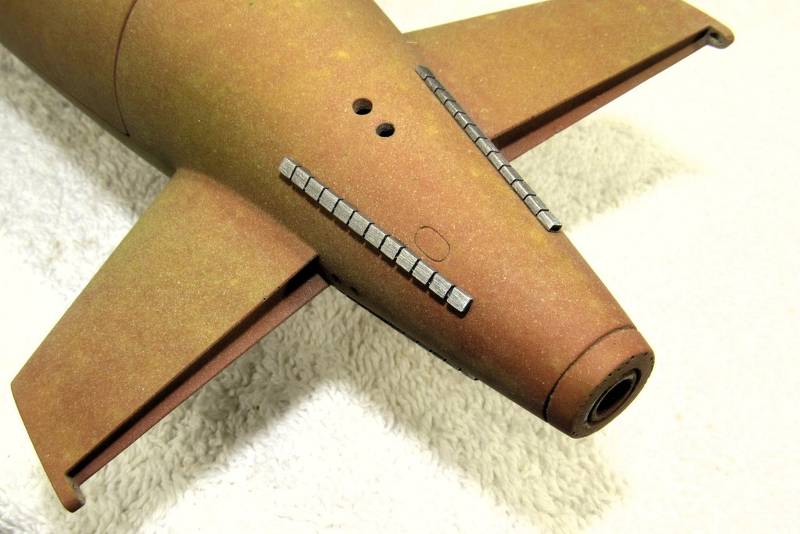
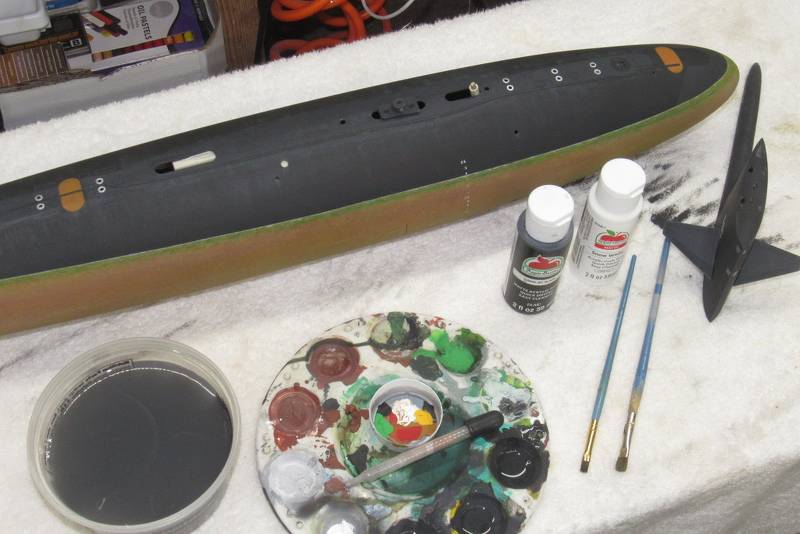
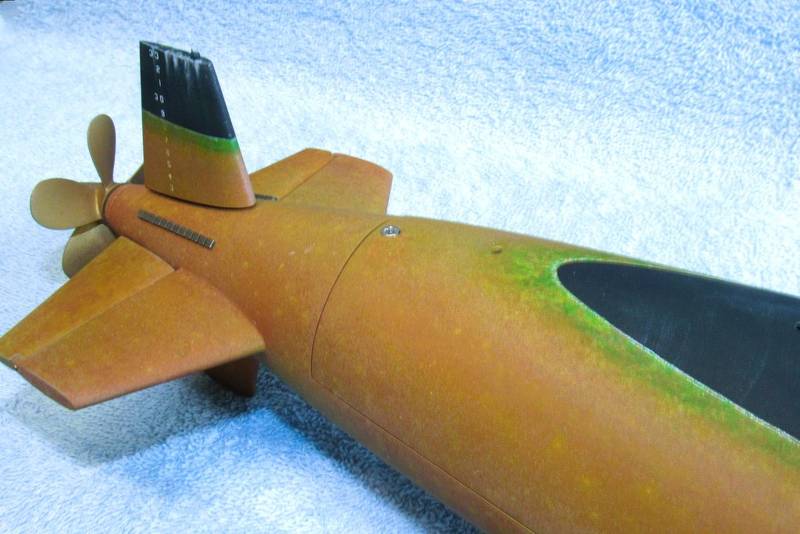
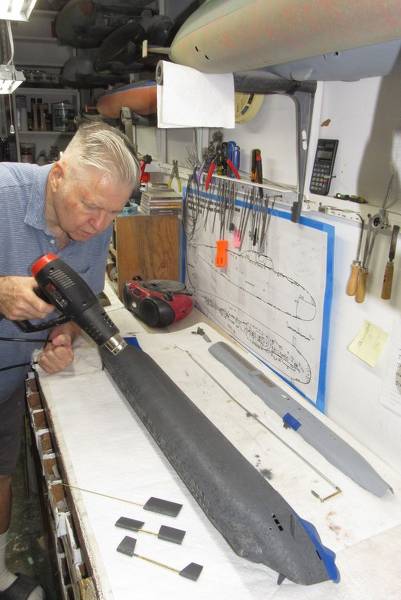
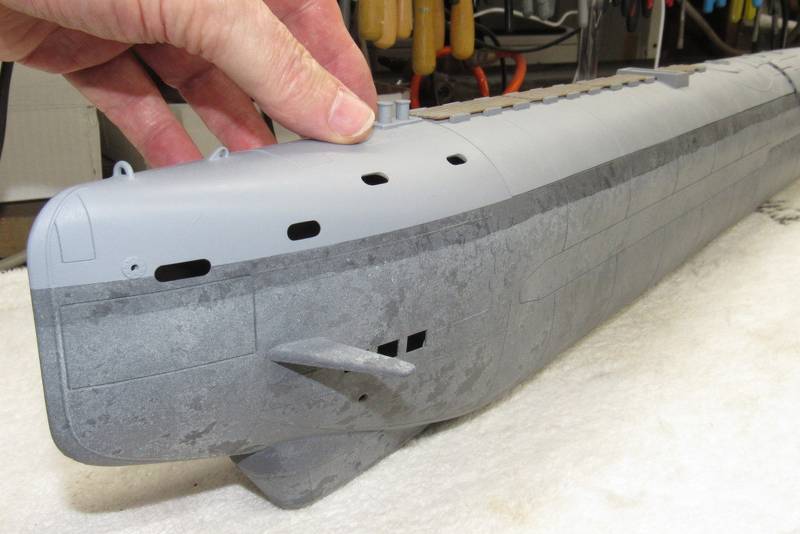
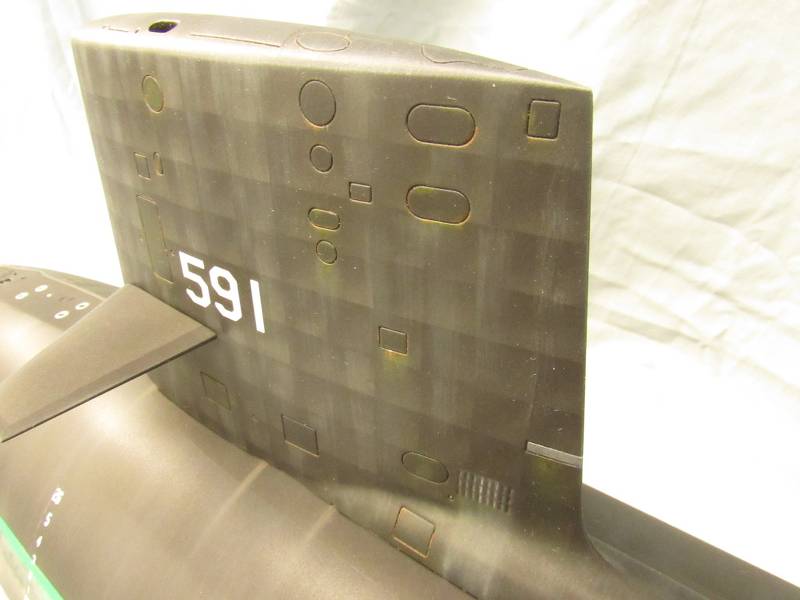
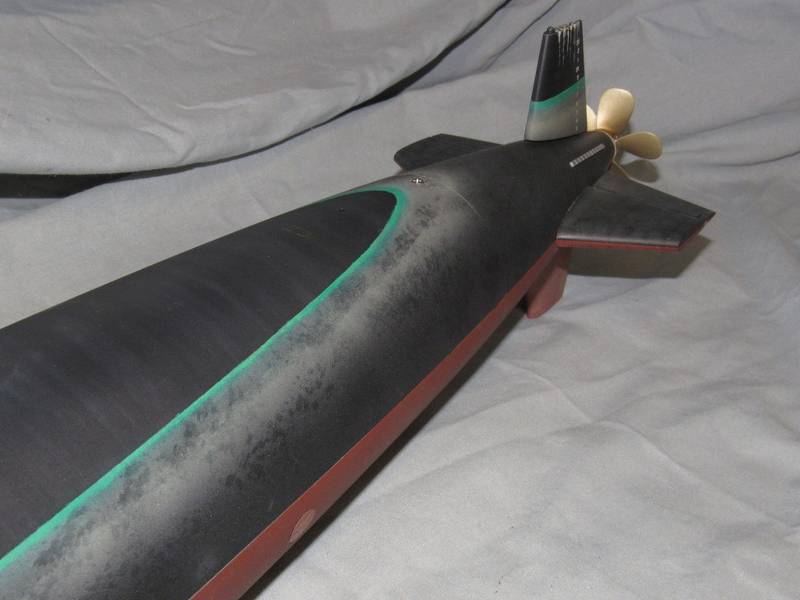
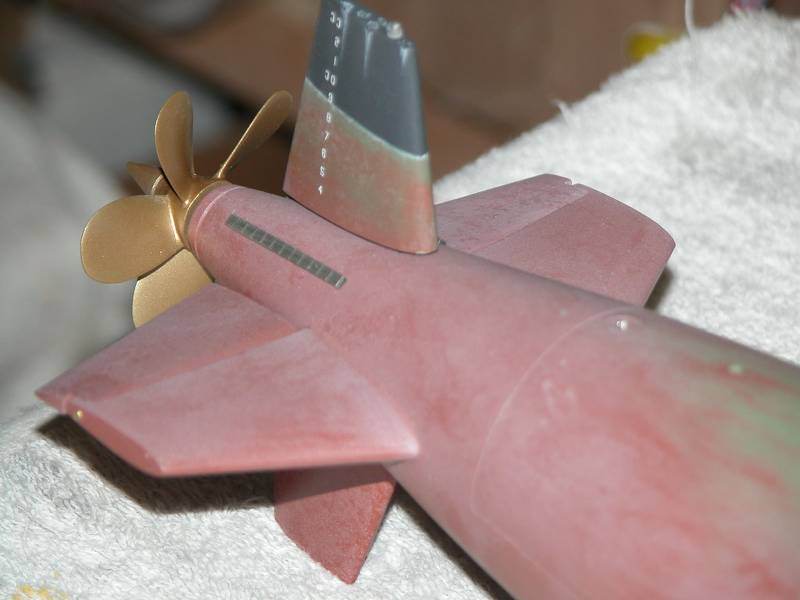
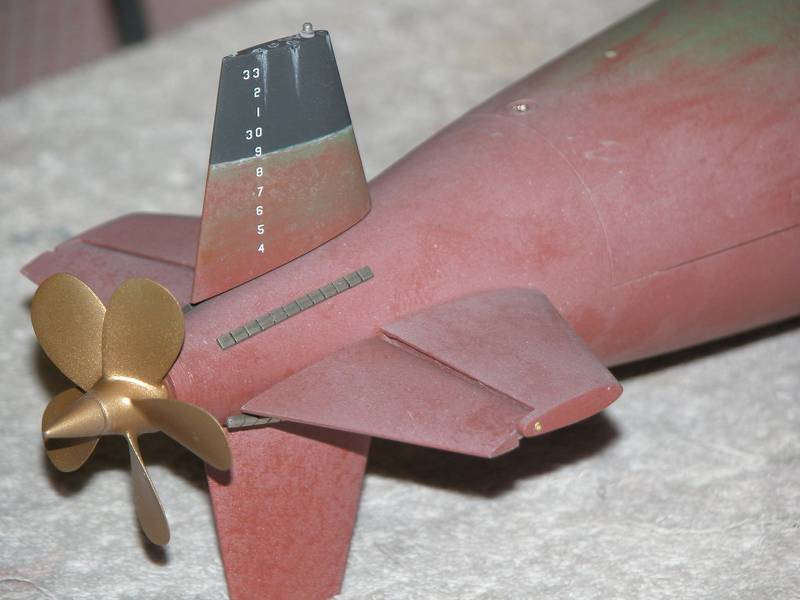
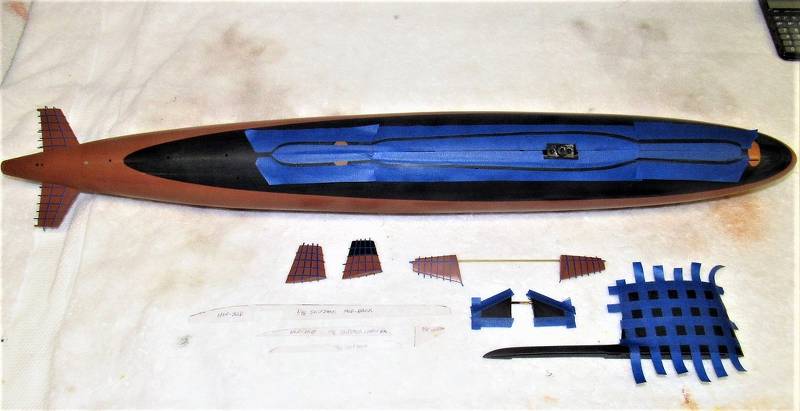
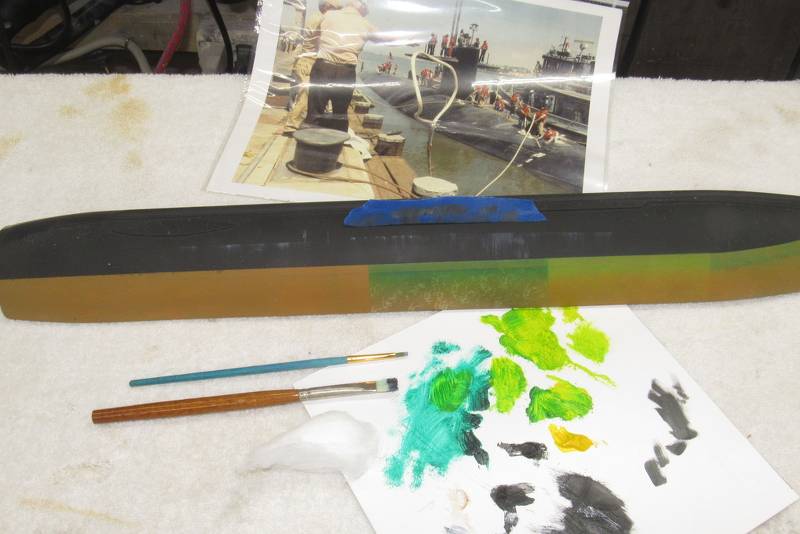
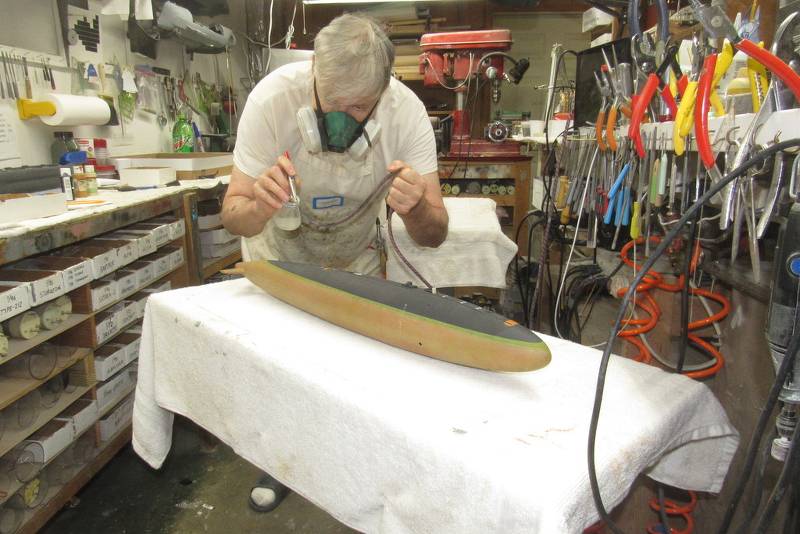
Time had come to weather the little 1/96 SKIPJACK hull. I had already represented the mung and other nasties that clink to the below-waterline portions of hull. Now was time to capture the real-world streaking and filth that collects on the deck and sides of the above waterline portions of hull.
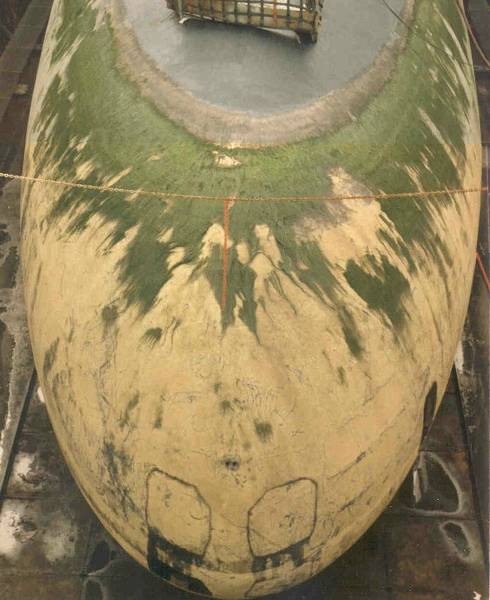
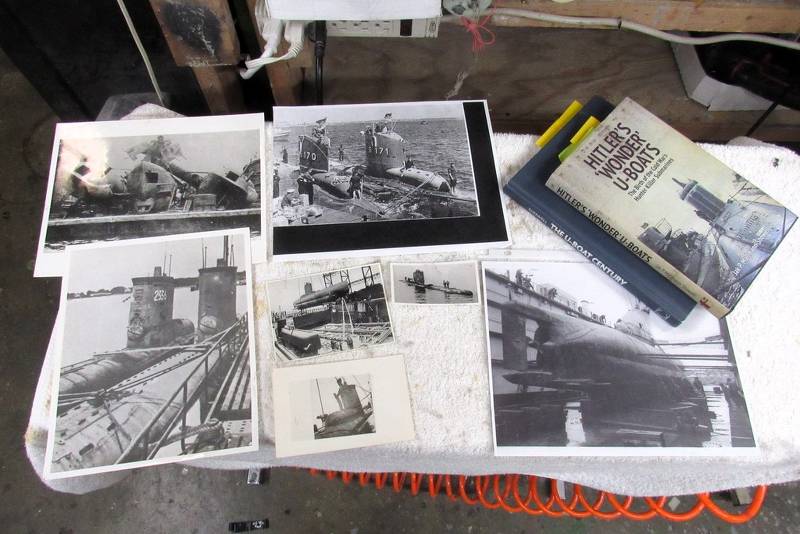
Over the decades I've gathered a substantial file of real-world examples of submarine 'weathering' effects. Here, pages from my binder relevant to the job have been pulled so they would be at hand as I got to work.
Rule of thumb when weathering: Less is more.
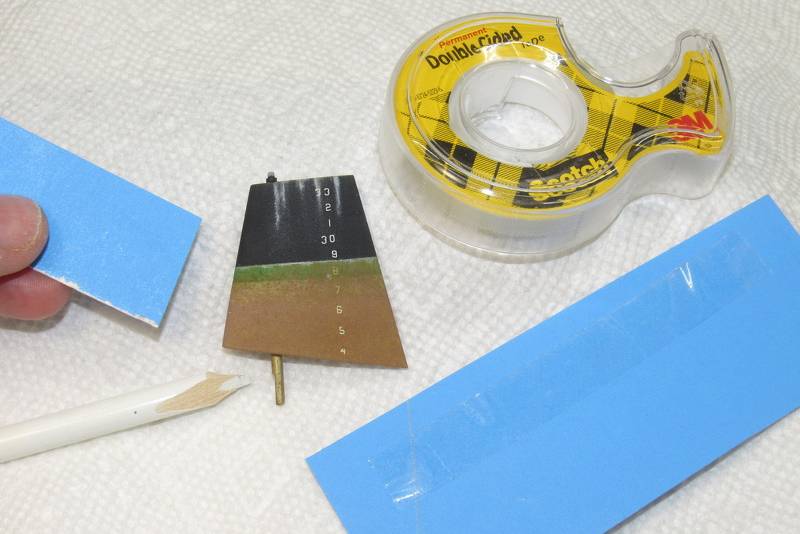
Before screwing up... er... applying the weathering on the SKIPJACK, I first practiced a bit on an old test-article. Practice makes perfect as they say. Practice is where you determine the best medium, technique and application tools that will achieve the effect desired.
Screw up your test-article... not your precious model!
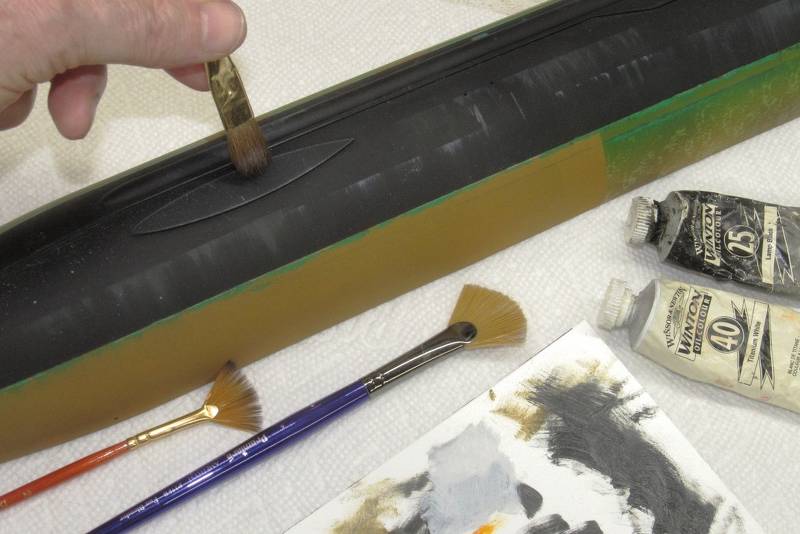
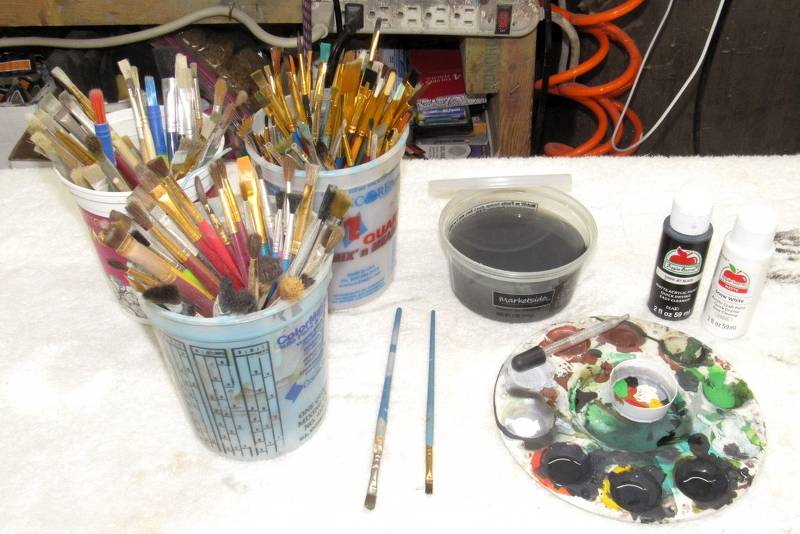
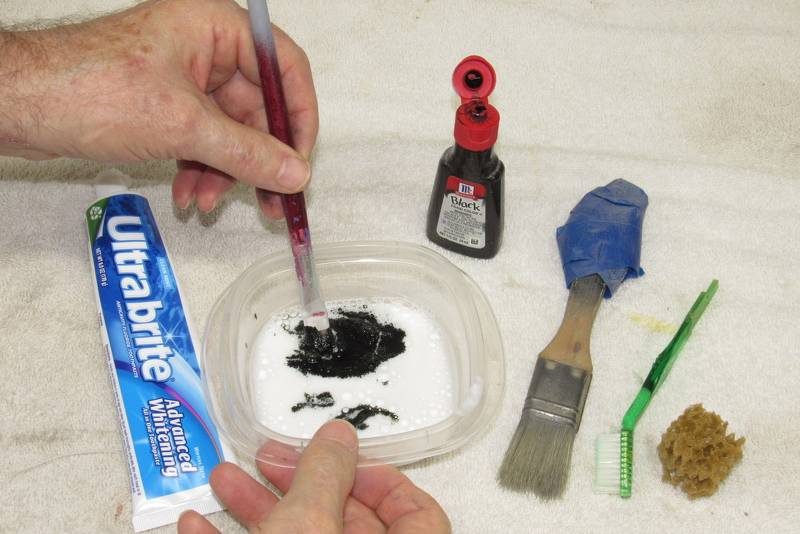
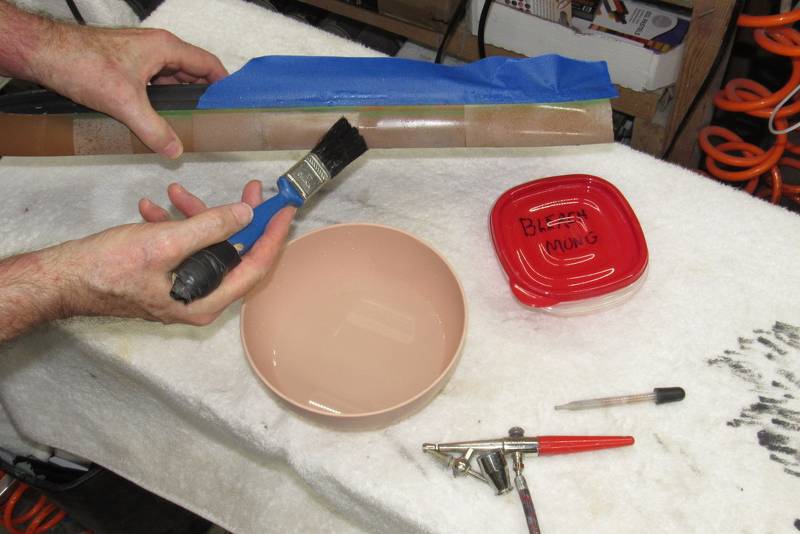
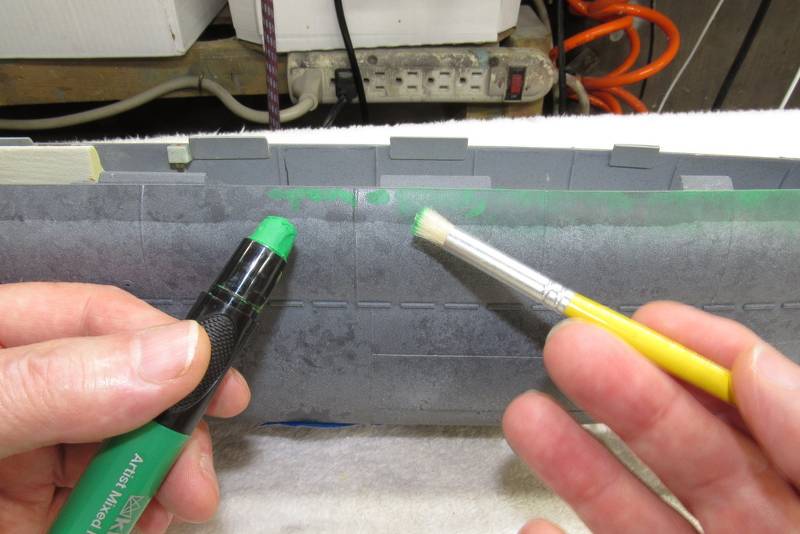
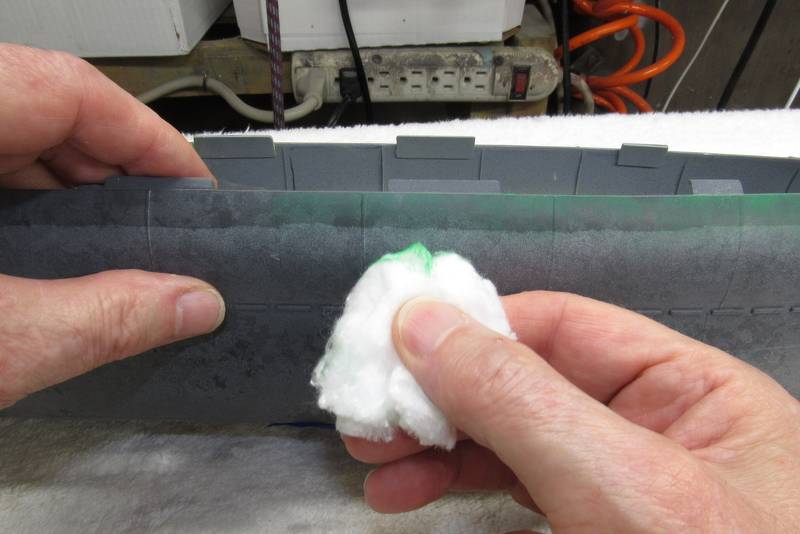
For small models I favor slow drying artists' oil paints when representing hull streaking and that's the type paint you see smeared all over this white plastic palette. I transfer a small dab of color up high on the side of the hull, then use a wad of cotton or old T-shirt to streak the color downward.
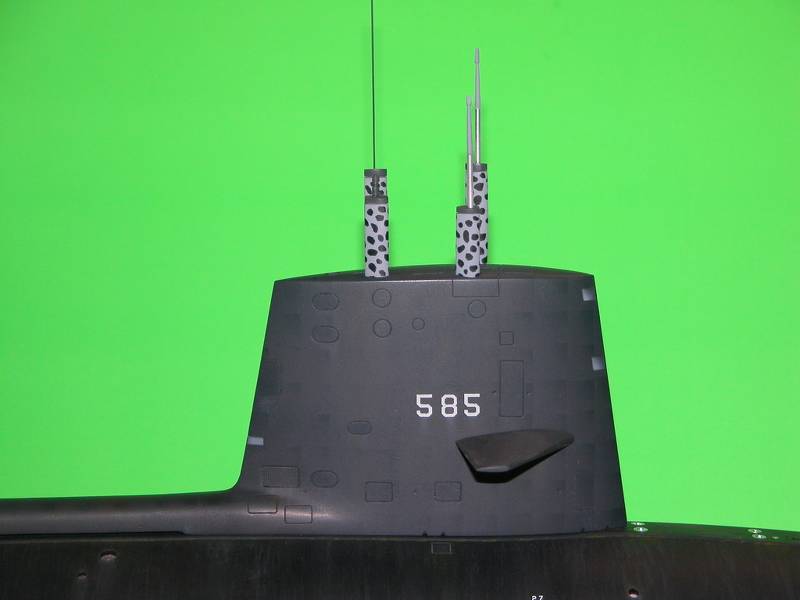
Once confidence had been regained on the test-article, I switched over to the SKIPJACK itself and commenced hostilities. Work was done in minutes. I also applied some very light streaking to the sides of the boats very tall sail.
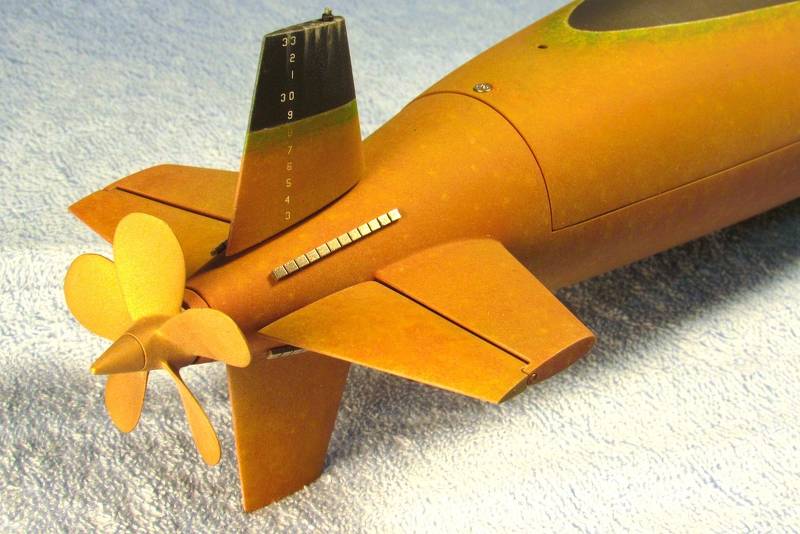
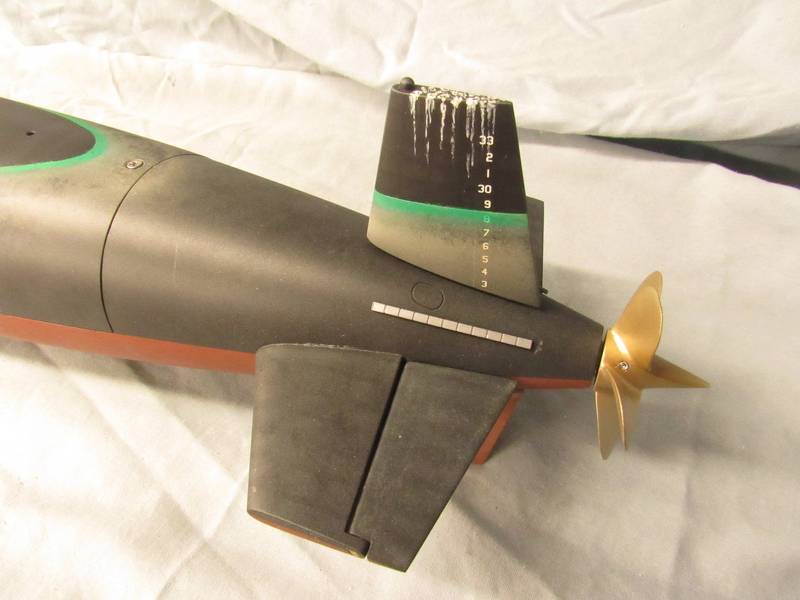
And what would be a modern submarines upper rudder without bird-shit running down from its top!?...
(Guys who worked deck-department (TM's MT's, FT's and NQP's) would truly appreciate this little detail!).
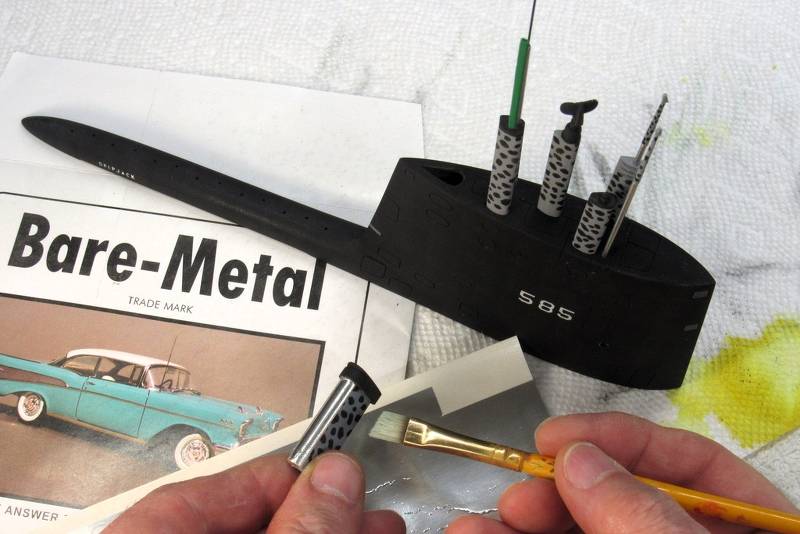
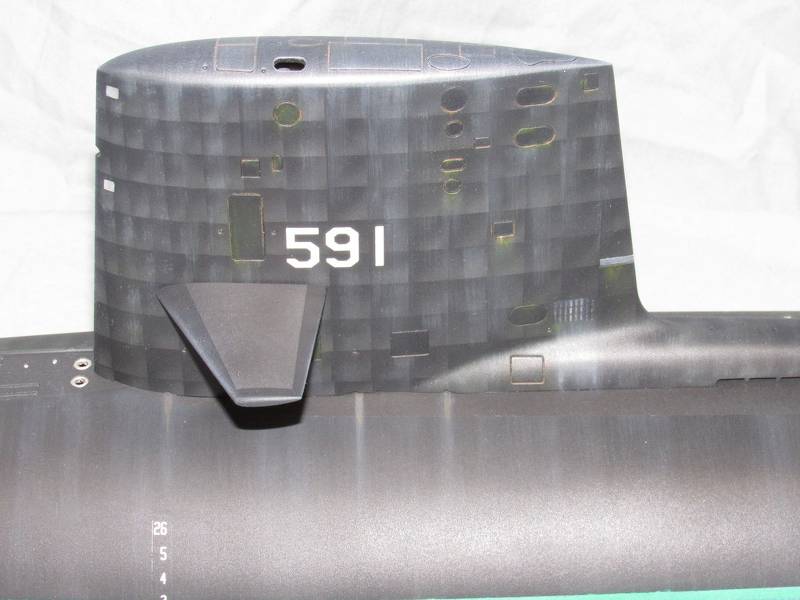
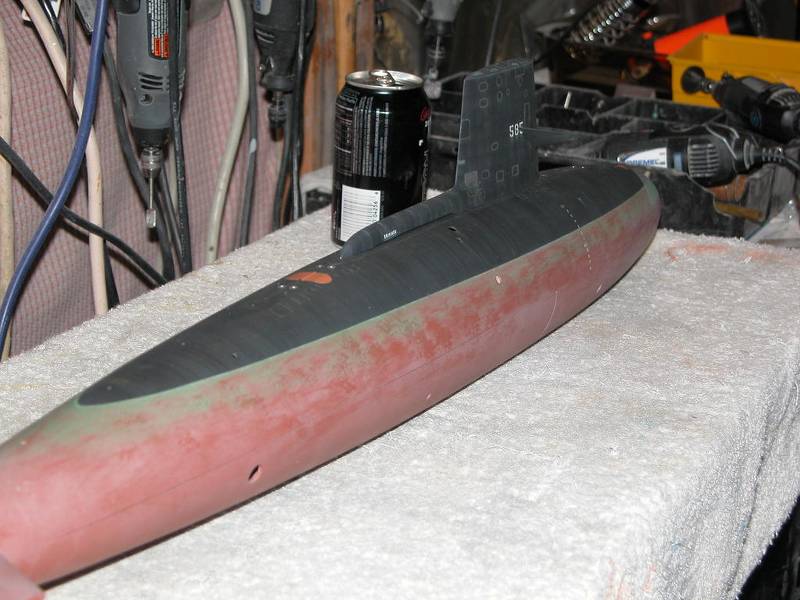
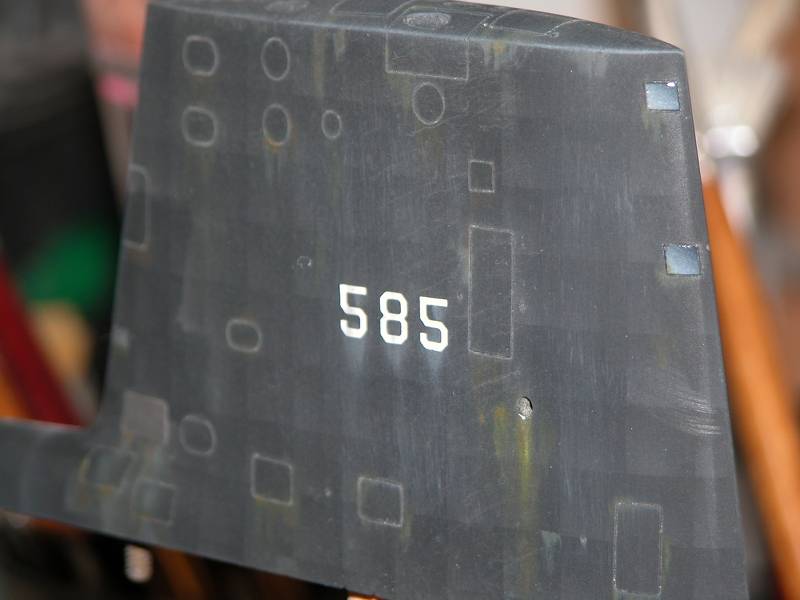
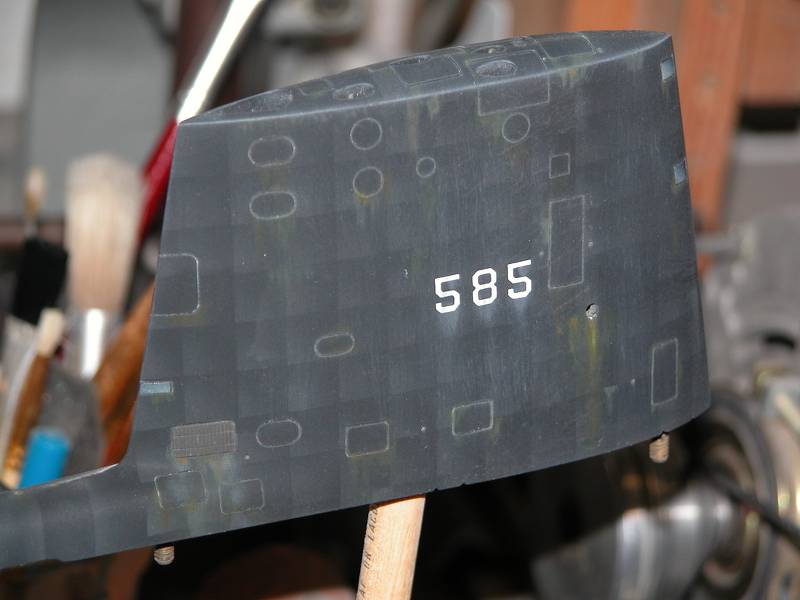
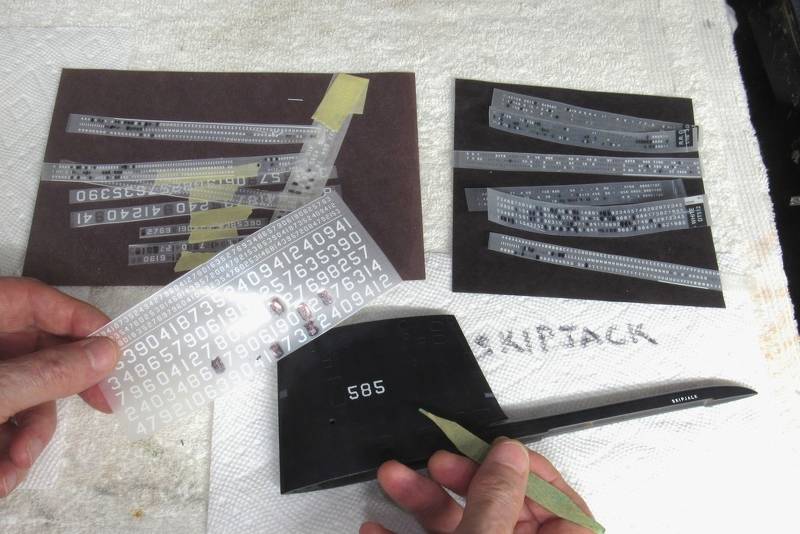
I had already rubbed on the Woodland Scenics dry-transfers for the '585' sail sides, draft-numbers on the hulls bow and upper rudder, and 'SKIPJACK' either side of the diesel exhaust line fairing. However, some of those unprotected markings did suffer some damage during the below waterline weathering and general handling.
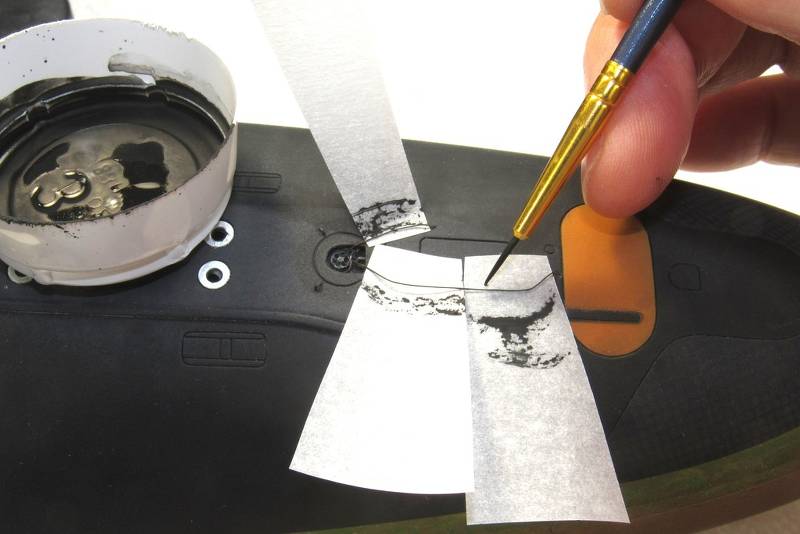
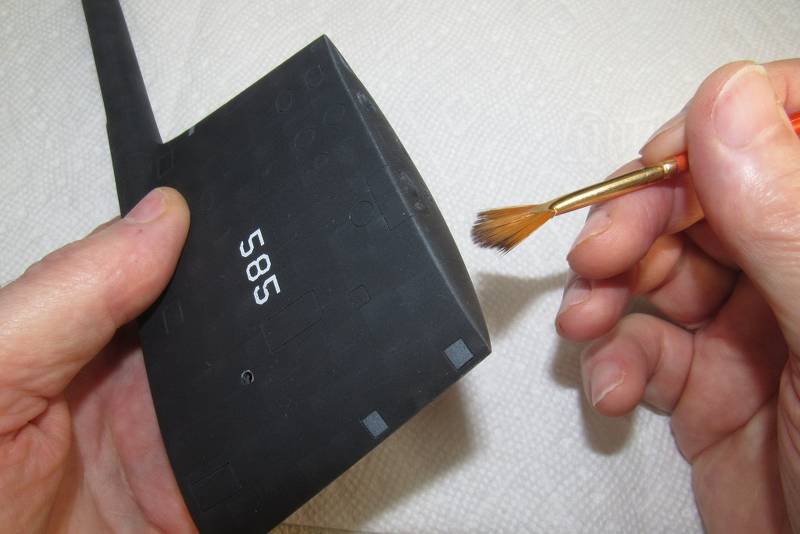
Here I'm replacing some of the '585' numbers. It takes only a piece of masking tape over the marking needing to be pulled, and it's outta there! I then rub down a new number.
Not to worry, once everything gets a heavy clear-coat the markings will be effectively locked down and won't rub off unless subjected to very harsh abrasion action from collision or careless handling.
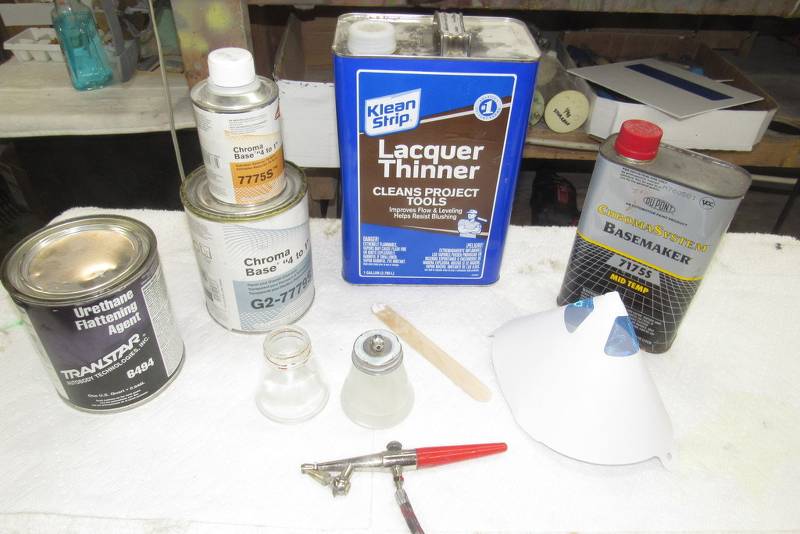
Up to this point the primer has been an air-dry acrylic lacquer, followed by the very durable two-part (2K in today's parlance) polyurethane black and red base colors – DuPont's automotive ChromaColor, which are no longer available (thanks, California!).
All of the below waterline weathering was done with water-soluble acrylic, air-dry paints – not terribly durable to abrasion or chemistry, but quick to mix, apply and clean.
No matter what type coats applied, its the final, clear-coat that becomes the shield against UV, chemicals, and abrasion. DuPont's ChromaClear system is the best I've found – and when it's cut with a proper flattening agent, it can be mixed either as a gloss or the deepest flat anyone on this planet can imagine! It's a bitch to mix; will tear up your lungs if you don't use a proper fitting charcoal mask; and demands quick and thorough cleaning of gun, mixing containers, and hands arms and face once the job is done. But the results are well worth the expense and effort.
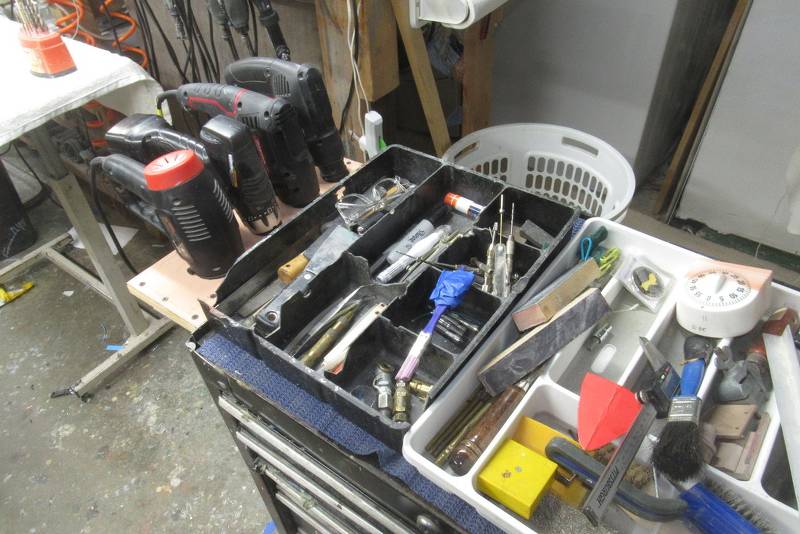
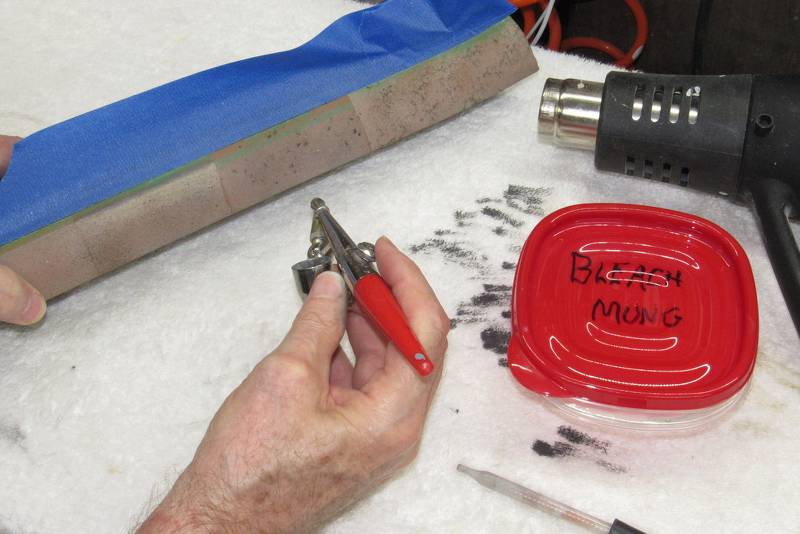
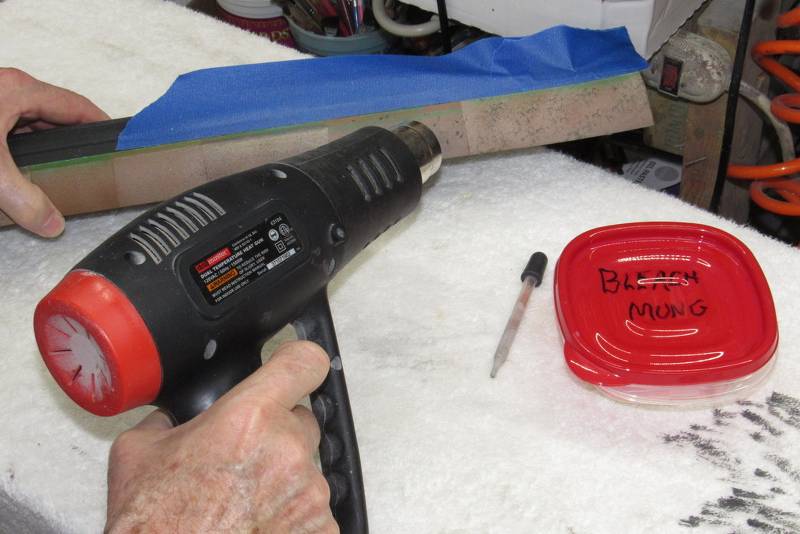
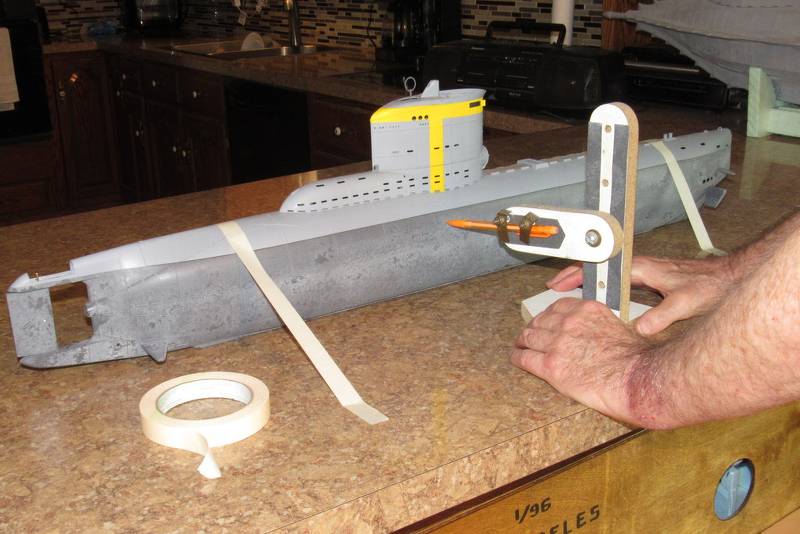
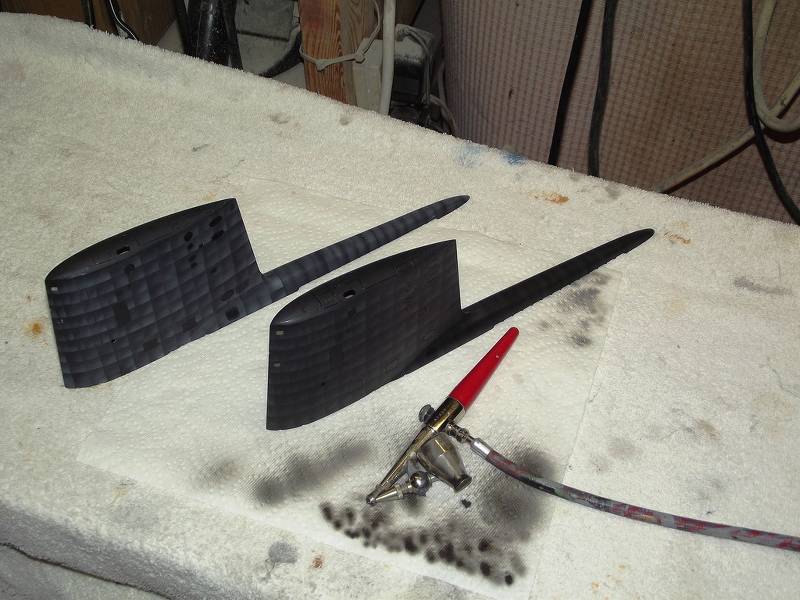
One of my old, trusty Paasche H-Model nuclear powered laser-blasters, set to kill... er... I mean 45psi, and equipped with the big tip. I use this tool on relatively small model submarines. The trick to achieving a uniform sheen to a clear coat is to put it down very wet – almost piled on to the point of running... but not quite. An acquired skill.
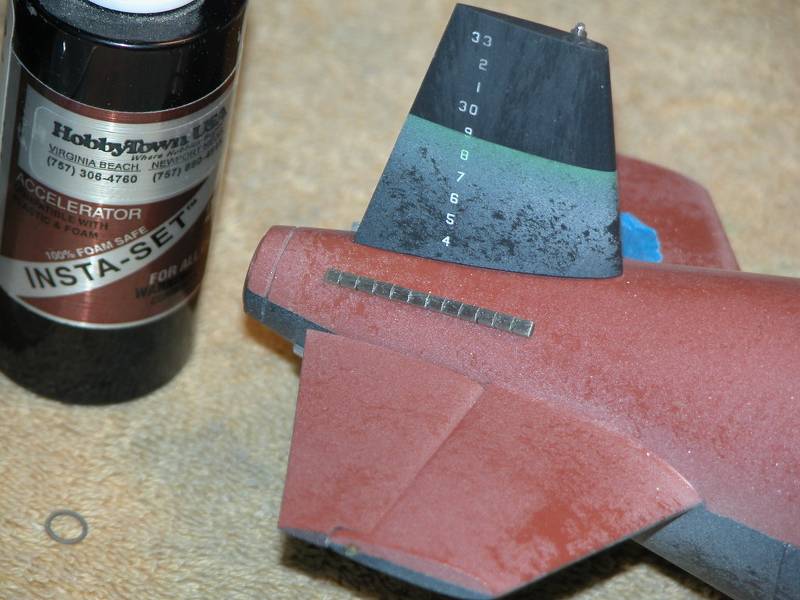
Before committing to the hull and appendages, I first blasted the test-article to get the pressure, stand-off distance, sweep-rate, and nozzle setting right before blasting the SKIPJACK model.
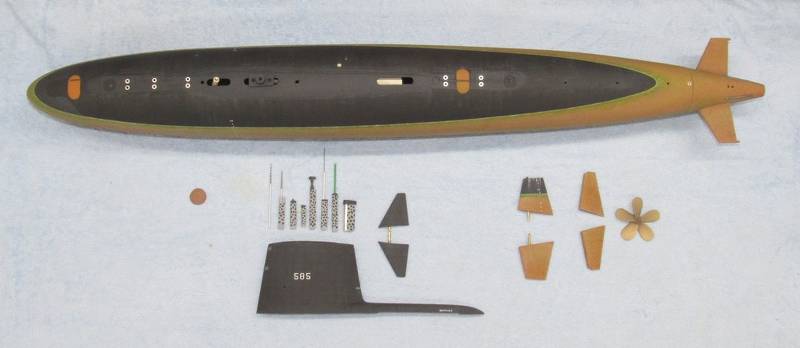
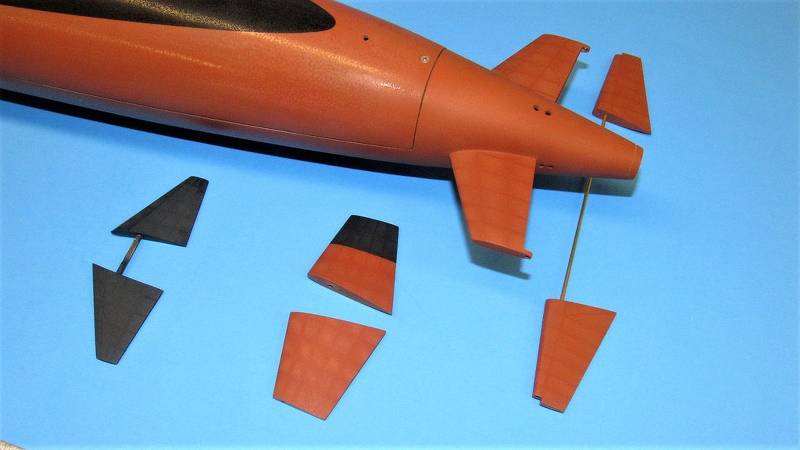
Note the various means of holding the appendages as they are given the clear-coat.
Damn!... time for a hair-cut.
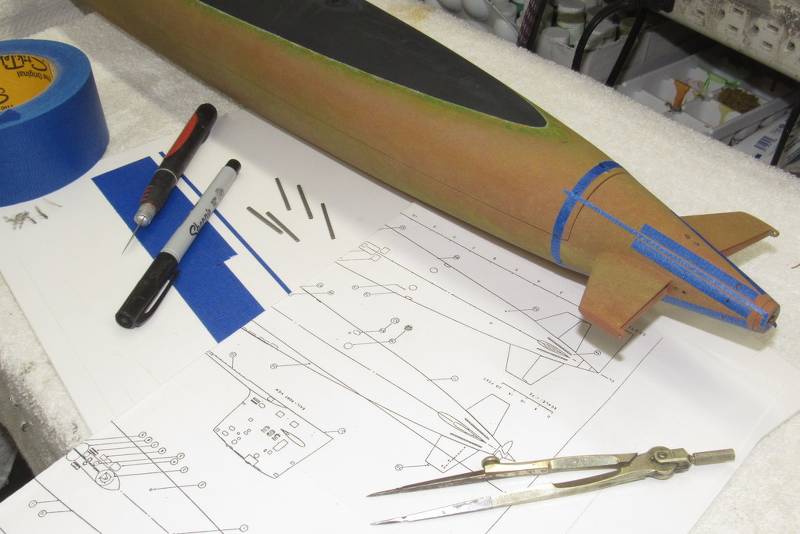
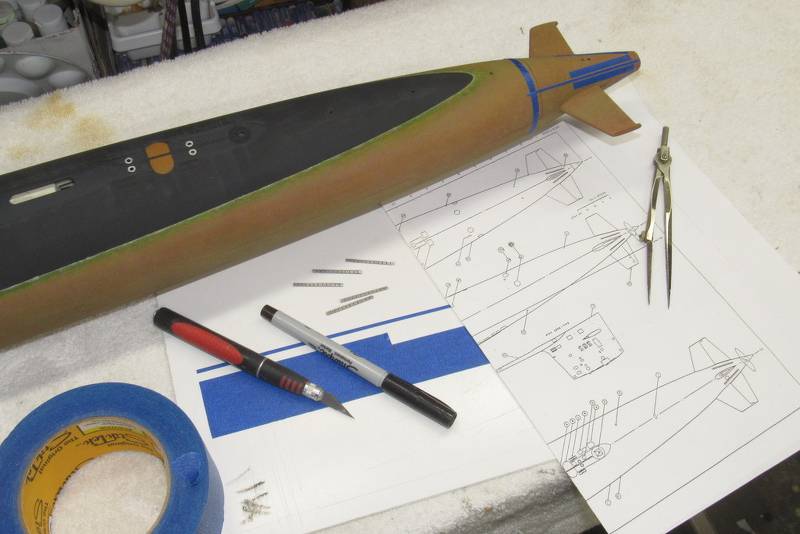
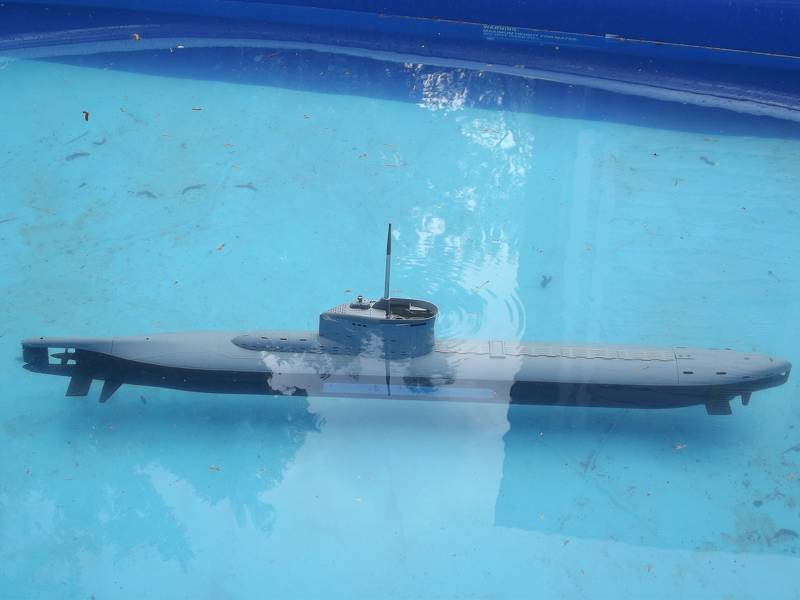
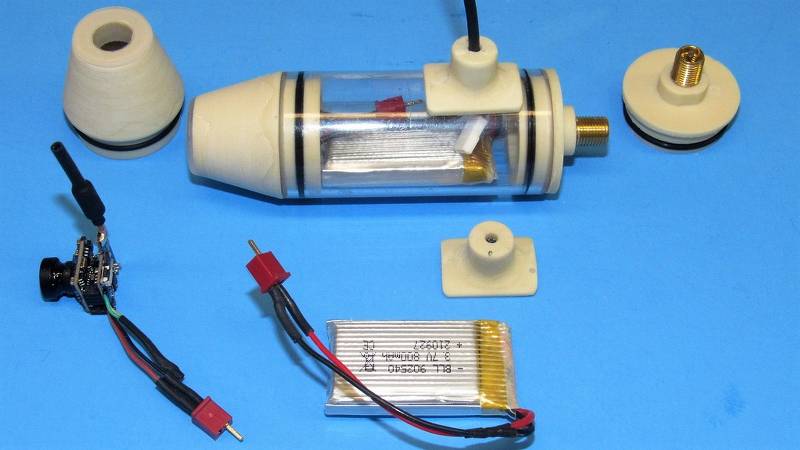
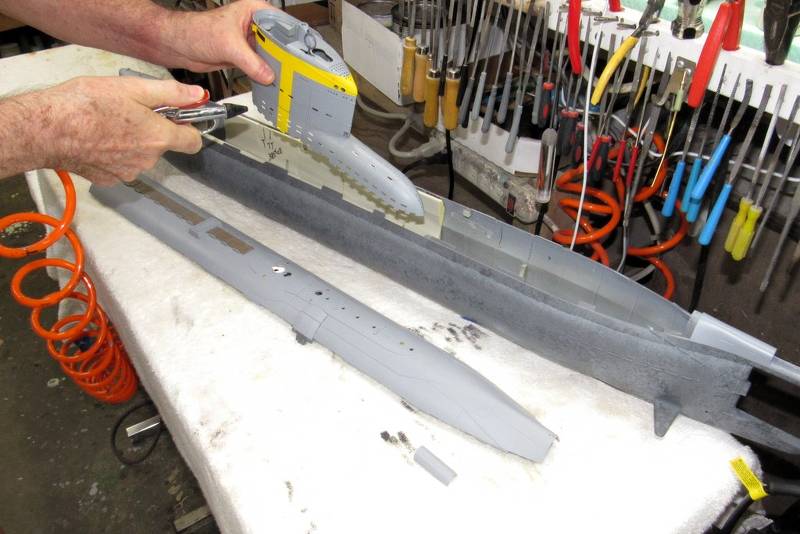
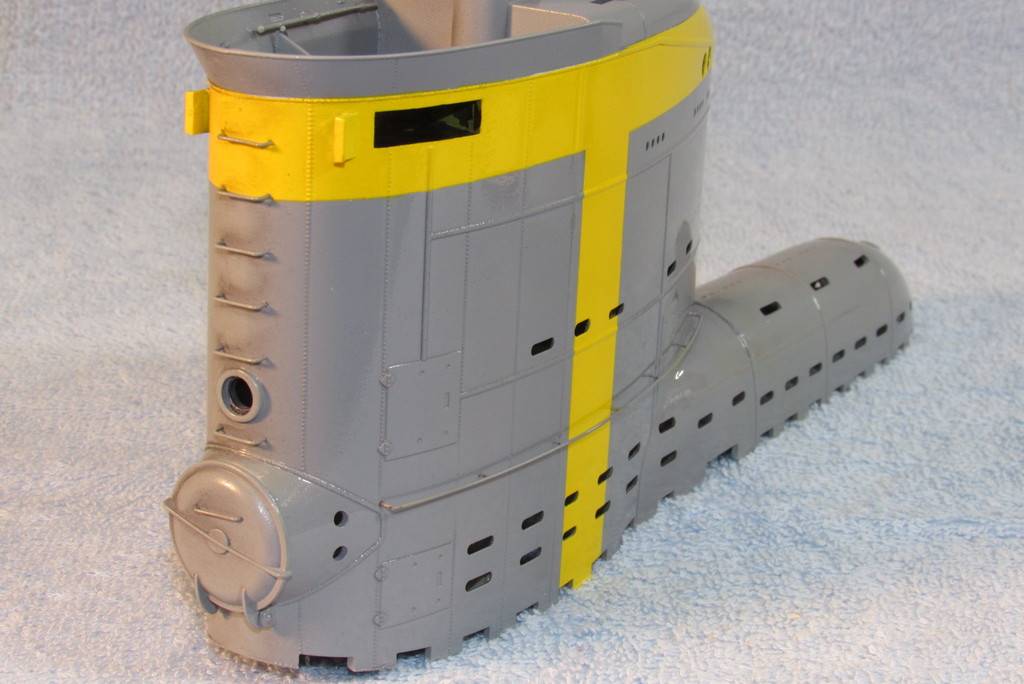
I operated this 1/35 Bronco Type-23 at last years SubFest. It served as a platform for a FPV camera system contained within the models rather large sale. The model, though structurally completed and given the appropriate paint scheme and markings, had yet to get a proper weathering job. Now's the time! SubFest is only two months away.
The yellow markings on the sail denote this as a relatively new boat still being worked up by its crew prior to being deployed for actual coastal war patrols (which, for these little coastal submarines lasted days, not months).
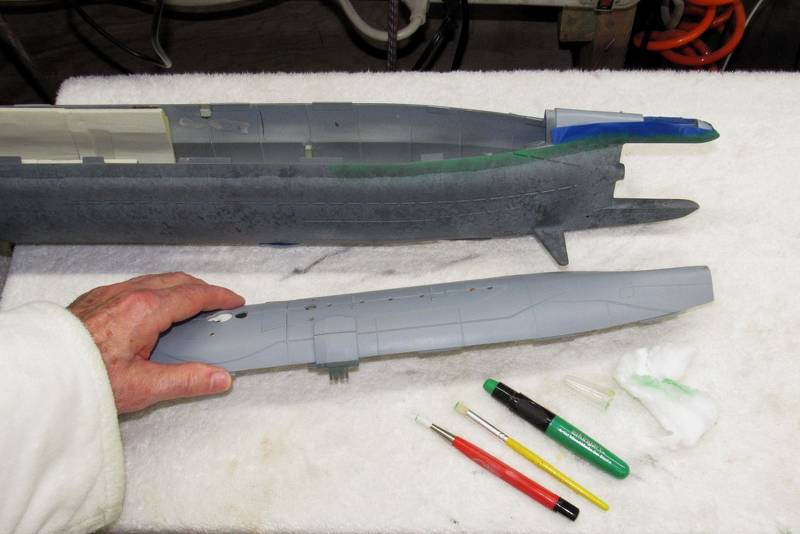
So, supposing this boat represents a unit with little in-water time under its belt, I resolved to go easy on the above and below waterline weathering.
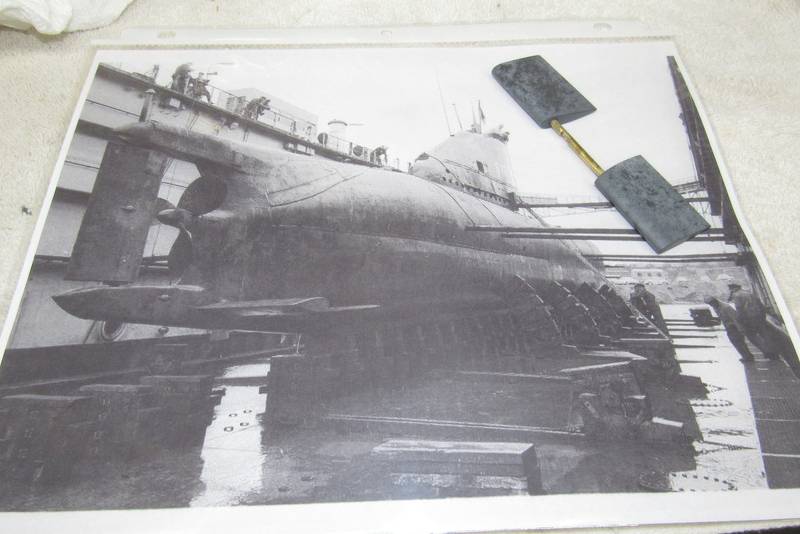
Here's some of the documentation I gathered to help guide me as I mung up this r/c model submarine representing a short-lived combatant.
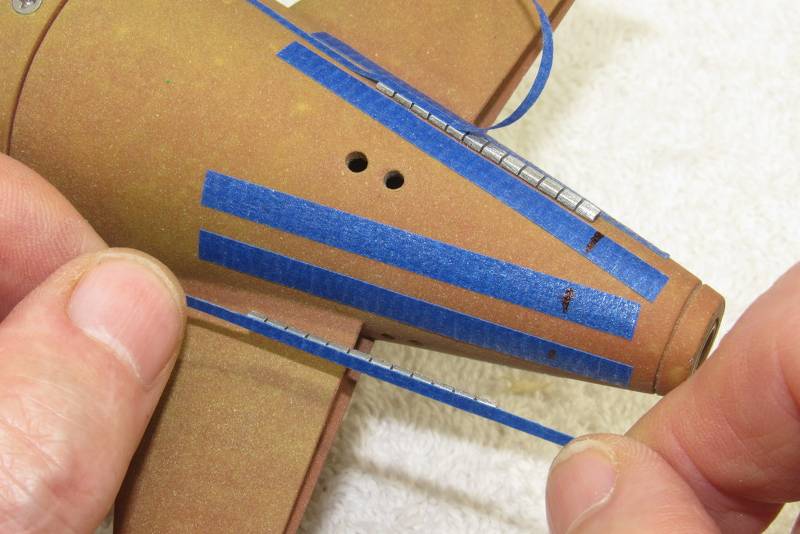
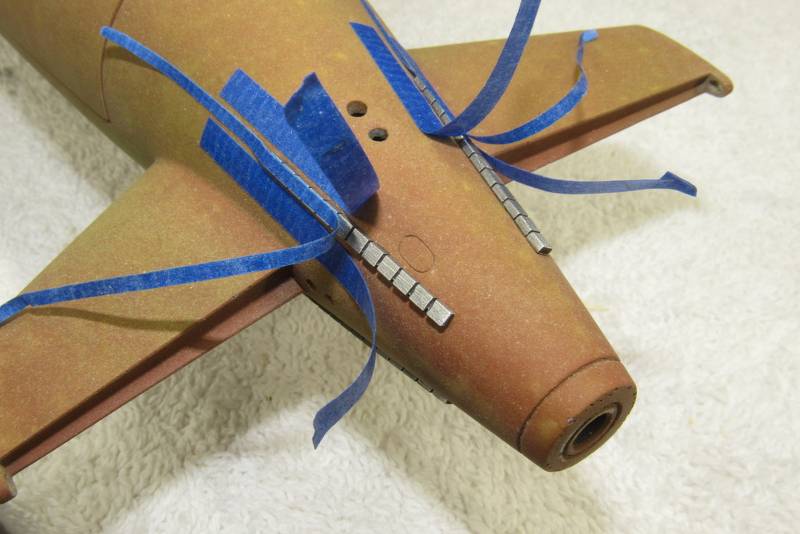
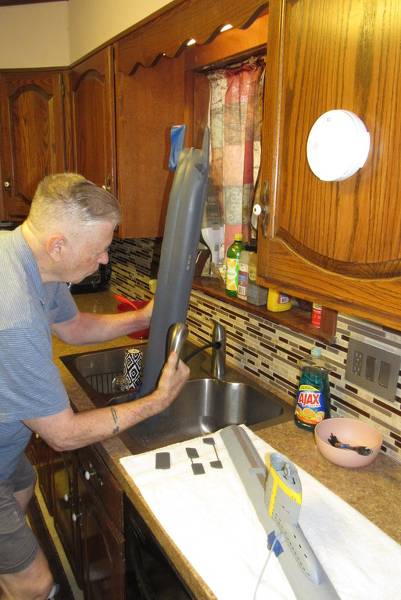
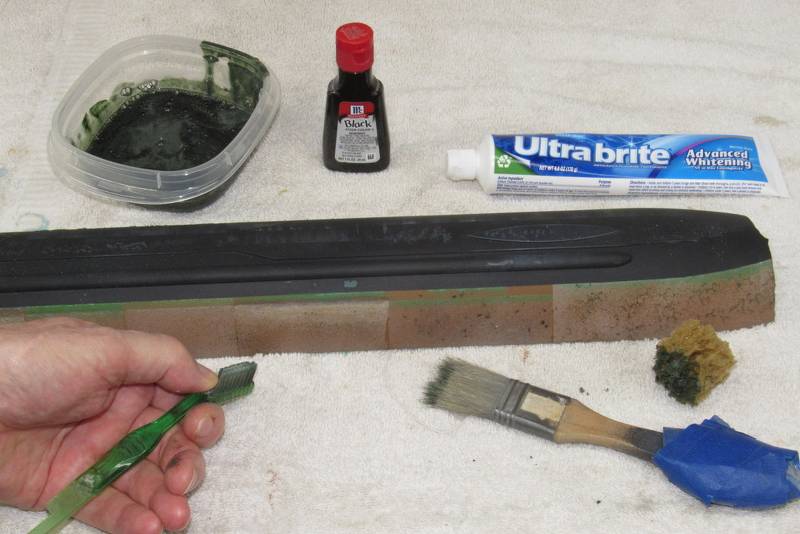
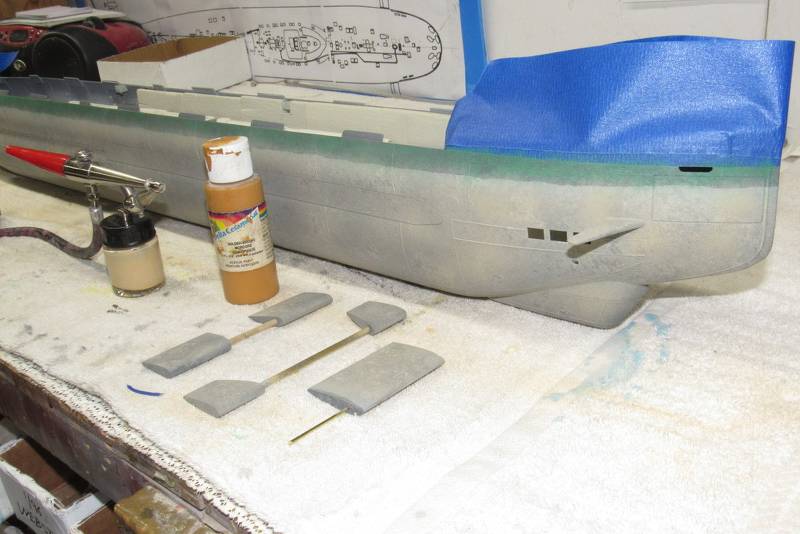
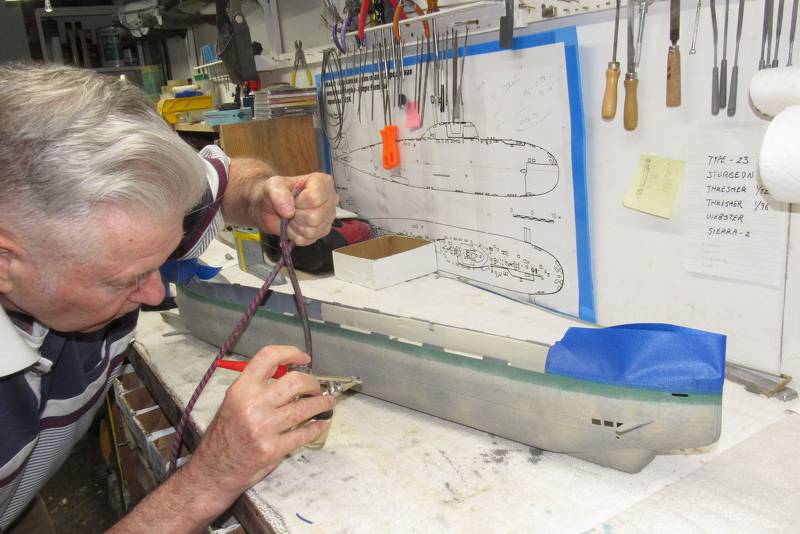
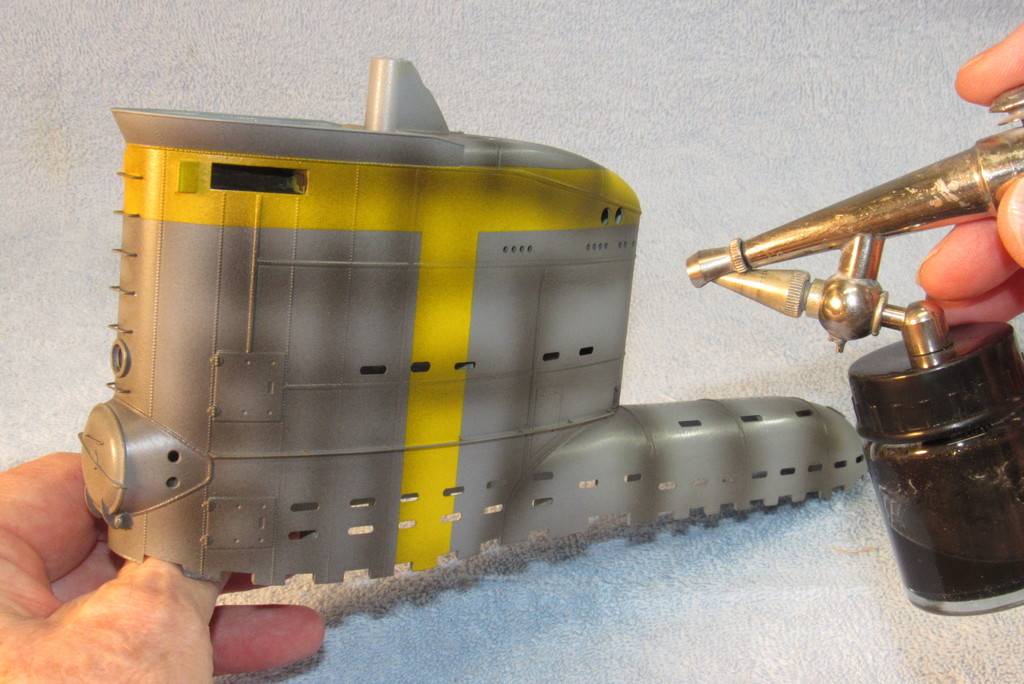
I'll start with the below waterline crud – that task an easy one on this model as the parting line between upper and lower hull falls across that plane – the only masking required is at the bow and stern, where upper and lower portions are permanently joined.
A dab of thick formula CA adhesive was applied within the hull to glue each pad-eye permanently in place. This 'L' bent length of wire served as the ideal application tool. Gluing the pad-eyes from within the upper hull negated any possibility of glue smears spoiling the finish atop the models surface.
Once the glue had set hard I reaching into the upper hull and snipped off the excess lengths of pad-eye wire with wire-cutters.
Now came time to install the two escape trunk deck hatches. As these sat a bit below deck level within wells under the hatch fairings, each hatch piece was glued to a cast resin foundations. The foundation itself would be glued within the upper hull at the forward and after raised flange portions of each foundation.
To make these white-metal parts receptive to paint I pickled each with Ferric Chloride acid quickly followed by a fresh-water scrub and rinse.
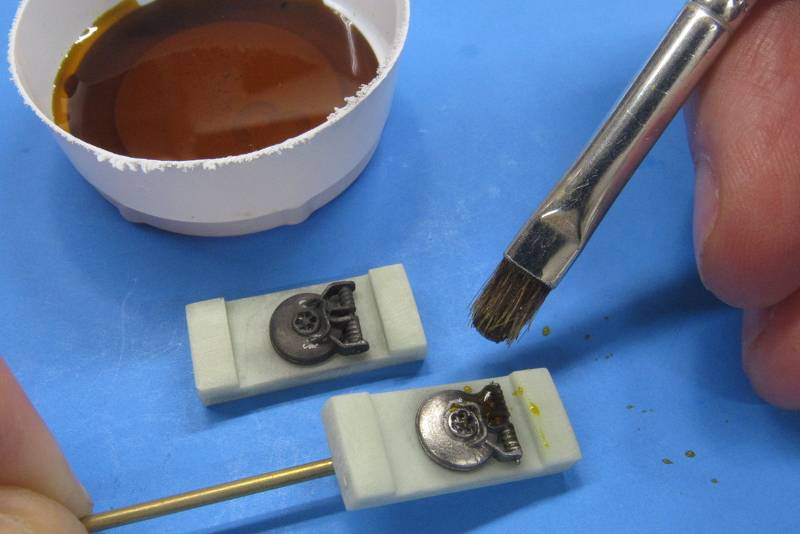
Though the pickling oxidized the surface of the metal to a very dark gray already I wanted both the metal hatch and resin foundation to be a total black. So, after pickling the two hatch assemblies were were spray painted black with water-soluble acrylic paint.

To give some 'life' to each hatch I dry-brushed all raised portions with white oil-based 'artist' paint. This gunk takes ages to dry so is the perfect medium for dry-brushing, streaking, and blending tasks. A soft 'fan' brush is the best tool for dry-brushing. The trick is to wipe most of the paint from the brush after loading it and to make multiple passes over the subjects with quick, light passes till just a small amount of the paint sticks to only the raised portions of the subject. What was once a black-hole then becomes a complicated structure of sharp contrasts – pleasing to the eye.
The eight hold-down pad-eyes needed to be painted. But, before that they had to be pickled like the hatch pieces. First task was to remove all contaminates from the little brass wire surfaces. This was done by scrubbing each projecting pad-eye with a fiberglass abrasive brush – this brought each to a state of shiny cleanliness. I took care to mask the surface of the hull as I did not want to damage the paint work under each pad-eye.
Each hatch assembly received a big gob of CA at its raised flanges, then I carefully positioned each under an open hatch fairing opening and pressed the assembly onto the hulls inner surface till the glue took hold.

Pickling the pad-eyes. Note how dark the upper pickled pad-eyes are to the lower ones which have yet to be scrubbed with acid.
Here you can see how the white dry-brushing of the hatch brings out its details – details that would otherwise be lost within the dark confines of the hatch well.
Time had come to weather the little 1/96 SKIPJACK hull. I had already represented the mung and other nasties that clink to the below-waterline portions of hull. Now was time to capture the real-world streaking and filth that collects on the deck and sides of the above waterline portions of hull.
Over the decades I've gathered a substantial file of real-world examples of submarine 'weathering' effects. Here, pages from my binder relevant to the job have been pulled so they would be at hand as I got to work.
Rule of thumb when weathering: Less is more.

Before screwing up... er... applying the weathering on the SKIPJACK, I first practiced a bit on an old test-article. Practice makes perfect as they say. Practice is where you determine the best medium, technique and application tools that will achieve the effect desired.
Screw up your test-article... not your precious model!
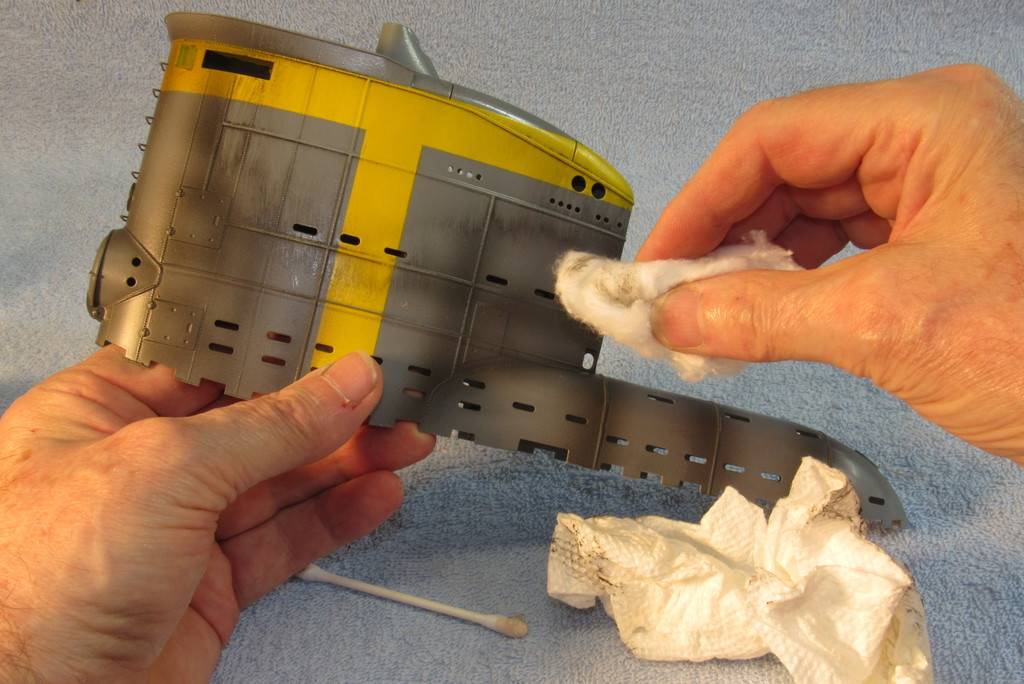
For small models I favor slow drying artists' oil paints when representing hull streaking and that's the type paint you see smeared all over this white plastic palette. I transfer a small dab of color up high on the side of the hull, then use a wad of cotton or old T-shirt to streak the color downward.
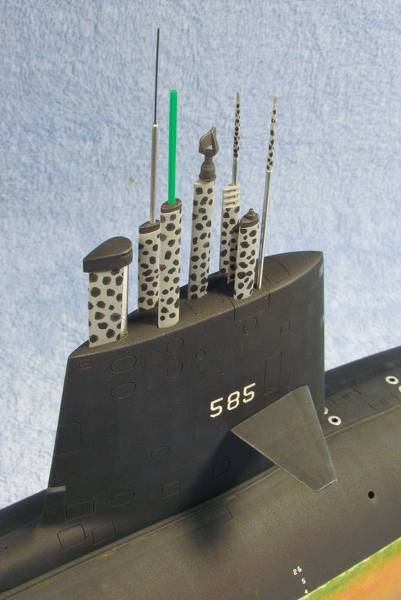
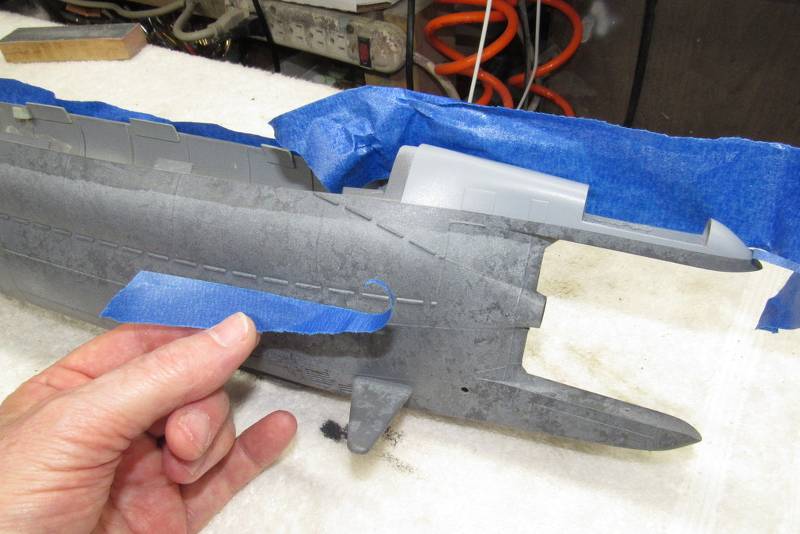
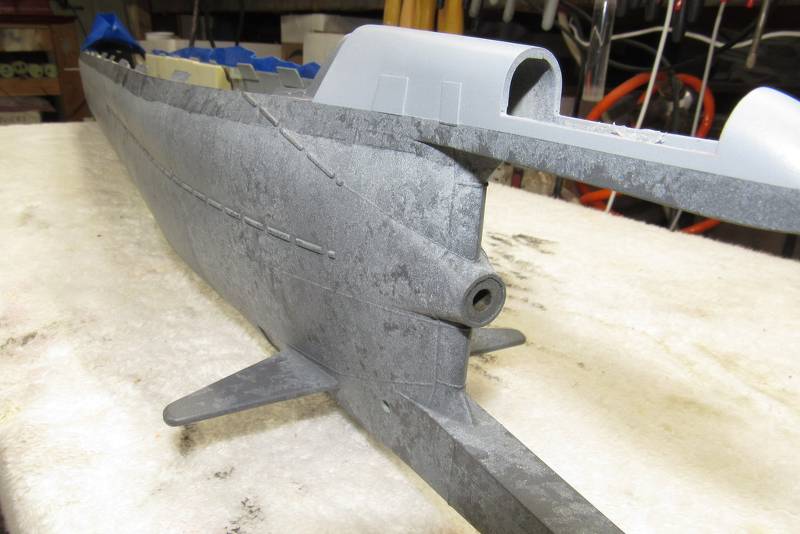
Once confidence had been regained on the test-article, I switched over to the SKIPJACK itself and commenced hostilities. Work was done in minutes. I also applied some very light streaking to the sides of the boats very tall sail.

And what would be a modern submarines upper rudder without bird-shit running down from its top!?...
(Guys who worked deck-department (TM's MT's, FT's and NQP's) would truly appreciate this little detail!).
I had already rubbed on the Woodland Scenics dry-transfers for the '585' sail sides, draft-numbers on the hulls bow and upper rudder, and 'SKIPJACK' either side of the diesel exhaust line fairing. However, some of those unprotected markings did suffer some damage during the below waterline weathering and general handling.
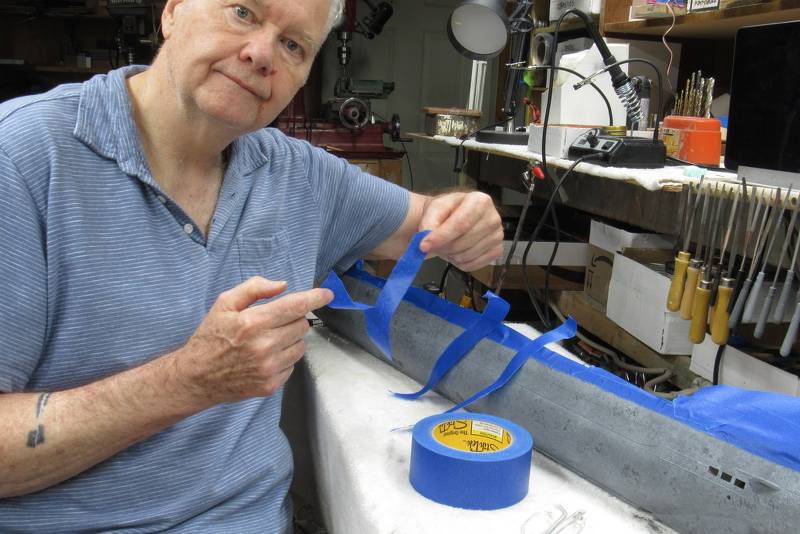
Here I'm replacing some of the '585' numbers. It takes only a piece of masking tape over the marking needing to be pulled, and it's outta there! I then rub down a new number.
Not to worry, once everything gets a heavy clear-coat the markings will be effectively locked down and won't rub off unless subjected to very harsh abrasion action from collision or careless handling.
Up to this point the primer has been an air-dry acrylic lacquer, followed by the very durable two-part (2K in today's parlance) polyurethane black and red base colors – DuPont's automotive ChromaColor, which are no longer available (thanks, California!).
All of the below waterline weathering was done with water-soluble acrylic, air-dry paints – not terribly durable to abrasion or chemistry, but quick to mix, apply and clean.
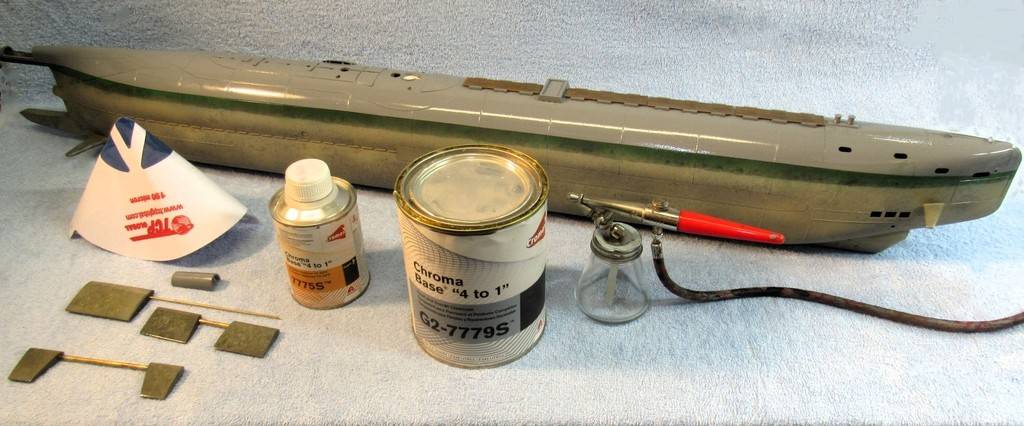
No matter what type coats applied, its the final, clear-coat that becomes the shield against UV, chemicals, and abrasion. DuPont's ChromaClear system is the best I've found – and when it's cut with a proper flattening agent, it can be mixed either as a gloss or the deepest flat anyone on this planet can imagine! It's a bitch to mix; will tear up your lungs if you don't use a proper fitting charcoal mask; and demands quick and thorough cleaning of gun, mixing containers, and hands arms and face once the job is done. But the results are well worth the expense and effort.
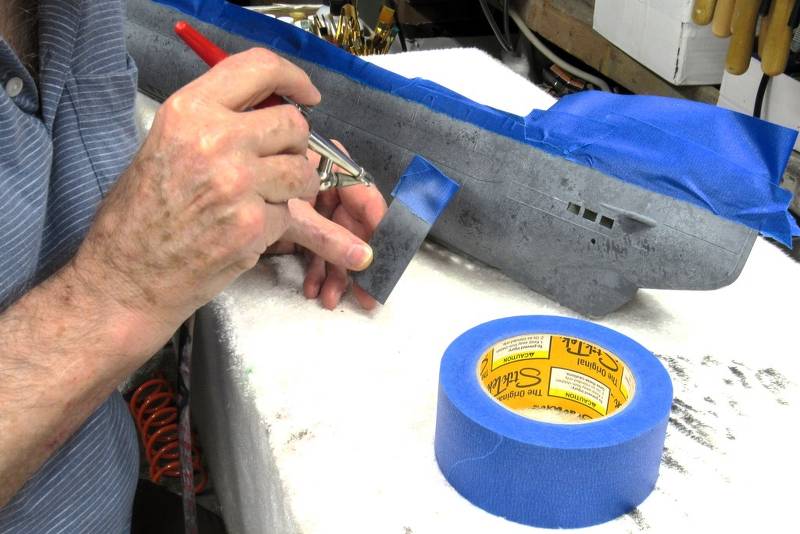
One of my old, trusty Paasche H-Model nuclear powered laser-blasters, set to kill... er... I mean 45psi, and equipped with the big tip. I use this tool on relatively small model submarines. The trick to achieving a uniform sheen to a clear coat is to put it down very wet – almost piled on to the point of running... but not quite. An acquired skill.
Before committing to the hull and appendages, I first blasted the test-article to get the pressure, stand-off distance, sweep-rate, and nozzle setting right before blasting the SKIPJACK model.
Note the various means of holding the appendages as they are given the clear-coat.
Damn!... time for a hair-cut.

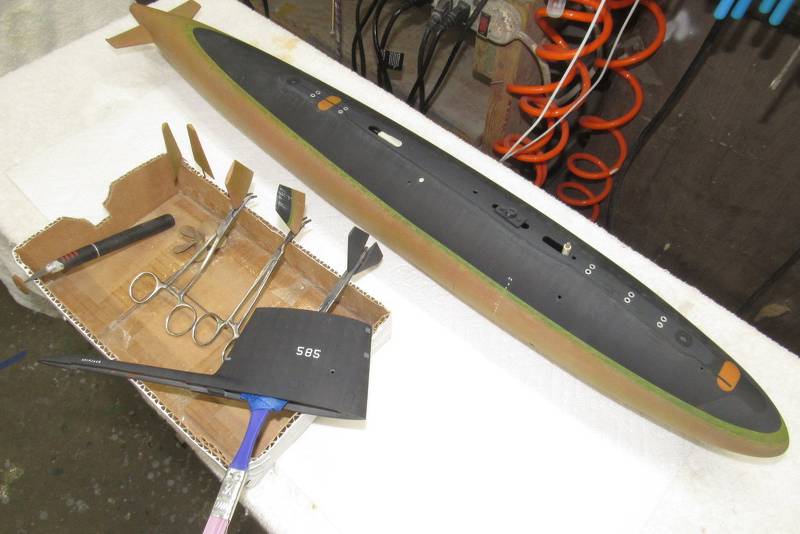
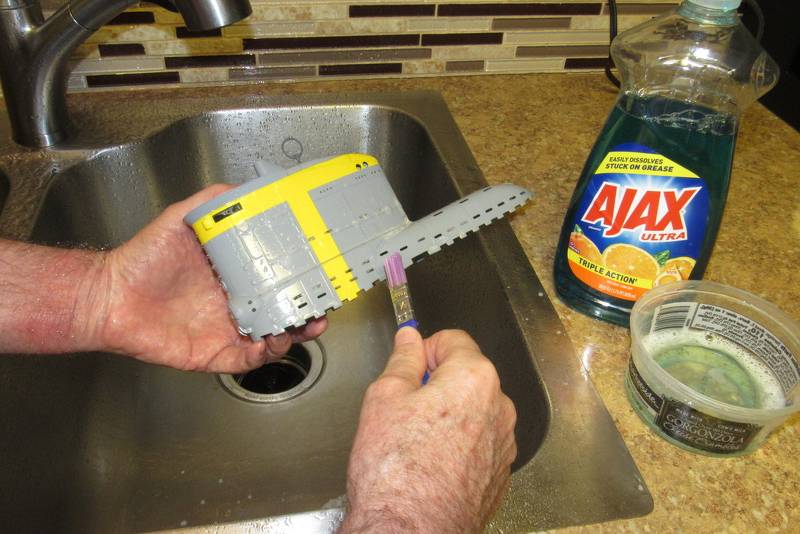
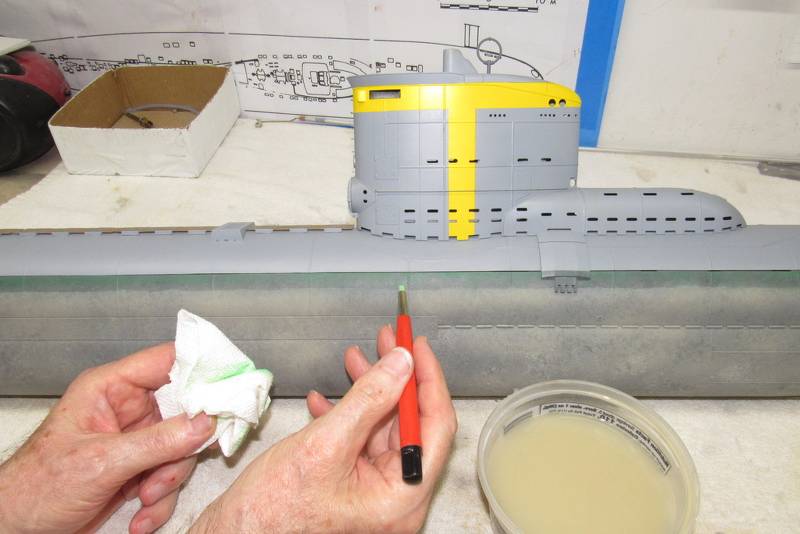
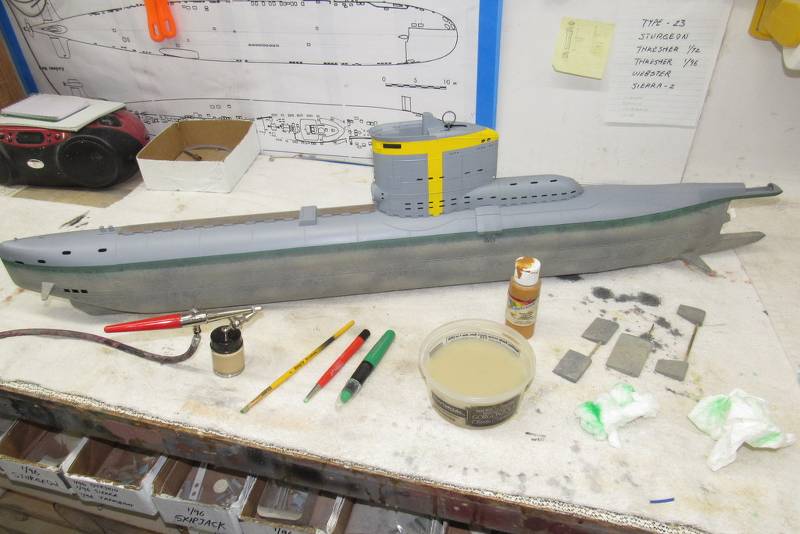
I operated this 1/35 Bronco Type-23 at last years SubFest. It served as a platform for a FPV camera system contained within the models rather large sale. The model, though structurally completed and given the appropriate paint scheme and markings, had yet to get a proper weathering job. Now's the time! SubFest is only two months away.

The yellow markings on the sail denote this as a relatively new boat still being worked up by its crew prior to being deployed for actual coastal war patrols (which, for these little coastal submarines lasted days, not months).
So, supposing this boat represents a unit with little in-water time under its belt, I resolved to go easy on the above and below waterline weathering.
Here's some of the documentation I gathered to help guide me as I mung up this r/c model submarine representing a short-lived combatant.
I'll start with the below waterline crud – that task an easy one on this model as the parting line between upper and lower hull falls across that plane – the only masking required is at the bow and stern, where upper and lower portions are permanently joined.