Trumpeter 1/72 scale J-20 "Mighty Dragon" kit

The Artist

ACCESS: Top Secret
Senior Member
Joined
1 November 2009
Messages
638
Reaction score
384
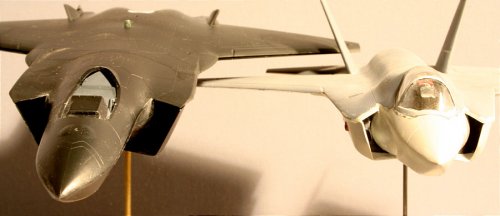
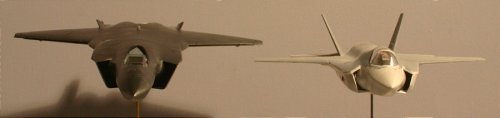
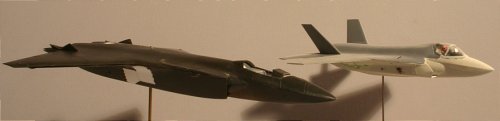
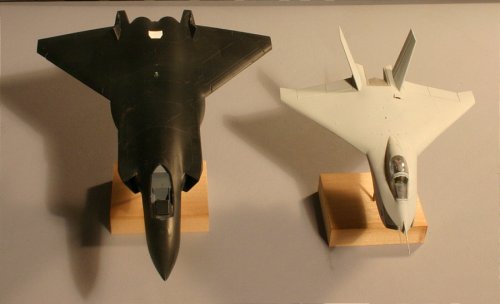
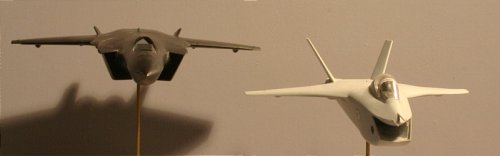
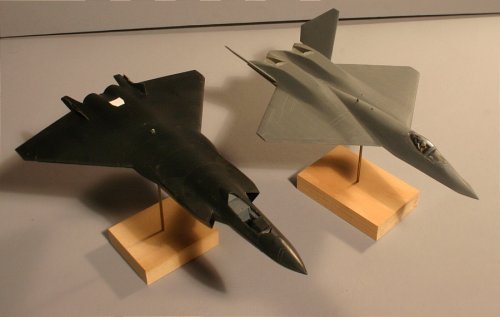
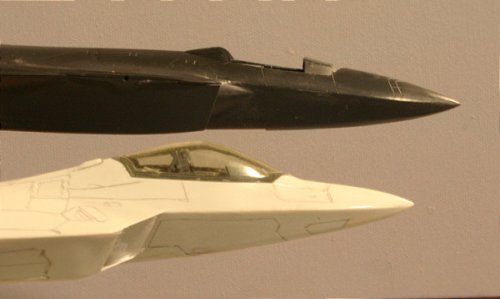
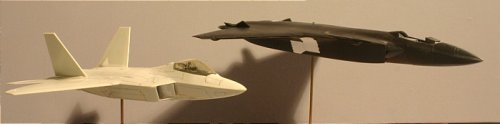
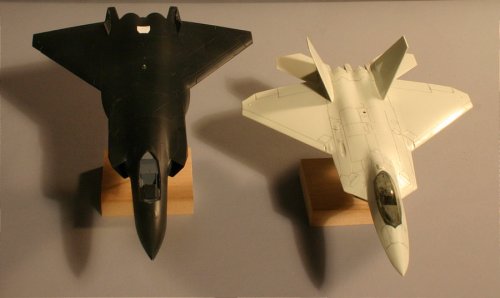
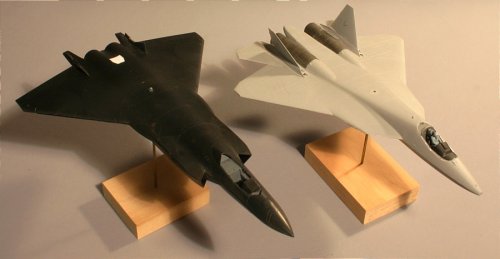
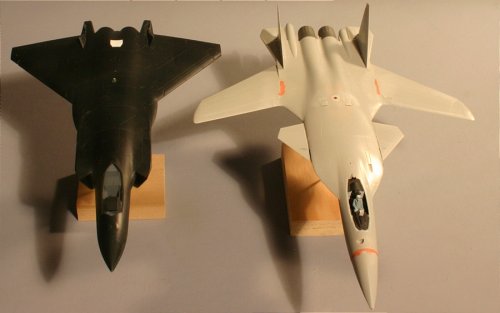
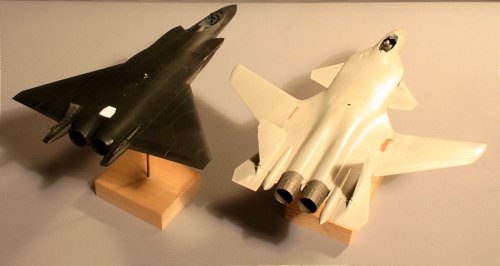
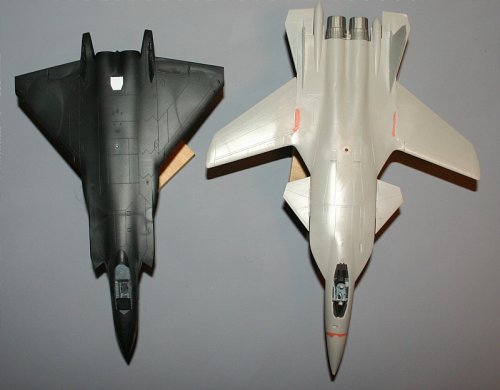
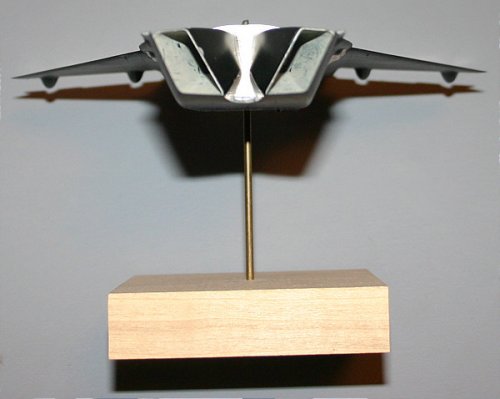
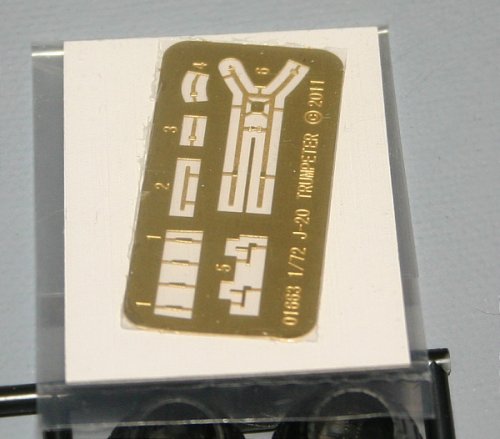
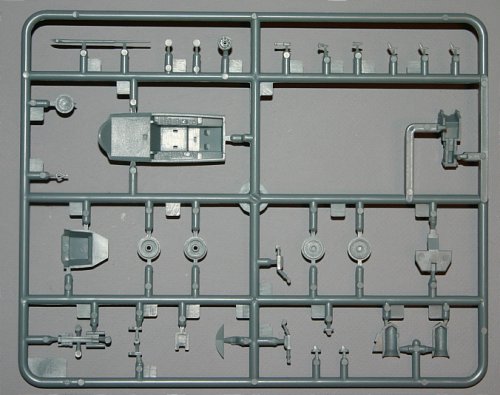
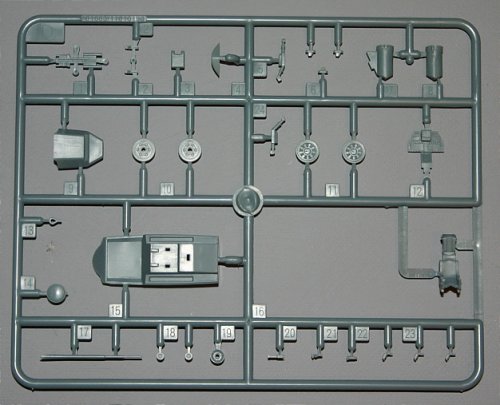
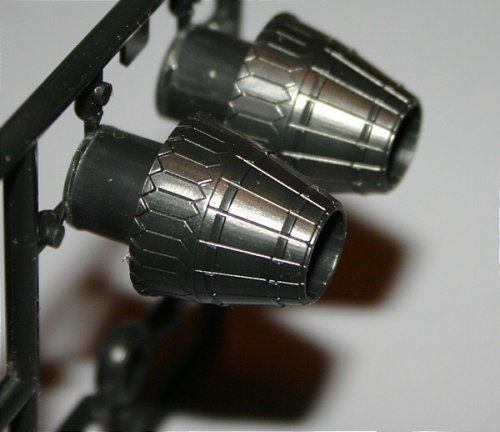
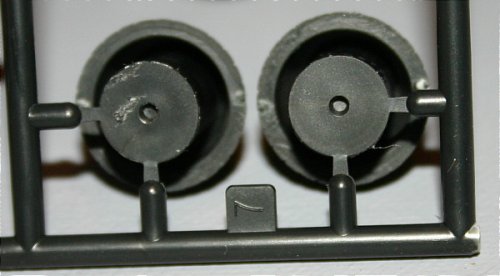
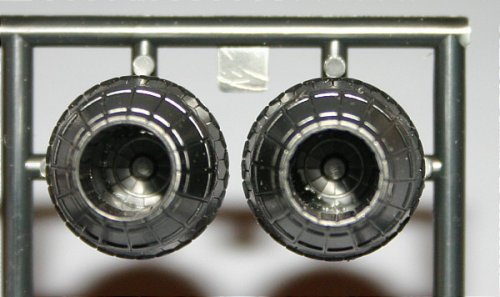
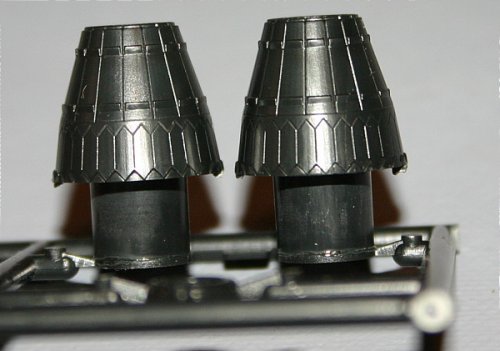
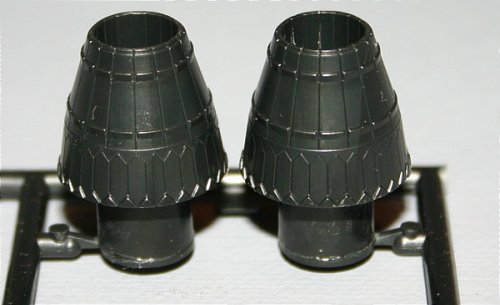
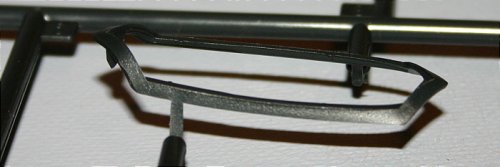
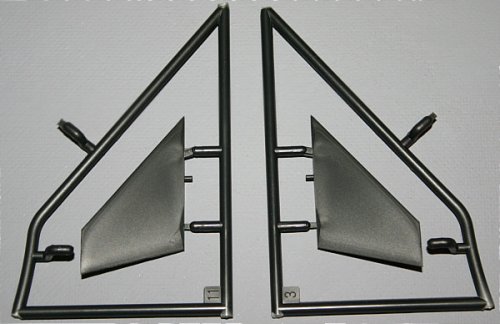
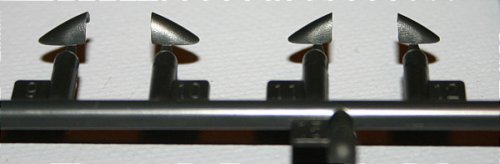
This is a kit-in-progress review of the Trumpeter 1/72 scale J-20 "Mighty Dragon" kit. (#01663) Molded in three colors of plastic - black, white and blue-gray - along with the clear parts and some etched metal detail parts.

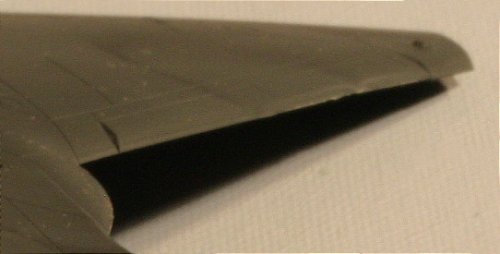
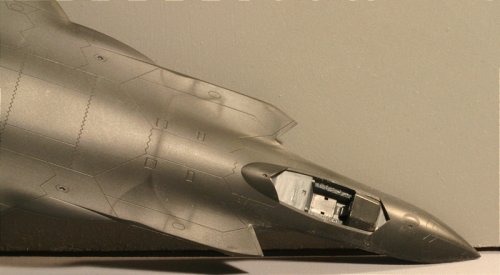
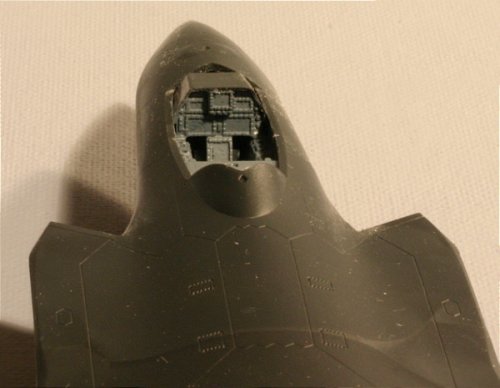
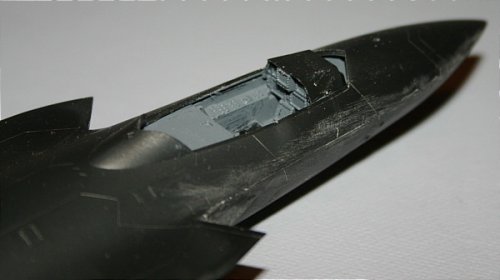
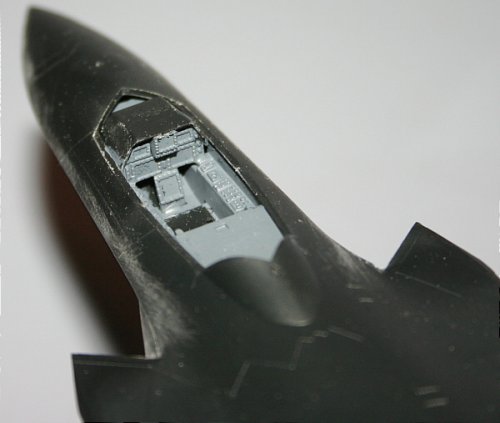
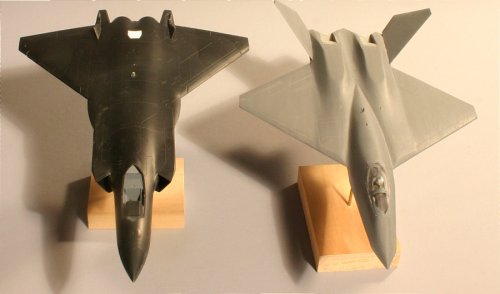
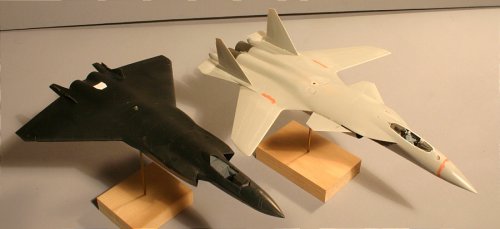
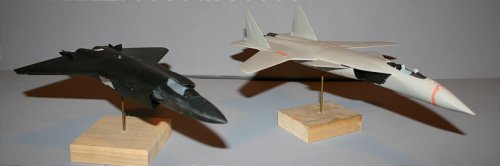
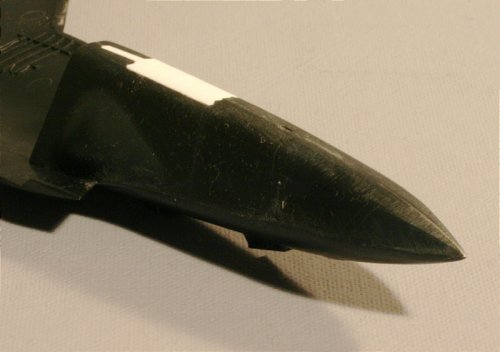
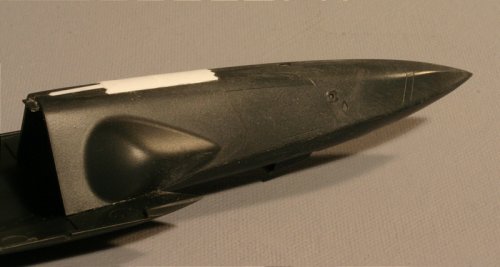
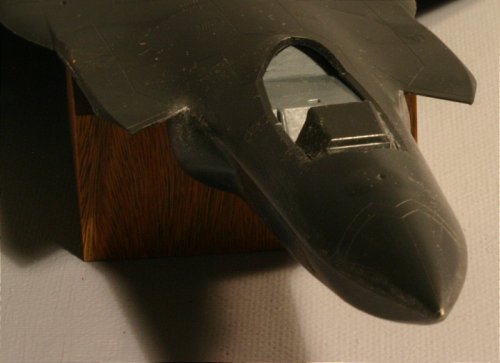
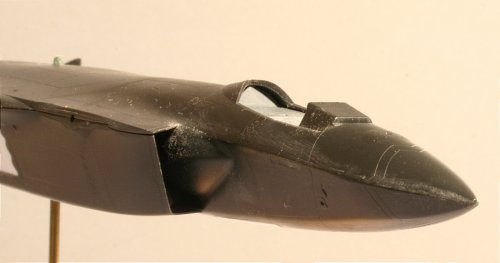
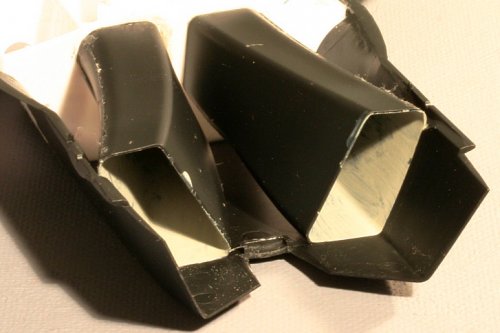
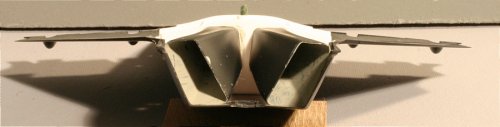
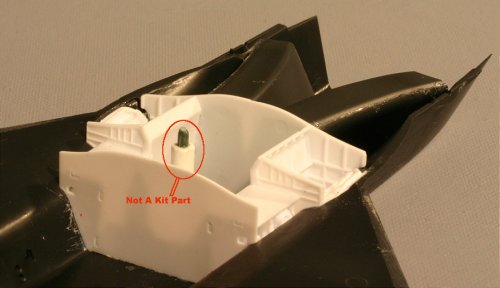
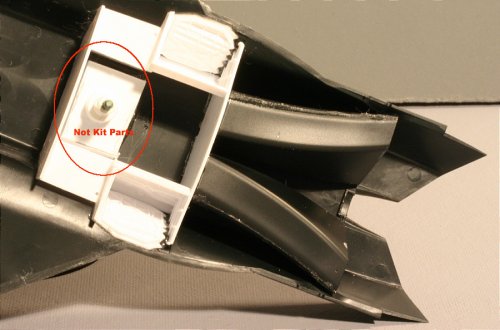
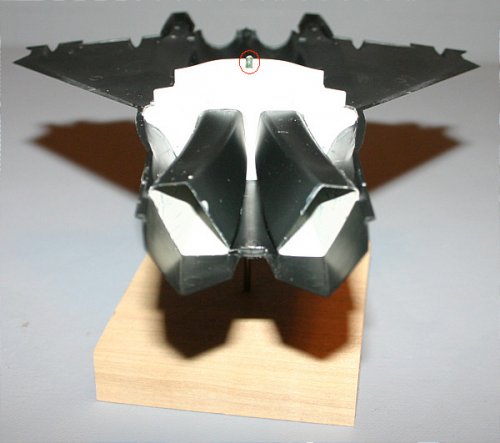
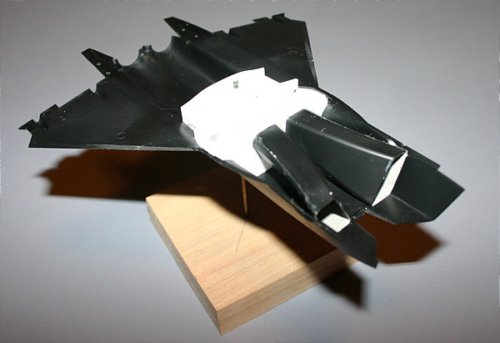
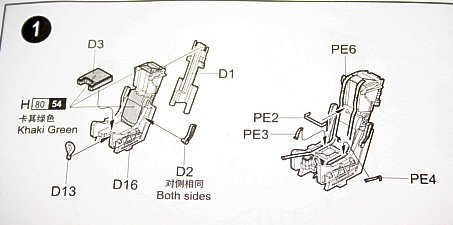
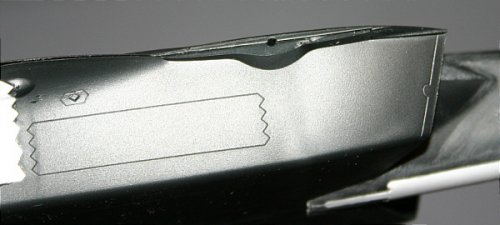
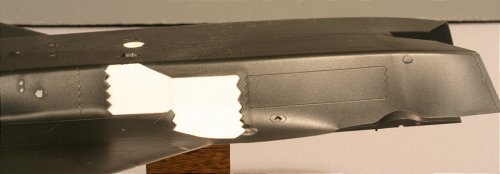
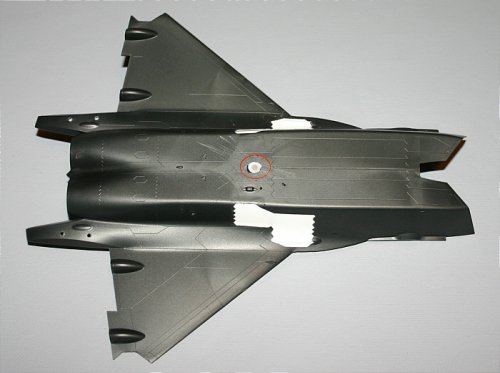
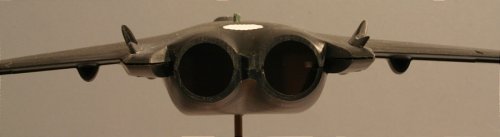
I already had this kit in progress when someone asked to see a review. In this batch we're looking at the forward fuselage assembly. The lower forward fuselage is in two pieces which come together and attach to the forward underside of the upper fuselage half. The cockpit and nose gear well are enclosed by this assembly. Note the intake "speed bump" (as I've heard someone call it).
 

Attachments

  • J-20 forward assembly.jpg
    J-20 forward assembly.jpg
    92.7 KB · Views: 386
  • J-20 forward assembly 2.jpg
    J-20 forward assembly 2.jpg
    111.3 KB · Views: 376
  • J-20 forward assembly 3.jpg
    J-20 forward assembly 3.jpg
    88.1 KB · Views: 366
  • J-20 forward assembly 4.jpg
    J-20 forward assembly 4.jpg
    119.2 KB · Views: 352
  • J-20 forward assembly 5.jpg
    J-20 forward assembly 5.jpg
    85.5 KB · Views: 347
Here we are looking at the intake ducting and the main gear well box. Note: I build most of my aircraft models with the gear retracted and with added attaching provision for placing them on stands. I have indicated which parts I've added to this assembly.

The intake ducting parts went together with no problems. The gear well box needed only a little bit of sanding and shaping to fit into the lower fuselage. For those of you who, like me, build with the gear retracted, I can report that the main gear doors fit fine after only the basic parts clean-up.
 

Attachments

  • J-20 intake ducting 7.jpg
    J-20 intake ducting 7.jpg
    99.1 KB · Views: 13
  • J-20 intake ducting 6.jpg
    J-20 intake ducting 6.jpg
    59.8 KB · Views: 16
  • J-20 intake ducting 5.jpg
    J-20 intake ducting 5.jpg
    121.3 KB · Views: 22
  • J-20 intake ducting 4.jpg
    J-20 intake ducting 4.jpg
    67.1 KB · Views: 27
  • J-20 intake ducting 3.jpg
    J-20 intake ducting 3.jpg
    161.6 KB · Views: 26
  • J-20 intake ducting 2.jpg
    J-20 intake ducting 2.jpg
    77.6 KB · Views: 31
  • J-20 intake ducting 1a.jpg
    J-20 intake ducting 1a.jpg
    100.8 KB · Views: 32
  • J-20 intake ducting 1.jpg
    J-20 intake ducting 1.jpg
    56.4 KB · Views: 17
Here the two-piece engine exhausts have been assembled. The tabs seen in the profile shot are part of the sprue and will be removed before the exhausts are attached to the kit.

One sprue is included twice in the kit - one in black and one in blue-gray. Here is the blue-gray one, though it's kind of washed out under the light. From studying the instructions it seems that this was done only to give a choice of which color detail parts to use.

The metal parts look nice but I rarely use them when I'm building a model to use as a model for art work.
 

Attachments

  • J-20 metal parts.jpg
    J-20 metal parts.jpg
    82.4 KB · Views: 10
  • J-20 D sprue back.jpg
    J-20 D sprue back.jpg
    119.4 KB · Views: 10
  • J-20 D sprue front.jpg
    J-20 D sprue front.jpg
    101.8 KB · Views: 11
  • J-20 exhausts 5.jpg
    J-20 exhausts 5.jpg
    85 KB · Views: 10
  • J-20 exhausts 4.jpg
    J-20 exhausts 4.jpg
    60.5 KB · Views: 10
  • J-20 exhausts 3.jpg
    J-20 exhausts 3.jpg
    75 KB · Views: 12
  • J-20 exhausts 2.jpg
    J-20 exhausts 2.jpg
    76.7 KB · Views: 11
  • J-20 exhausts 1.jpg
    J-20 exhausts 1.jpg
    63.3 KB · Views: 14
Here are some more kit parts and three selected images from the instruction sheet.

Note the assembly instructions for the main gear. That part attaching the wheel to the bottom of the strut looks like a stress failure event waiting to happen for someone who handles their models a lot.
 

Attachments

  • J-20 seat assembly.jpg
    J-20 seat assembly.jpg
    47.8 KB · Views: 10
  • J-20 rudder assembly.jpg
    J-20 rudder assembly.jpg
    85.3 KB · Views: 11
  • J-20 main gear assembly.jpg
    J-20 main gear assembly.jpg
    77.5 KB · Views: 8
  • J-20 rudder.jpg
    J-20 rudder.jpg
    98.1 KB · Views: 7
  • J-20 canopy frame.jpg
    J-20 canopy frame.jpg
    49.9 KB · Views: 6
  • J-20 canards.jpg
    J-20 canards.jpg
    69.1 KB · Views: 5
  • J-20 actuator fairings.jpg
    J-20 actuator fairings.jpg
    33.4 KB · Views: 7
Here are some shots looking at the surface details. Note that the upper and lower fuselage parts are not glued together in these shots - therefore you are seeing gaps where there shouldn't be any.

You can see the tube I've added for the stand along with the hole for the tube's top anchor pin.

From a purely assembly stand point, this kit is going together with little problem. The one thing that has been standing out for me is that the tail booms (to which the verticals are attached) seem to be a bit too close to each other when comparing the kit to shots posted in the Aerospace thread.

This is all I'm posting this evening. Tomorrow - if anyone is still interested - I'll post some more detail shots along with comparison shots of the model in its current state with models of the X-32, X-35, F-22, T-50 and the Berkut.

Mike
 

Attachments

  • J-20 upper details.jpg
    J-20 upper details.jpg
    98.4 KB · Views: 21
  • J-20 side details 2.jpg
    J-20 side details 2.jpg
    52 KB · Views: 9
  • J-20 side details.jpg
    J-20 side details.jpg
    77.6 KB · Views: 14
  • J-20 bottom.jpg
    J-20 bottom.jpg
    90.7 KB · Views: 13
  • J-20 aft structure.jpg
    J-20 aft structure.jpg
    48.9 KB · Views: 9
  • J-20 aft details.jpg
    J-20 aft details.jpg
    115.8 KB · Views: 9
thank you! proceed as you can
 
Here is the last batch of detail shots for now, though others may follow as I continue the build.

There are decals for the cockpit but with all that texture I'm not sure how they'd look when applied. (I didn't think to take a shot of the decals. Maybe next time.) The cockpit attaches to the nose gear well assembly (6 pieces counting the nose gear) and is to line up with the opening in the upper fuselage. I'd suggest following the steps in the instructions and not just gluing the cockpit to the underside of the upper fuselage part. I tested this method with white glue and found that doing it that way it is easy to create an alignment problem.

I've not taken the canopy out of it's package yet. I do like the care they took in packing it. The landing gear parts on the white sprue were also protected like this.

One of my impressions of the kit is that the detail is kind of soft. But then, this is not like it's an F-4 or F-16 where so much information is available that detail this soft would be seen as a fault.

In holding the model (in its current state) up to try to match the viewing angle and (scale) distance to the photos seen in the J-20 thread in Aerospace, the model seems to be close in proportions. My only question is about the distance between the tail booms which as I mentioned above seem to be a bit too close. However, that could be an illusion caused by the large openings where the exhausts will go.
 

Attachments

  • J-20 leading edge flap.jpg
    J-20 leading edge flap.jpg
    43.3 KB · Views: 9
  • J-20 canopy packet.jpg
    J-20 canopy packet.jpg
    45.4 KB · Views: 9
  • J-20 cockpit 4.jpg
    J-20 cockpit 4.jpg
    93.9 KB · Views: 11
  • J-20 cockpit 3.jpg
    J-20 cockpit 3.jpg
    70 KB · Views: 9
  • J-20 cockpit 2.jpg
    J-20 cockpit 2.jpg
    44.2 KB · Views: 8
  • J-20 cockpit.jpg
    J-20 cockpit.jpg
    98.3 KB · Views: 9
Now for some comparison shots. Starting with the Italeri X-32 and X-35 kits. The shape of the J-20 wing seems closer to that of the X-32 than to the other aircraft discussed in the other thread. Close but not a copy. The intakes do seem to take some inspiration from the X-35/F-35.
 

Attachments

  • J-20 and X-35 intake comparison.jpg
    J-20 and X-35 intake comparison.jpg
    90.5 KB · Views: 24
  • J-20 and X-35 2.jpg
    J-20 and X-35 2.jpg
    47.5 KB · Views: 26
  • J-20 and X-35.jpg
    J-20 and X-35.jpg
    48.5 KB · Views: 40
  • J-20 and X-32 2.jpg
    J-20 and X-32 2.jpg
    112.4 KB · Views: 34
  • J-20 and X-32.jpg
    J-20 and X-32.jpg
    46.7 KB · Views: 21
Now shots with the Revell F-22 and with the DML YF-23. I see very little (if any) of the YF-23 in the J-20. I do see that the forward fuselage seems to have taken inspiration from the F-22. Note. Except for the cockpit, the F-22 kit is unpainted and the panel lines have been penciled in to aid in working up some artwork.
 

Attachments

  • J-20 and YF-23 2.jpg
    J-20 and YF-23 2.jpg
    117.7 KB · Views: 39
  • J-20 and YF-23.jpg
    J-20 and YF-23.jpg
    108.5 KB · Views: 33
  • J-20 and F-22 comparison.jpg
    J-20 and F-22 comparison.jpg
    53.8 KB · Views: 21
  • J-20 and F-22 3.jpg
    J-20 and F-22 3.jpg
    31.3 KB · Views: 16
  • J-20 and F-22 2.jpg
    J-20 and F-22 2.jpg
    54.5 KB · Views: 28
  • J-20 and F-22.jpg
    J-20 and F-22.jpg
    111.9 KB · Views: 29
As I said in the other thread, when I first opened the box and looked over the parts I found myself thinking about and making comparisons to the Su-47 Berkut more than about or to any of the other aircraft the J-20 was compared to in that other thread. Maybe someone else will see it in these shots.

Edit: Forgot to mention the kits. That is the Hobby Boss Berkut kit and the Zvezda kit of the T-50.
 

Attachments

  • J-20 and T-50.jpg
    J-20 and T-50.jpg
    99.5 KB · Views: 43
  • J-20 Berkut comparison 5.jpg
    J-20 Berkut comparison 5.jpg
    115 KB · Views: 27
  • J-20 Berkut Comparison 4.jpg
    J-20 Berkut Comparison 4.jpg
    105.3 KB · Views: 29
  • J-20 Berkut Comparison 3.jpg
    J-20 Berkut Comparison 3.jpg
    92.6 KB · Views: 27
  • J-20 Berkut comparison 2.jpg
    J-20 Berkut comparison 2.jpg
    49.6 KB · Views: 37
  • J-20 Berkut comparison.jpg
    J-20 Berkut comparison.jpg
    116.8 KB · Views: 38
  • J-20 and T-50 2.jpg
    J-20 and T-50 2.jpg
    105 KB · Views: 55

Similar threads

Back
Top Bottom