- Joined
- 27 December 2005
- Messages
- 16,413
- Reaction score
- 18,934
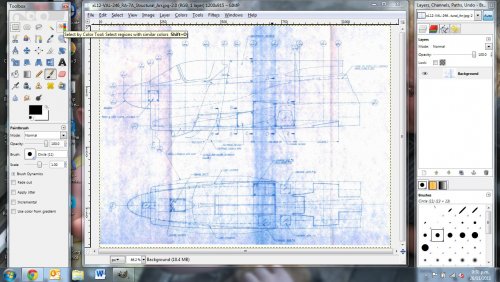
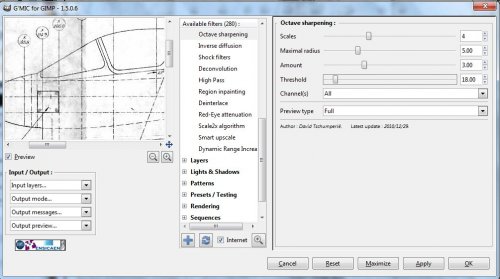
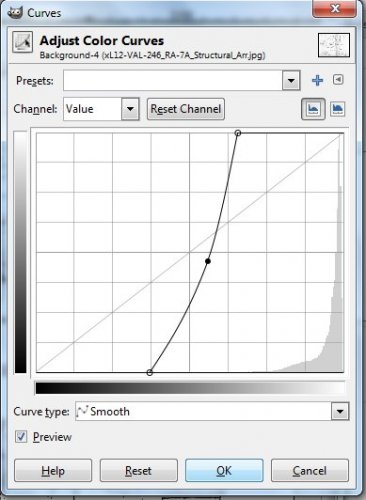
If there is interest I can post a tutorial in GIMP. Its free and available on Windows was well as Linux.


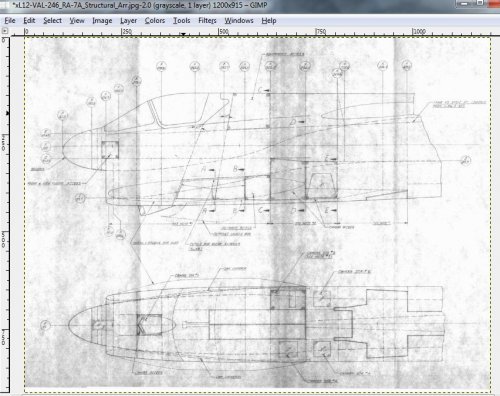
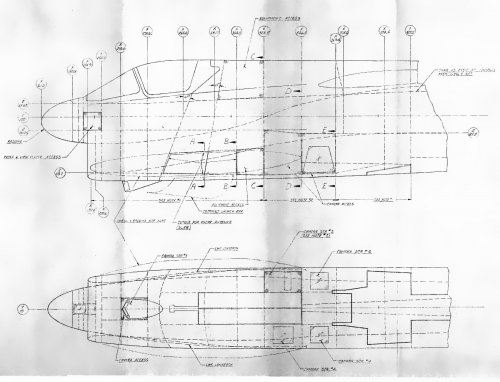
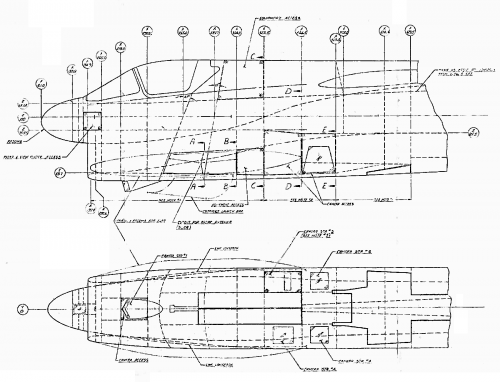
overscan said:Now try this extremely challenging blueprint scan by Bill S. I have added my previous attempt in 2009 as a benchmark.
I didn't mean to imply it was your fault Bill - I'm aware how challenging the source material is, this just so happens to be one of the most hard to fix images I've seen.Bill S said:As my submissions have made me the poster boy of what not to do. B)
I don't come across as a total idiot, (partial is true), a number of the rolls of microfilm
that I have viewed are very dark, almost black as the original scan shows.
However, dark or not I am going to grab the scan as I have not found that info anywhere else.
With that said, I am off to try some of these tips as I have plenty of other samples to work on.
Thanks overscan for the tutorials!
bill
overscan said:Now try this extremely challenging blueprint scan by Bill S. I have added my previous attempt in 2009 as a benchmark.
overscan said:I will add some more tutorials - this isn't in any way the only way to accomplish this task, just one way.